Vita
An Open Source Seach Schedule And Meet App Built With React,Bringing life back to your college life.
About The Project
- During the pandemic, we all were homebound; the campus culture of each college withered away. Watercooler conversation after class mentoring or Gyan sessions from seniors has become a tail of the past. So to bridge the gap of loss of engagement, I present to you, Vita.
- A SAAS product to connect college graduates, alumni, and faculty to revive the culture of mentorship and foster a more connected and ENGAGED(pardon the pun) community.
Design Doc and Video Demonstration
Vita Case Study : Case Study
Video Demonstration : Video Link
Demonstration
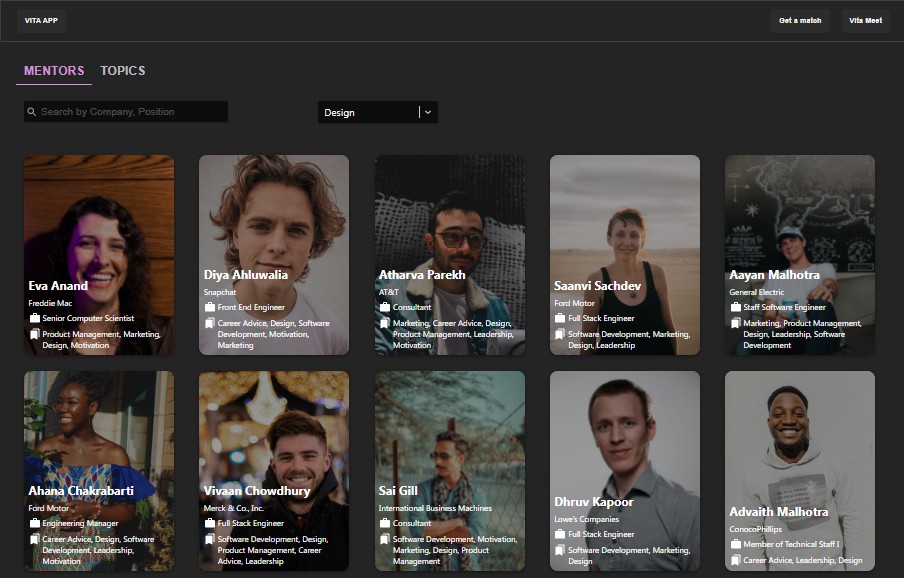
VITA APP
| Mentors Page | Topics Page | Scheduler |
|---|---|---|
 |
 |
 |
Built With
Written in TypeScript ♥
Getting Started
Follow the instructions to set up the project on your local machine.
Prerequisites
This is an example of how to list things you need to use the software and how to install them.
-
npm
npm install npm@latest -g
Installation
-
Clone the repo
git clone https://github.com/Rishabh-malhotraa/Vita.git
-
Install NPM packages
npm install
npm run install-server
npm run install-client
-
Start the react and nodejs server concucrrently
npm run dev
Roadmap
See the open issues for a list of proposed features (and known issues).
Things To do
- Inital Landing Page
- Linking MongoDB Database with the backend
- Sprinkling global state with Recoil-JS ? (highly recommend it as compared to redux if there are no complex state transactions happening)
- Vita Meet
- Linking Vita Meet with caucus
- Infinite Scrolling on Search for Topics
- Deploy on Netlify and Heroku
- Design Doc
- Add github workflows
- Write Unit Test
Contributing
Contributions are what make the open source community such an amazing place to learn, inspire, and create. Any contributions you make are greatly appreciated.
- Fork the Project
- Create your Feature Branch (
git checkout -b feature/AmazingFeature) - Commit your Changes (
git commit -m 'Add some AmazingFeature') - Push to the Branch (
git push origin feature/AmazingFeature) - Open a Pull Request
Refer to this article if you have any difficulty in making a pull request
License
Distributed under the MIT License. See LICENSE for more information.


