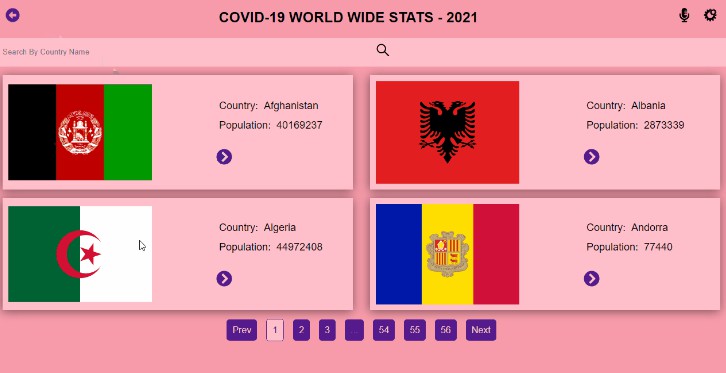
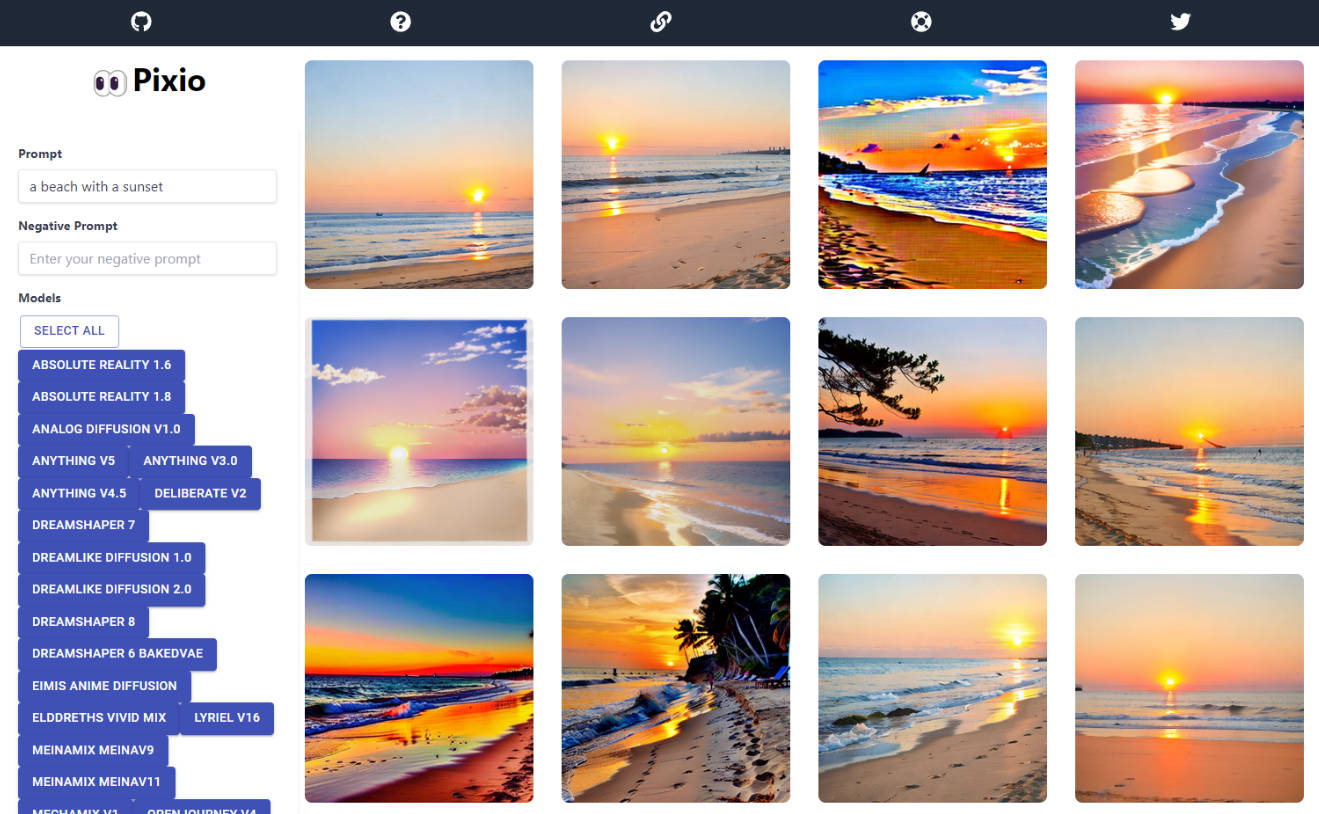
Wall of gif with Solana
A web application that allows you to create and share wall of gifs! Built on top of solana blockchain.
Installation and Usage
Getting the frontend up and running
Install the dependencies first for the project.
yarn
# OR
npm install
Now, Go to the solana app, and install its dependencies in the same way.
cd solana_app

yarn
# OR
npm install
Once you’re done, Ensure that you have the solana toolchain good to go. If you don’t, there are instructions on How-to
in the section below.
Now, you need to deploy your solana program. You can find the instructions in the section in the end of installation and
usage, on how you can do it.
Once you have deployed, copy the IDL file from target/idl/solana_app.json in solana_app to src/assets in react project
into a file called idl.json.
Done? Awesome! Now, generate the keypair for handling accounts.
cd src
node createKeyPair.js
cd ..
Now, Open up your phantom wallet (Install it, if you don’t have it!), and switch the network to devnet. Then, fund the account
by copying the public key, and using this command,
solana airdrop 5 <wallet-public-key> --url https://api.devnet.solana.com
Great job! You’re good to go. Now, you can run npm run start to start up the app, or host it anywhere you want ✨
Solana and toolchain installation
To get started with solana, you need to have rust installed on your local system.
To quickly install solana, Follow this guide.
Ensure that it’s installed by running,
solana --version
If it works without errors, That means it’s good to go. Now it’s time to install Anchor. This command will help you do so,
cargo install --git https://github.com/project-serum/anchor anchor-cli --locked
To test if it works fine too, use this command.
anchor --version
Now, Generate a Keypair using the solana CLI suite and check the address.
solana-keygen new
solana address
Deploying your Solana program to devnet
To start deploying, first switch your net to devnet.
solana config set --url devnet
Finally, airdrop yourself some SOL on the devnet.
solana airdrop 5
solana balance
Now, It’s time to configure the variables.
Run the build through anchor using,
anchor build
This creates a program ID for us. Access it using,
solana address -k target/deploy/solana_app-keypair.json
Copy the ID, and change it in the declare_id!() section in the lib.rs located inside programs/solana_app/src. Now,
go to Anchor.toml, and replace the ID with the same one you copied above under [programs.devnet].
Good to go? Now run anchor build!
Awesome. Now, just deploy it using the final command – anchor deploy. Boom, You’re all set.
You can track your program using the Solana explorer, and by searching for your
program using the ID you obtained from the JSON file.
? Contributing
Contributions, issues and feature requests are welcome. After cloning & setting up project locally, you can
just submit a PR to this repo and it will be deployed once it’s accepted.
⚠️ It’s good to have descriptive commit messages, or PR titles so that other contributors can understand
about your commit or the PR Created. Read
conventional commits before making the commit message.
Show your support
We love people’s support to grow, improve and give the best. Be sure to drop a ? if you like the project,
and also contribute, if you’re interested!
Thanks to Buildspace for such an amazing project and the awesome platform! ?


