react-portals
Unopinionated React library to render content into another place of the React tree (without losing the React context). This is especially useful for modals or popovers.
Advantages
- Build your own portals and portal targets for your own needs with the provided higher order components
- Decide where your portaled content should be rendered by placing the portal target whereever you want it in your React tree.
- Keep your context! react-router or react-redux use the React context to enable communication between components, this will not work with traditional modal or portal libraries, as they render your components into another React Root (often in document.body).
Installation
npm install react-portals --save
or
yarn add react-portals
Concepts
The main concepts in this library are portals and portalTargets. A portal is a component, that sends some ReactNodes to another location in the React tree. The location where these nodes land is called a portalTarget. Each portalTarget has a specified name which can be referenced when building a portal. This way, each portal sends the content to exactly one portalTarget. To enable the communication between portals and portalTargets, the PortalProvider needs to be rendered at the top of the component tree. This component attaches a portalConnector to the React context. Note: You should never access the portalConnector through the context, as this API could change in the future, instead, use the withPortalConnector HOC. The portalConnector provides an imperative API which is used to add, update and remove portaled content in a portalTarget.
Usage
PortalProvider
At first you have to add the PortalProvider at the top of your React tree. This manages the connection between portals and portalTargets through React context.
Root.js
import React, { Component } from 'react';
import { PortalProvider } from 'react-portals';

class Root {
  render() {
    return (
      <PortalProvider>
        <h1>Render your app content here!</h1>
      </PortalProvider>
    );
  }
}

export default Root;
Simple portal target
import React from 'react';
import { portalTarget } from 'react-portals';

const SimpleTarget = ({ children }) => <div>{children}</div>;
export default portalTarget('simple-target')(SimpleTarget);
The SimpleTarget component receives all portaled content as children and can render it as you wish.
The first parameter of portalTarget defines the key of this target. This will be referenced by your portals to determine where the content will be put.
PortalTarget with animations:
AnimatedTarget.js
import React from 'react';
import { CSSTransitionGroup } from 'react-transition-group';
import { portalTarget } from 'react-portals';
import './AnimatedTarget.css';

const AnimatedTarget ({ children }) => (
  <CSSTransitionGroup
    className="animated-portal-target"
    transitionName="portal-transition"
    transitionEnterTimeout={500}
    transitionLeaveTimeout={500}
  >
    {children}
  </CSSTransitionGroup>
);

export default portalTarget('animated-target')(AnimatedTarget);
AnimatedTarget.css
.portal-transition-enter {
  opacity: 0;
  transform: translate3d(0, 50px, 0);
}

.portal-transition-enter-active {
  opacity: 1;
  transform: translate3d(0, 0, 0);
  transition: transform .5s, opacity .5s;
}

.portal-transition-leave {
  opacity: 1;
  transform: translate3d(0, 0, 0);
}

.portal-transition-leave-active {
  opacity: 0;
  transform: translate3d(0, 50px, 0);
  transition: transform .5s, opacity .5s;
}
For this example, we imported CSSTransitionGroup from react-transition-group. For more info visit the GitHub Page
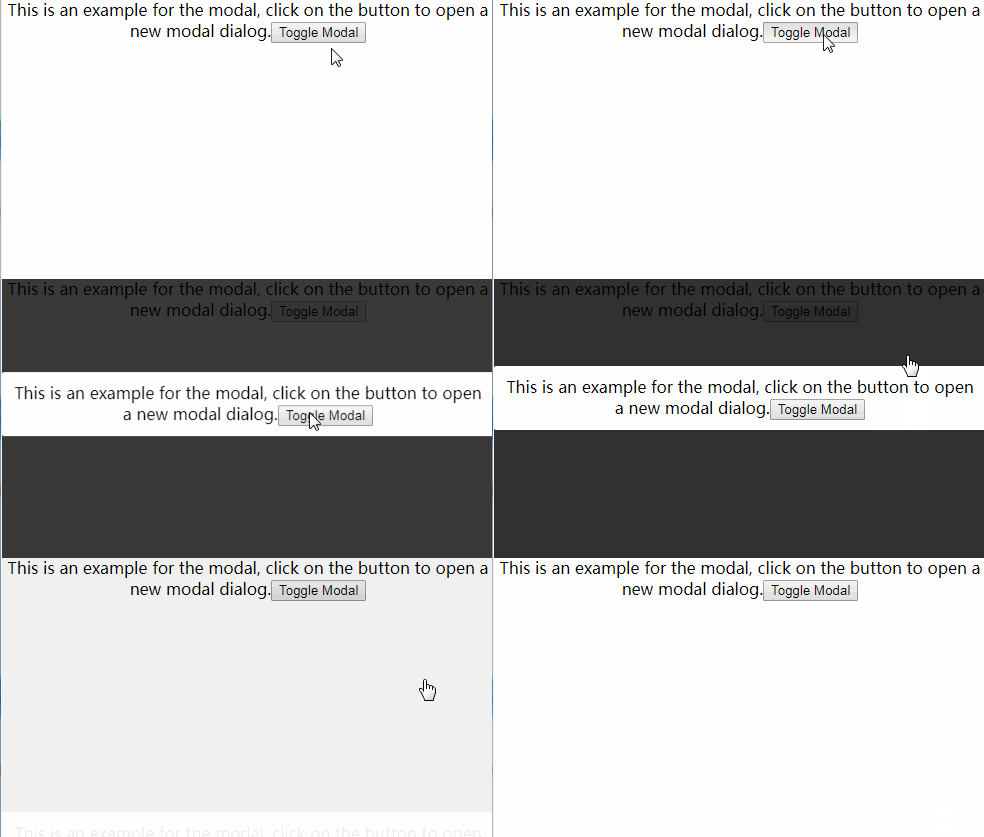
This will fade all portaled content in. If style the content correctly, you can render it as a modal above the page content.
Simple children portal
ChildrenPortal.js
import { Component } from 'react';
import { portal } from 'react-portals';

class ChildrenPortal extends Component {
  componentDidMount() {
    this.props.updateChild(this.props.children);
  }
  componentDidUpdate() {
    this.props.updateChild(this.props.children);
  }
  componentWillUnmount() {
    this.props.updateChild(null);
  }
  render() {
    return null;
  }
}

export default portal('animated-target', 'updateChild', 'portalId')(ChildrenPortal);
This portal will send all children to the specified target ('animated-target' in this case).
The second parameter defines the name of the updater function that will be passed to your portal component as prop (default is updateChild).
The third parameter defines the name of the id of the portal: Every portal gets an id to that can be used as a key prop for rendering. (Default is id)
API
react-portals exports the following properties:
PortalProvider
ReactComponent that needs to sit near the top of your React tree.
portal
portal(targetName: String, updaterName: String, idName: String): HigherOrderComponent
targetNamedefines where this portal can render content with the updater functionupdaterNamedefines the name of the updater function that will be passed as propidName: defines the name of the portal instance id that will be passed as prop
The HigherOrderComponent injects the updaterFunction and the id as props behind the given names.
portalTarget
portalTarget(targetName: String): HigherOrderComponent
targetNamedefines the name that can be used by portals to adress this target
The HigherOrderComponent injects all portaled content behind the children prop.
withPortalConnector
withPortalConnector(ReactComponent): ReactComponent
Simple HigherOrderComponent that injects the portalConnector as prop into the given component
portalConnector
Object that is used to communicate between targets and portals with methods:
registerTarget(name: String, portalTarget: ReactComponentInstance): Registers a ReactComponentInstance as target behind the given name.removeTarget(name: String): Removes previously registered target.addChild(targetName: String, child: ReactNode): String: Transport a ReactNode to the portal with the given name. Returns the id of this portaled child, that has to be used to remove or update this child.updateChild(id: String, child: ReactNode): Replaces the ReactNode at the given id.removeChild(id: String): Removes the ReactNode with the given id.
