datasciencefolio
A clean, beautiful, responsive and 100% customizable portfolio template for Data Scientists!
Sections ?
✔️ Home
✔️ Experience & Education
✔️ Projects
✔️ Contact\
Clone And Use ?
- The website is completely built on
react-jslibrary ofjavascriptand that's why we neednodejsandnpminstalled. - While installing
nodejsandnpm, try to install versions which are equal or greater than the versions mentioned in badges above. - In case you want to help developing it or simply saving it, you can fork the repository just by clicking the button on the top-right corner of this page.
- After the successful installation of
nodejsandnpm, clone the repository into your local system using below command:-
git clone https://github.com/rohankokkula/datasciencefolio.git - This will clone the whole repository in your system.
-
- To download required dependencies to your system, navigate to the directory where the cloned repository resides and execute following command:
-
npm install
-
- Now, the project is ready to use.
- You can check it using
npm start, it will open the website locally on your browser.
Customize it to make your own portfolio ✏️
In this project, there are basically 4 things that you need to change to customize this to anyone else's portfolio: src/portfolio.js, src/assets,src/assets/logo and Google Analytics Tracking ID.
Personal Information
You will find src/portfolio.js file which contains the complete information about the user. The file looks something like below:
// Home Page
const greeting = {
    ...
}

// Social Media
const socialMediaLinks = {
    ...
}

...
You can change the personal information, experience, education, social media, certifications, contact information etc. in src/portfolio.js to directly reflect them in portfolio website.
If you want to play around with alignment or CSS, the specific component's css is present in the same folder.
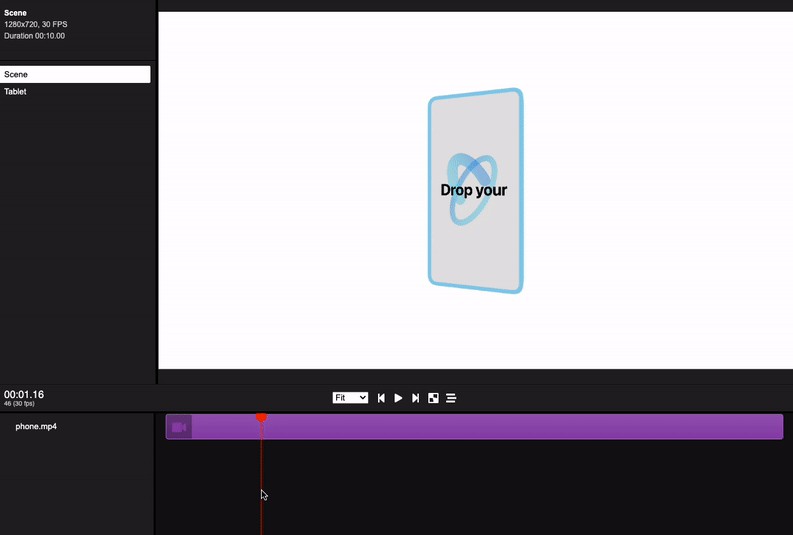
Assets
So basically I demonstrated 2 types of visual graphics.
-
Animated graphics(lottiefiles)
- In order to use your own animated graphics,
- go to lottiefiles
- search your favourite lottie(animation)
- Download the
JSONversion of animated file - Now you can import this into any of the desired container/component using
-
import lottie from 'lottie-web'; import React, {useRef,useEffect } from "react"; export default function BannerImg(){ const container = useRef(null) useEffect(() => { lottie.loadAnimation({ container: container.current, renderer: 'svg', loop: true, autoplay: true, animationData: require('./banner.json')})}, []) return ( <div className="App"> <div className="container" ref={container}></div> </div>);} - here,
banner.jsonis your downloaded animated file
- In order to use your own animated graphics,
-
Static pngs/svgs/jpeg
- you need to add the desired pngs to the same folder of
any-component.js - U need to uncomment the following code and remove the above animated lottie's code
-
class BannerImg extends Component {
render() {
  return (
    <div className="App">
      <div className="container">
        <img src={banner} alt="" width="550" />
      </div>
    </div>
    );}
  }
export default BannerImg;
- you need to add the desired pngs to the same folder of
-
to save up your time and get you out of confusion, I've created both the versions(animated & static svgs) and commented it out.
-
So if you don't like to use animated svgs, just delete that code and uncomment the function for static svgs
Splash Logo
Note here that if you click my portfolio, you can see the logo at the beginning.
- You can open
src/portfolio.jsfile and at the top of this file you will seesettingscomponent as below: -
// Website related settings const settings = { isSplash: true, }; - Change
isSplashfromtruetofalse. - Now, if you see your website using
npm start, it will directly openhomerather than logosplashscreen. - You can change it from
src/assets/logoand replace with your own signature logo
Google Analytics Tracking ID
- First, you need to set up your Google Analytics Account.
- Follow these resources for seamless setup
- You'll be needing a Trackin-ID for your website which normally looks like
UA-199564465-1 - Do not get confused between Tracking-ID & Measurement ID. Both are Different.
- Once you get the tracking ID, go to
src/App.jsand replace your tracking ID
Note: Do not use Firefox Browser for testing the ID. Use Chrome instead.
Deployment ?
- Once you are done with your setup and have successfully completed all steps above, you need to put your website online!
- I highly recommend using Netlify to achieve this the EASIEST WAY.
- To deploy your website, you need to follow 2 steps.
- First you need to create a github repository and push all the files excluding node_modules(automatically ignored by .gitignore)
- setup account at netlify & complete the login/signup process
- Now, click on
New site from Gitand connect it with your github account - You will find the entire list of your repositories, select your portfolio repo.
- Click on
Deploy site - Tadaa! Your site is live!