React-Muze
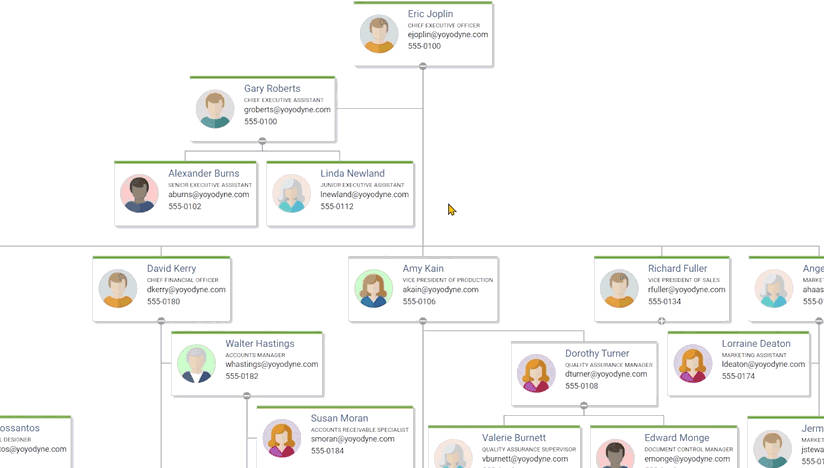
React-Muze is a React wrapper over the core Muze library. It provides React bindings for Muze and makes it easier to create charts using Muze for your React applications.
What is Muze?
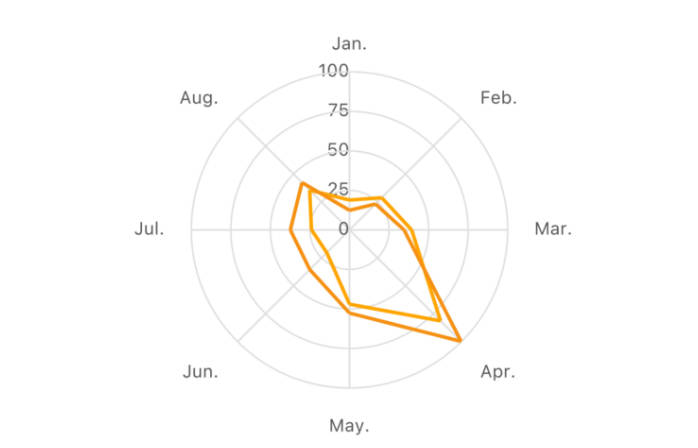
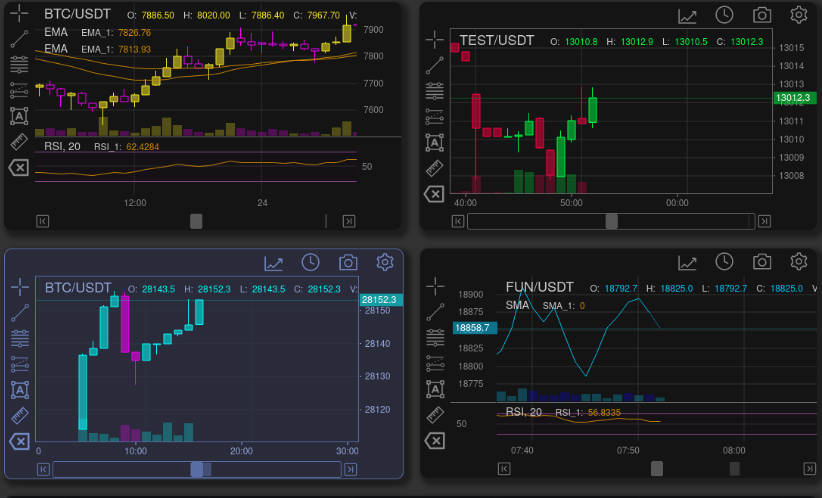
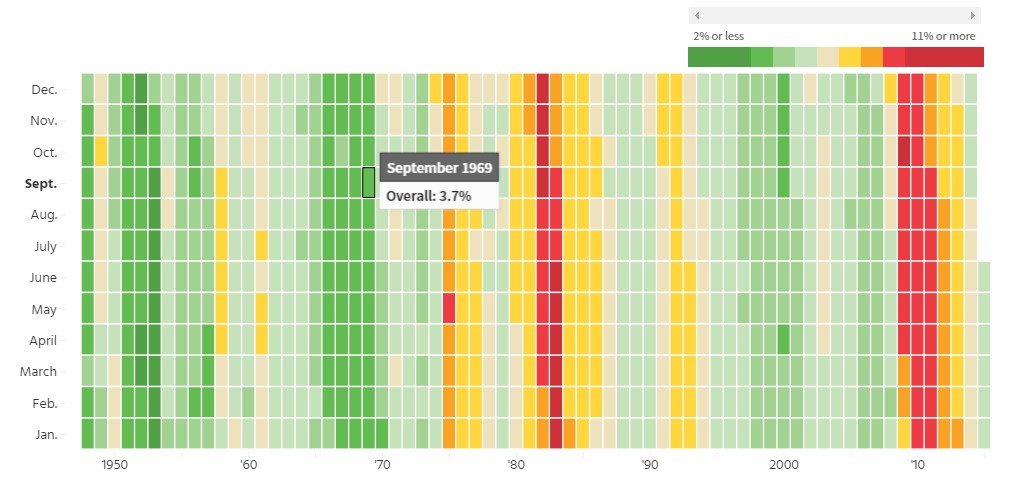
Muze is a free library for creating exploratory data visualizations in the browser that is powered by WebAssembly. It is ideal for use in visual analytics dashboards & applications to create highly performant, interactive, multi-dimensional, and composable visualizations with the Grammar of Graphics approach.
Installation & Usage
Installation
To use React-Muze in your React project, you need to install the muze and react-muze package from NPM.
npm install @chartshq/muze @chartshq/react-muze
Next, as Muze is built on top of WebAssembly, we need to copy some WebAssembly assets to our build directory. To accomplish that we are going to use the copy-webpack-plugin NPM package in our build config.
npm install [email protected] -D
For a project created using Create-React-App
Since applications built with Create-React-App does not expose webpack config until ejected, we need to use the react-app-rewired package, to add the custom webpack config. How it works here: react-app-rewired
npm install react-app-rewired
Next, we need to create a file named config-overrides.js at the root of the project and add the following code in it
const CopyWebpackPlugin = require('copy-webpack-plugin');
const path = require("path");
module.exports = function override(config, env) {
  //add webpack copy plugin
  const copyPlugin = new CopyWebpackPlugin([
    {
      from: path.resolve("node_modules", "@chartshq/muze/dist"),
      to: '.',
    }
  ]);
  if (!config.plugins) {
    config.plugins = [];
  }
  config.plugins.push(copyPlugin);
  return config;
}
And finally, replace old start and build commands in your package.json with the following ones, and you are ready to go
{
  "scripts": {
    "start": "react-app-rewired start",
    "build": "react-app-rewired build"
  }
}
For a custom React project
In a custom setup, since we have direct access to webpack config, we can simply add copy-webpack-plugin configuration directly inside out webpack config. Just add the following config in the plugins section of your webpack.config.js file
{
  plugins: [
    new CopyWebpackPlugin([
      {
        from: path.resolve("node_modules", "@chartshq/muze/dist"),
        to: '.',
      }
    ])
  ]
}
Creating your first Chart
For this illustration, we will be using the following data and schema.
const data = [
  {
    Name: "chevrolet chevelle malibu",
    Acceleration: 12,
  },
  {
    Name: "buick skylark 320",
    Acceleration: 11.5,
  },
  {
    Name: "plymouth satellite",
    Acceleration: 11,
  },
  {
    Name: "amc rebel sst",
    Acceleration: 12,
  },
];
const schema = [
  {
    name: "Name",
    type: "dimension",
  },
  {
    name: "Acceleration",
    type: "measure",
    defAggFn: "avg",
  },
];
Step 1 - Import Muze, Canvas, DataModel as follows
import Muze, { Canvas } from "@chartshq/react-muze/components";
Step 2 - Create a DataModel Instance from the data
async function createDataModel() {
  const DataModelClass = await Muze.DataModel.onReady();
  const formattedData = await DataModelClass.loadData(data, schema);
  return new DataModelClass(formattedData);
}
Step 3 - Rendering Muze
In the render() method of you react component, we need to put the following
render() {
  // carsDm is the a dataModel instance
  // created from `data` and `schema`,
  // and saved on state
  const { carsDm } = this.state;

  return (
    <Muze data={carsDm}>
      <Canvas rows={["Acceleration"]} columns={["Name"]} />
    </Muze>
  );
}
Full Code of the example
import React from "react";
import Muze, { Canvas } from "@chartshq/react-muze/components";

const data = [
  {
    Name: "chevrolet chevelle malibu",
    Acceleration: 12,
  },
  {
    Name: "buick skylark 320",
    Acceleration: 11.5,
  },
  {
    Name: "plymouth satellite",
    Acceleration: 11,
  },
  {
    Name: "amc rebel sst",
    Acceleration: 12,
  },
];
const schema = [
  {
    name: "Name",
    type: "dimension",
  },
  {
    name: "Acceleration",
    type: "measure",
    defAggFn: "avg",
  },
];

async function createDataModel() {
  const DataModelClass = await Muze.DataModel.onReady();
  const formattedData = await DataModelClass.loadData(data, schema);
  return new DataModelClass(formattedData);
}

class Chart extends React.Component {
  constructor(props) {
    super(props);
    this.state = {
      carsDm: null,
    };
  }

  componentDidMount() {
    createDataModel().then((carsDm) => {
      this.setState({ carsDm });
    });
  }

  render() {
    const { carsDm } = this.state;

    return (
      <Muze data={carsDm}>
        <Canvas rows={["Acceleration"]} columns={["Name"]} />
      </Muze>
    );
  }
}

export default Chart;
Examples
In the example directory, you will find a react application that has many examples as individual components.
How to run the examples
Setup the project in your local environment
yarn install
yarn build
cd dist && yarn link / npm link --only=production
yarn watch-build
Go to the examples directory and run the following commands
yarn install
yarn link @chartshq/react-muze
yarn start
To try out all the other examples, inside the examples/src/index.js file import an example component and render on jsx. For example,
// import BoxPlot from './Examples/Composability/BoxPlot';
import SimplePieChart from './Examples/Pie/SimplePie';

ReactDOM.render(
  <React.StrictMode>
    <SimplePieChart />
  </React.StrictMode>,
  document.getElementById("root")
);
ContributingInstallation & Usage
Installation
To use React-Muze in your React project, you need to install the muze and react-muze package from NPM.
npm install @chartshq/muze @chartshq/react-muze
Next, as Muze is built on top of WebAssembly, we need to copy some WebAssembly assets to our build directory. To accomplish that we are going to use the copy-webpack-plugin NPM package in our build config.
npm install [email protected] -D
For a project created using Create-React-App
Since applications built with Create-React-App does not expose webpack config until ejected, we need to use the react-app-rewired package, to add the custom webpack config. How it works here: react-app-rewired
npm install react-app-rewired
Next, we need to create a file named config-overrides.js at the root of the project and add the following code in it
const CopyWebpackPlugin = require('copy-webpack-plugin');
const path = require("path");
module.exports = function override(config, env) {
  //add webpack copy plugin
  const copyPlugin = new CopyWebpackPlugin([
    {
      from: path.resolve("node_modules", "@chartshq/muze/dist"),
      to: '.',
    }
  ]);
  if (!config.plugins) {
    config.plugins = [];
  }
  config.plugins.push(copyPlugin);
  return config;
}
And finally, replace old start and build commands in your package.json with the following ones, and you are ready to go
{
  "scripts": {
    "start": "react-app-rewired start",
    "build": "react-app-rewired build"
  }
}
For a custom React project
In a custom setup, since we have direct access to webpack config, we can simply add copy-webpack-plugin configuration directly inside out webpack config. Just add the following config in the plugins section of your webpack.config.js file
{
  plugins: [
    new CopyWebpackPlugin([
      {
        from: path.resolve("node_modules", "@chartshq/muze/dist"),
        to: '.',
      }
    ])
  ]
}
Creating your first Chart
For this illustration, we will be using the following data and schema.
const data = [
  {
    Name: "chevrolet chevelle malibu",
    Acceleration: 12,
  },
  {
    Name: "buick skylark 320",
    Acceleration: 11.5,
  },
  {
    Name: "plymouth satellite",
    Acceleration: 11,
  },
  {
    Name: "amc rebel sst",
    Acceleration: 12,
  },
];
const schema = [
  {
    name: "Name",
    type: "dimension",
  },
  {
    name: "Acceleration",
    type: "measure",
    defAggFn: "avg",
  },
];
Step 1 - Import Muze, Canvas, DataModel as follows
import Muze, { Canvas } from "@chartshq/react-muze/components";
Step 2 - Create a DataModel Instance from the data
async function createDataModel() {
  const DataModelClass = await Muze.DataModel.onReady();
  const formattedData = await DataModelClass.loadData(data, schema);
  return new DataModelClass(formattedData);
}
Step 3 - Rendering Muze
In the render() method of you react component, we need to put the following
render() {
  // carsDm is the a dataModel instance
  // created from `data` and `schema`,
  // and saved on state
  const { carsDm } = this.state;

  return (
    <Muze data={carsDm}>
      <Canvas rows={["Acceleration"]} columns={["Name"]} />
    </Muze>
  );
}
Full Code of the example
import React from "react";
import Muze, { Canvas } from "@chartshq/react-muze/components";

const data = [
  {
    Name: "chevrolet chevelle malibu",
    Acceleration: 12,
  },
  {
    Name: "buick skylark 320",
    Acceleration: 11.5,
  },
  {
    Name: "plymouth satellite",
    Acceleration: 11,
  },
  {
    Name: "amc rebel sst",
    Acceleration: 12,
  },
];
const schema = [
  {
    name: "Name",
    type: "dimension",
  },
  {
    name: "Acceleration",
    type: "measure",
    defAggFn: "avg",
  },
];

async function createDataModel() {
  const DataModelClass = await Muze.DataModel.onReady();
  const formattedData = await DataModelClass.loadData(data, schema);
  return new DataModelClass(formattedData);
}

class Chart extends React.Component {
  constructor(props) {
    super(props);
    this.state = {
      carsDm: null,
    };
  }

  componentDidMount() {
    createDataModel().then((carsDm) => {
      this.setState({ carsDm });
    });
  }

  render() {
    const { carsDm } = this.state;

    return (
      <Muze data={carsDm}>
        <Canvas rows={["Acceleration"]} columns={["Name"]} />
      </Muze>
    );
  }
}

export default Chart;
Examples
In the example directory, you will find a react application that has many examples as individual components.
How to run the examples
Setup the project in your local environment
yarn install
yarn build
cd dist && yarn link / npm link --only=production
yarn watch-build
Go to the examples directory and run the following commands
yarn install
yarn link @chartshq/react-muze
yarn start
To try out all the other examples, inside the examples/src/index.js file import an example component and render on jsx. For example,
// import BoxPlot from './Examples/Composability/BoxPlot';
import SimplePieChart from './Examples/Pie/SimplePie';

ReactDOM.render(
  <React.StrictMode>
    <SimplePieChart />
  </React.StrictMode>,
  document.getElementById("root")
);
