Next.js + AWS S3 Upload
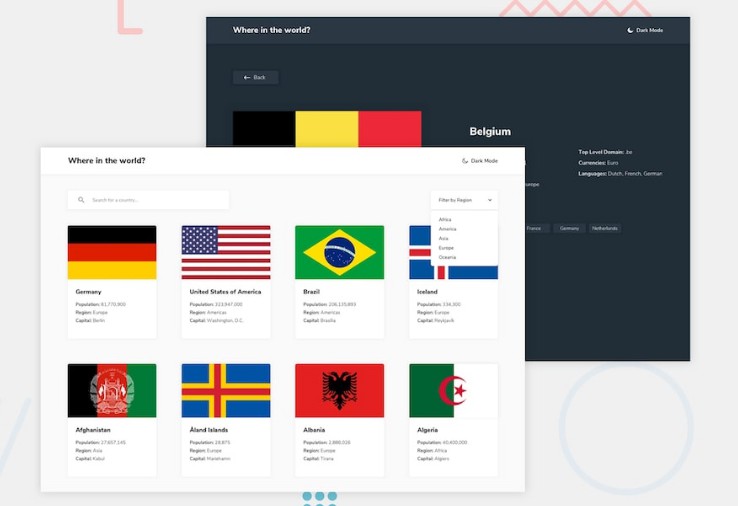
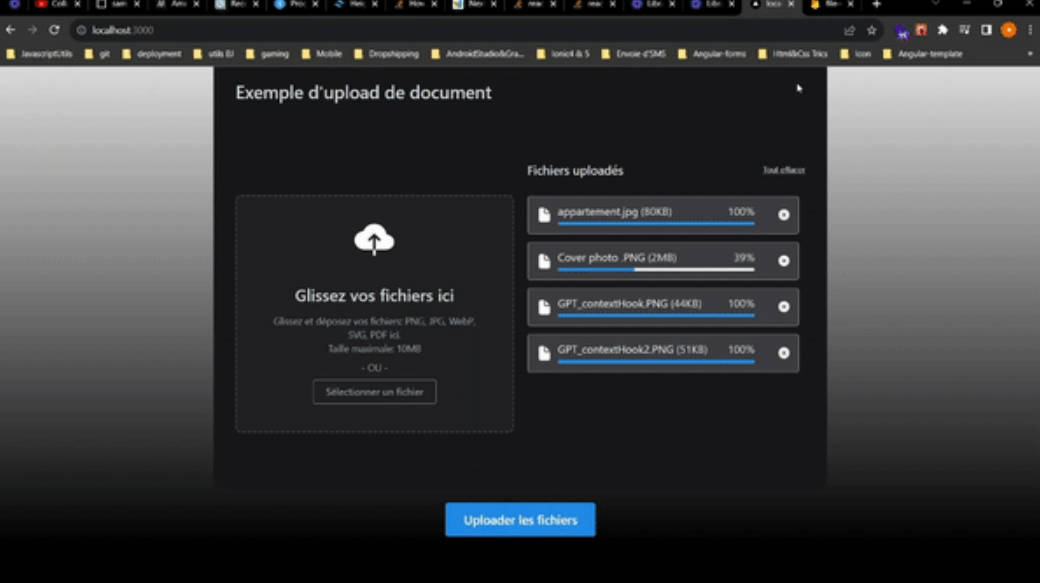
This is an example of a Next.js application allowing you to upload photos to an S3 bucket.
Getting Started
Option 1: Use an existing S3 bucket.
Retrieve your existing access key, secret key, S3 bucket region and name. Provide those values after clicking "Deploy" to automatically set the environment variables.
Option 2: Create an S3 bucket.
- Create a new IAM role with permission for
AWSCloudFormationFullAccessandAmazonS3FullAccess. - Save the access key and secret key.
- Install the AWS CLI and run
aws configure. - This will prompt you to enter the access key and secret key.
- Create an
.env.localfile similar to.env.example. - Run
cdk deployto create an S3 bucket with the correct CORS settings. - Visit your newly created S3 bucket and retrieve the name and region.
- Add the name and region to
.env.local. - Run
yarn devto start the Next app atlocalhost:3000. - Choose a
.pngor.jpgfile. - You should see your file successfully uploaded to S3.
This example uses createPresignedPost instead of getSignedUrlPromise to allow setting max/min file sizes with content-length-range.
Commands
yarn dev– Starts the Next.js app atlocalhost:3000.cdk deploy– Deploy this stack to your default AWS account/regioncdk diff– Compare deployed stack with current statecdk synth– Emits the synthesized CloudFormation template