Pre-requierements
- Have Docker Installed
- Have react installed
- Have node (npm) installed
Start the app (mandatory steps – recommended reading all them before doing anything):
- Run the command:
npm run start - Start docker container keycloak:
npm run docker-run - Navigate to:
http://localhost:8080/auth/–> Admin Login (user: admin, pass: admin) –>Create New Realm: googleAuth - After successfully created the new Real, go to: Identity Providers and choose from the dropdown list -> Google
- Before saving your new Identry Provider (google), you must:
- Login to your Google Cloud
- Select a Project from the navbar menu after logging
- Click New Poject from the pop-up that appeared (you can find the New Project button on the upper right side of the pop-up)
- Give it a name, for example:
keycloack-google - Hive Create blue button
- Go to Credentials item (left menu)
- Go To Configure Consent Screen (upper right)
- Select External if we want to allow Google Account to sing in to our application.
- Click Create
- Fill in the necessary info for your app and click Save
- Click Credentials (left menu)
- Click Create Credentials (upper screen)
- Select OAuth Client ID from the pop-up options
- Select web application
- In authorized redirect uris, paste the uri from your Keycloack Provider (see steps 4 and 5 to retrieve the redirect uri from keycloack providers)
- You will get a Client ID and a Client Secret. Save them cause we will need them later!
- Go back to your Keycloack Admin where you left it open (step 5). And fill in the Client ID and Client Secret
- Create a new client on your Keyloack admin -> Clients (left menu sidebar) -> Create (upper right corner). In this example we are using/creating a client with name:
react-keycloack-google-social-auth - Visit
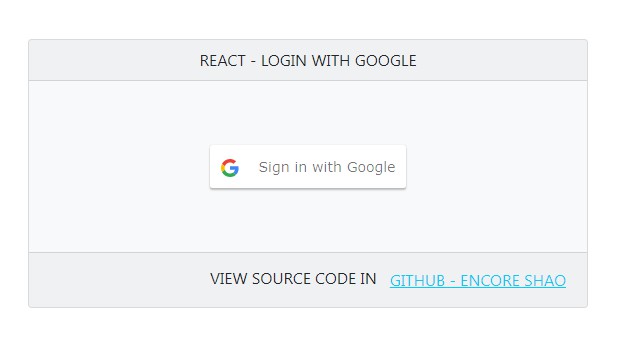
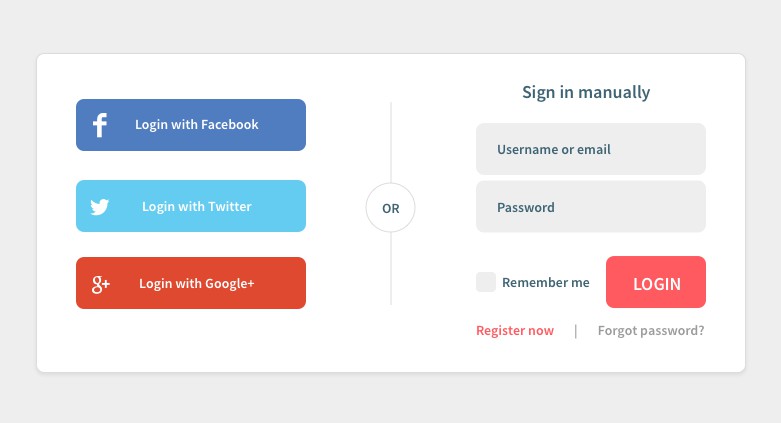
http://localhost:3000/you should see the login form with Google Sign In option