TeselaGen-React-Components
React components shared across teselagen's apps.
Using:
yarn add teselagen-react-components
Add peer-dependencies:
yarn add @blueprintjs/core @blueprintjs/datetime react-addons-css-transition-group react-redux react-select redux
Enhancers:
withDialog
withDialog()(YourComponent) wraps YourComponent in a blueprint Dialog!
First hook up dialog to redux (only need to do this once):
//rootReducer.js
import {tg_modalState} from 'teselagen-react-components'

export default combineReducers({
  tg_modalState,
})
Use the component
const DialogComp = withDialog({...bpDialogPropsHere})(MyComponent)
render() {
  return <DialogComp
  dialogName={string} //optionally pass a UNIQUE dialog name to be used
  dialogProps={object} //optionally pass additional runtime blueprint dialog props here
  //all other props passed directly to wrapped component
  >
  <Trigger/>
</DialogComp>
}
In RARE cases where you need to open the dialog programatically, make sure the dialog component is on the page (just don't pass a child component and nothing will appear to be added to the DOM), and call dispatch like:
dispatch({
  type: "TG_SHOW_MODAL",
  name: dialogName //you'll need to pass a unique dialogName prop to the compoennt
  props:  // pass props to the wrapped component here :)
})
withDelete, withUpsert, withQuery
import {withDelete, withUpsert, withQuery} from "teselagen-react-components";
import jobWorkflowRunsQuery from '../graphql/queries/jobWorkflowRunsQuery';
import workQueueItemFragment from '../graphql/fragments/workQueueItemFragment';

export default compose(
	//withUpsert takes a fragment/string as its first argument and an options object as its second param.
	//in the case below it will pass a prop to the wrapped component called upsertWorkQueueItem
	//upsertWorkQueueItem() can be passed an array or single object and will perform a create or an update based on
	//if it detects an id
  withUpsert(workQueueItemFragment,
		{extraMutateArgs: {
			refetchQueries: [ { query: jobWorkflowRunsQuery } ]
			//any additional options are spread onto the usual apollo mutation enhancer
	}}),
	//withDelete takes a fragment/string as its first argument and an options object as its second param.
	//in the case below it will pass a prop to the wrapped component called deleteWorkQueueItem
	//deleteWorkQueueItem() can be passed an array of ids or a single id and will delete those items with the given id
  withDelete(workQueueItemFragment, {
    mutationName: "deleteWorkQueueItems",
		//any additional options are spread onto the usual apollo mutation enhancer
  })
	//withQuery takes only a fragment as its first argument and an options object as its second param.
	//in the case below it will pass several props to the wrapped component:
	//data  --- the usual apollo query data object
	//workQueueItemsQuery  ---  the usual apollo query data object just on a unique name
	//workQueueItem/s  --- the actual workQueueItem record or the workQueueItems records array
	//workQueueItemsCount --- the count of the records coming back if isPlural:true
	withQuery(workQueueItemFragment, {
		//isPlural: boolean whether or not to search for just one item or multiple
    //any additional options are spread onto the usual apollo query enhancer
		options: props => {
      const id = parseInt(get(props, "match.params.id"), 10);
      return {
        variables: {
          id
        }
      };
    }
  }),
)(AddToWorkQueueDialog);
They can also be used as functions but you must pass in the apolloClient:
withQuery(userFragment, {
    asFunction: true,
    isPlural: true,
    client: apolloClient
  })({
    filter: {
      email: newEmail
    }
  })
getApolloMethods (query, upsert, delete)
//pass an apollo client here:
const {upsert, query, delete} = getApolloMethods(client);
query
const resultArray = await query(fragment, options)
//examples:
const aliquot = await query(aliquotFragment, {variables: {id: 2}})
const aliquots = await query(aliquotFragment, {isPlural: true, variables: {filter: {name: 'aliquotX'}}})
upsert
const resultArray = await upsert(modelNameOrFragment [, options], modelOrModels)
//examples:
const [aliquot] = await upsert('aliquot', {name: 'aliquot1'})
const aliquots = await upsert('aliquot', [{name: 'aliquot1'}, {name: 'aliquot2'}])
delete
await delete(modelNameOrFragment, [, options], modelOrModels)
//examples:
await delete('aliquot', 1)
await delete('aliquot', [1,2,6,1616])
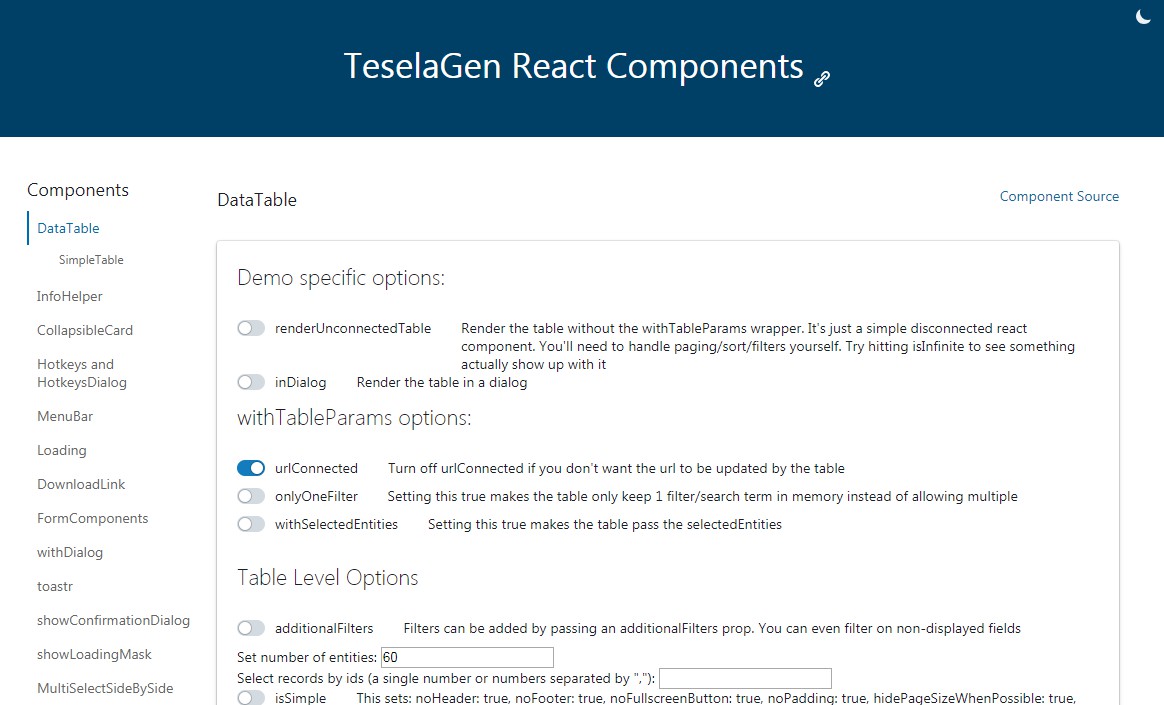
Data Table
Use the
DataTable props
import {DataTable} from "teselagen-react-components";
<DataTable {DataTableProps here} />
Simple DataTable Demo Src Code
withTableParams (enhancer)
Use withTableParams in conjunction with withQuery
withTableParams({
  formName: String; // - required unique identifier for the table
  schema: Boolean; //  - The data table schema
  urlConnected: Boolean; //  - default: false - whether the table should connect to/update the URL
  withSelectedEntities: Boolean; //  - whether or not to pass the selected entities
  defaults: defaults; // - tableParam defaults such as pageSize, filter, etc
})
withQuery() //the usual withQuery stuff here
withTableParams returns a prop called tableParams which you can spread like:
<DataTable {...tableParams}/> //this provides, entities, schema, handlers etc
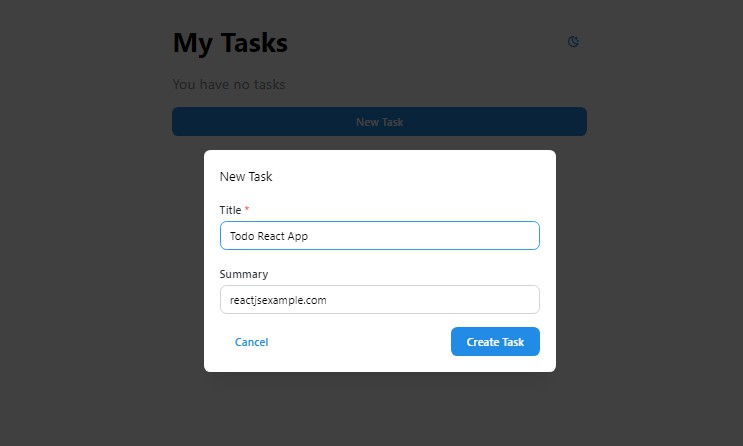
Form Components
import {
	InputField,
	SelectField,
	DateInputField,
	CheckboxField,
	TextareaField,
	EditableTextField,
	ReactSelectField,
	NumericInputField,
	RadioGroupField,
	FileUploadField
} from 'teselagen-react-components'

<InputField
  name={"fieldName"}
  label="fieldLabel"
  placeholder="Enter text..."
  inputClassName="className(s) for input"
/>
Development:
Prerequisites
Node.js >= v4 must be installed.
Installation
- Running
npm installin the components's root directory will install everything you need for development.
Demo Development Server
npm startwill run a development server with the component's demo app at http://localhost:3000 with hot module reloading. You can check the /demo folder for the source code.
Developing linked to another folder: aka lims/hde
//link everything up:

//LIMS EXAMPLE:
cd lims/node_modules/react        //this is so we don't have 2 copies of react being used on the front-end (react will throw errors if so)
yarn link
cd teselagen-react-components
yarn link
yarn link react
cd lims
yarn link teselagen-react-components

//HDE EXAMPLE:
cd hde/client/node_modules/react     //this is so we don't have 2 copies of react being used on the front-end (react will throw errors if so)
yarn link
cd teselagen-react-components
yarn link
yarn link react
cd hde/client
yarn link teselagen-react-components

//ALWAYS:
//start the auto rebuild:
cd teselagen-react-components
yarn build-watch
Running Tests
-
npm testwill run the tests once. -
npm run test:coveragewill run the tests and produce a coverage report incoverage/. -
npm run test:watchwill run the tests on every change.
Releasing
npm whoamiyou should be teselagen-adminnpm login
teselagen-admin//ask @tnrich or @tgreen or @tgadam for password//[email protected]- git pull
- npm version patch|minor|major
- npm publish
- git push
Adding custom svg icons
See the demo page for live examples!
open src/customIcons.js and add a new exported svg with a name of xxxxIcon (you can find the svgs from iconmonstr or flaticon or wherever)
be sure to add it to the demo/src/examples/CustomIcons.js page to TEST THAT IT WORKS and so that people know it exists!