react-responsive-ui
Responsive React UI components.
Installation
npm install react-responsive-ui --save
Usage
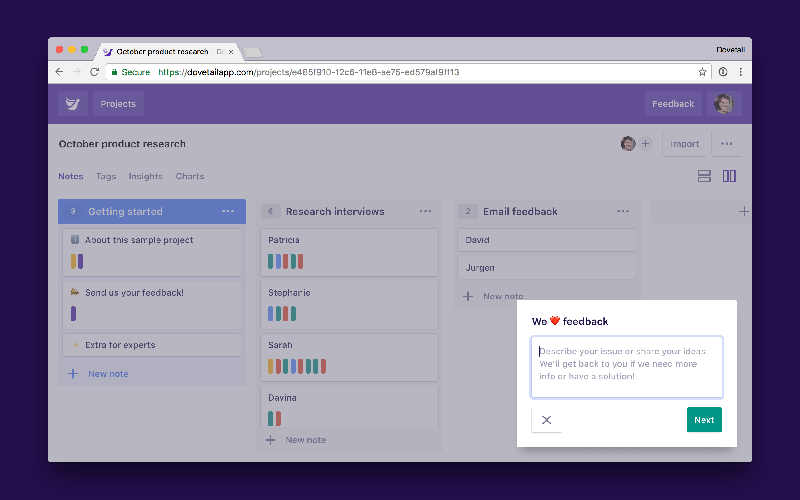
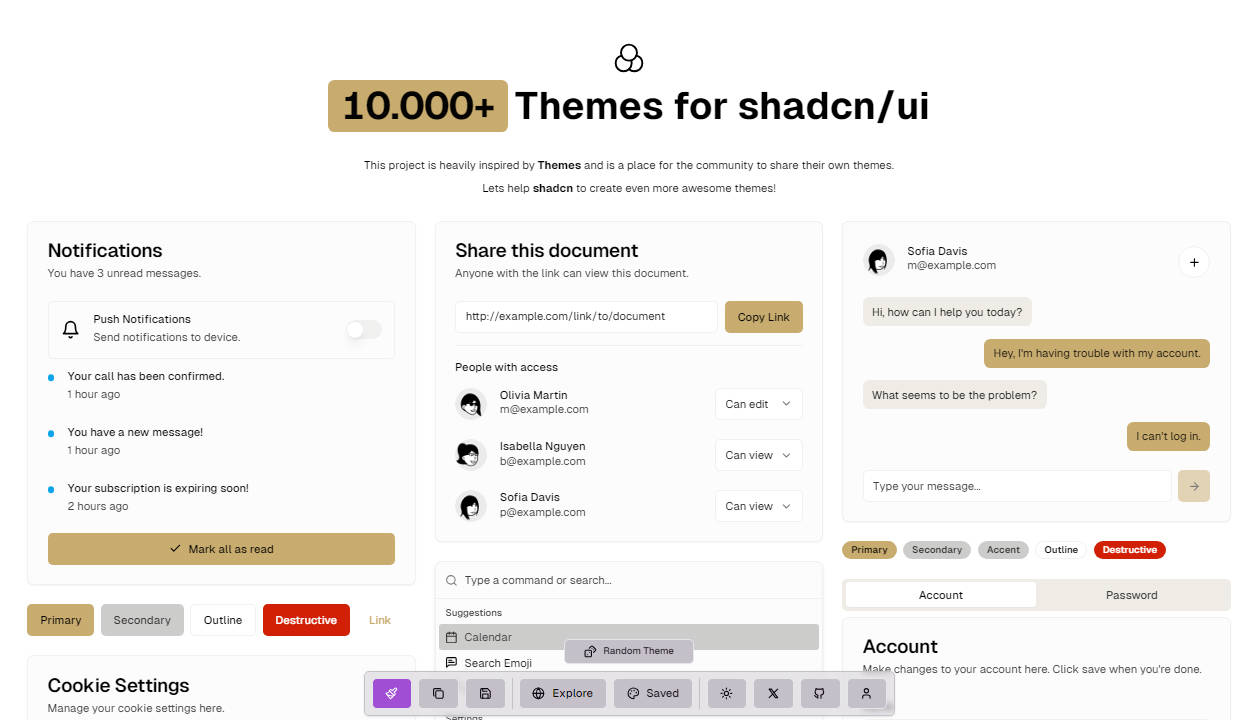
See the demo page. It has code examples for every component.
Expandable components require Promise (get a polyfill for IE 11).
Reducing footprint
Webpack 4 still can't "tree-shake" simple cases like
import { Modal, Button, TextInput } from 'react-responsive-ui'
So if one's using only a small subset of this library it could be imported like so
import Modal     from 'react-responsive-ui/commonjs/Modal'
import Button    from 'react-responsive-ui/commonjs/Button'
import TextInput from 'react-responsive-ui/commonjs/TextInput'
Which results in a much smaller bundle size.
The same can be done for CSS: instead of importing the whole react-responsive-ui/style.css bundle one could import only the necessary styles from react-responsive-ui/styles/ like react-responsive-ui/styles/Button.css. There's a catch though: those stylesheets are usually dependent on each other and, for example, the <Button/> component actually requires three different stylesheets to be imported:
react-responsive-ui/styles/Button.cssreact-responsive-ui/styles/ButtonReset.cssreact-responsive-ui/styles/Input.css
CSS
The CSS for this library must be included on a page too.
When using Webpack
require('react-responsive-ui/variables.css')
require('react-responsive-ui/style.css')
And set up a postcss-loader with a CSS autoprefixer for supporting old web browsers (e.g. last 4 versions, iOS >= 7, Android >= 4).
When not using Webpack
Get the style.css file from this package, process it with a CSS autoprefixer for supporting old web browsers (e.g. last 4 versions, iOS >= 7, Android >= 4), and then include it on a page.
<head>
  <link rel="stylesheet" href="/css/react-responsive-ui/variables.css"/>
  <link rel="stylesheet" href="/css/react-responsive-ui/style.css"/>
</head>
Small Screen
The small-screen directory contains "small screen" ("mobile devices") styles for some of the components. E.g. <Select/>s, <Autocomplete/>s, <ExpandableMenu/>s, <DatePicker/>s and <Modal/>s can open in fullscreen and <Snackbar/> are expanded in full screen (not neccessarily a good idea though).
Native CSS @import example:
/* Main style. */
@import url(~react-responsive-ui/style.css)
/* Tweaks `<Modal/>`s for mobile devices a bit. */
@import url(~react-responsive-ui/small-screen/Modal.css) (max-width: 720px)
/* Tweaks `<Snackbar/>`s for mobile devices a bit. */
@import url(~react-responsive-ui/small-screen/Snackbar.css) (max-width: 720px)
/* Places a click-capturing overlay above `<DatePicker/>` input. */
@import url(~react-responsive-ui/small-screen/DatePicker.InputOverlay.css) (max-width: 720px)
SCSS @import example:
@import "~react-responsive-ui/style";

@media (max-width: 720px) {
  @import "~react-responsive-ui/small-screen/Modal";
  @import "~react-responsive-ui/small-screen/Snackbar";
  @import "~react-responsive-ui/small-screen/DatePicker.InputOverlay";
}
Variables
This library uses native CSS variables for easier styling. See variables.css for the list of all available variables. These variables have some sensible defaults which can be overridden in a separate react-responsive-ui-variables.css file (analogous to the original variables.css file).
When not using Webpack
<head>
  <!-- React Responsive UI -->
  <link rel="stylesheet" href="/css/react-responsive-ui/style.css"/>
  <!-- Custom variable values -->
  <link rel="stylesheet" href="/css/react-responsive-ui-variables.css"/>
</head>
When using Webpack
// React Responsive UI.
require('react-responsive-ui/style.css')
// Custom variable values.
require('./src/styles/react-responsive-ui-variables.css')
Native CSS variables work in all modern browsers, but older ones like Internet Explorer wont't support them. For compatibility with such older browsers one can use a CSS transformer like PostCSS with a "CSS custom properties" plugin like postcss-css-variables. Check that it actually replaces var()s with the actual values in the output CSS.
An example for Webpack and SCSS:
@import "~react-responsive-ui/style";

@media (max-width: 720px) {
  @import "~react-responsive-ui/small-screen/Modal";
  @import "~react-responsive-ui/small-screen/Snackbar";
  @import "~react-responsive-ui/small-screen/DatePicker.InputOverlay";
}

// Replace the default variable values.
:root {
  --rrui-unit               : 12px;
  --rrui-white-color        : #f0f7ff;
  --rrui-black-color        : #112233;
  --rrui-accent-color       : #cc0000;
  --rrui-accent-color-light : #ee0000;
  --rrui-gray-color         : #7f7f7f;
}
Validation
Each form component receives two validation-specific properties
error : String– error messageindicateInvalid : boolean– whether the field should be displayed as an invalid one (including showing theerrormessage)
When both of these properties are set the form component appends --invalid postfixes to its CSS classNames.
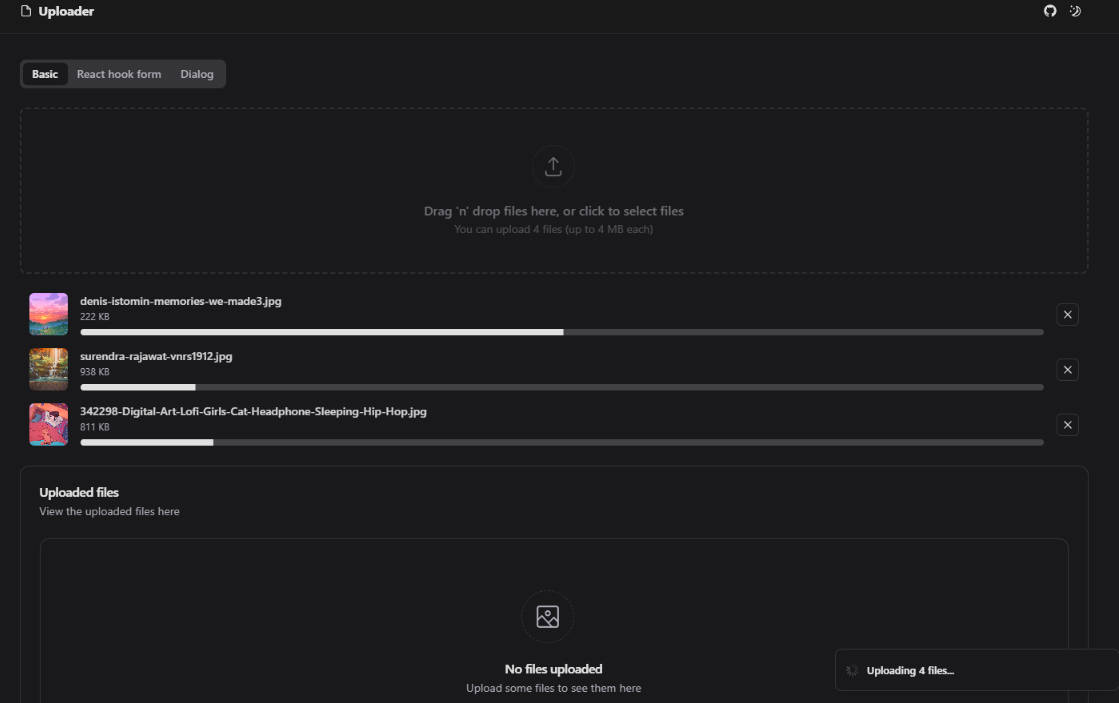
Drag'n'drop
Drag'n'drop is implemented internally using react-dnd providing a much simpler-to-use API. Currently only file upload is supported but new features could be added upon request.
import { DragAndDrop } from 'react-responsive-ui'

@DragAndDrop()
class Application extends Component {
  render() {
    const { isDragging, children } = this.props
    return <div>{ children }</div>
  }
}
import { CanDrop, FILE, FILES, FileUpload } from 'react-responsive-ui'

class FileUploadPage extends Component {
  state = {}

  onUpload = (file, action) => {
    this.setState({ file })
    alert(`File ${action}: ${file.name}`)
  }

  render() {
    return (
      <div>
        <h1> File upload </h1>

        <FileUploadArea
          file={ this.state.file }
          onUpload={ this.onUpload }
          className="file-upload"/>
      </div>
    )
  }
}

// `FILE` is for single-file upload.
// `FILES` is for multiple files upload.
@CanDrop(FILE, (props, file) => {
  props.onUpload(file, 'dropped')
})
class FileUploadArea extends Component {
  render() {
    const {
      file,
      dropTarget,
      draggedOver,
      onUpload,
      className
    } = this.props

    return dropTarget(
      <div>
        <FileUpload
          action={(file) => onUpload(file, 'chosen')}
          className={`${className} ${draggedOver ? 'rrui__file-upload--dragged-over' : ''}`}>
          {file && file.name}
          {!file && 'Click here to choose a file or drop a file here'}
        </FileUpload>
      </div>
    )
  }
}
.rrui__file-upload
{
  display          : inline-block;
  padding          : 20px;
  border           : 1px dashed #afafaf;
  border-radius    : 5px;
  background-color : #fbfbfb;
  cursor           : pointer;
  text-align       : center;
}

.rrui__file-upload--dragged-over
{
  background-color : #3678D1;
  color            : white;
}
Use babel-plugin-transform-decorators-legacy for decorators syntax support.
Known Issues
An overflown <Modal/> scroll is janky on iOS because it tries to scroll <body/> instead of the <Modal/> contents. That's how it is on iOS.
Contributing
After cloning this repo, ensure dependencies are installed by running:
npm install
This module is written in ES6 and uses Babel for ES5
transpilation. Widely consumable JavaScript can be produced by running:
npm run build
Once npm run build has run, you may import or require() directly from
node.
After developing, the full test suite can be evaluated by running:
npm test
When you're ready to test your new functionality on a real project, you can run
npm pack
It will build, test and then create a .tgz archive which you can then install in your project folder
npm install [module name with version].tar.gz