Celo Progressive Dapp Starter
A starter pack to get started with building dapps on Celo.
You can view a live version of the template deployed at https://celo-progressive-dapp-starter.netlify.app/.
This repo is heavily inspired by scaffold-eth.
Prerequisites:
- Node (v12), NVM
- Yarn
- Git
git clone https://github.com/celo-org/celo-progressive-dapp-starter
Intro Video
Using the Dapp Starter
Set the correct node version (several Celo packages require using node version 12.x):
cd celo-progressive-dapp-starter
nvm use # uses node v12 as specified in .nvmrc
Get testnet funds and install dependencies
cd packages/hardhat
yarn install
npx hardhat create-account # prints a private key + account
Paste the private key in packages/hardhat/.env and fund the account from the faucet here. Once the account is funded, deploy the contracts with:
yarn deploy
Read more details about the hardhat package here.
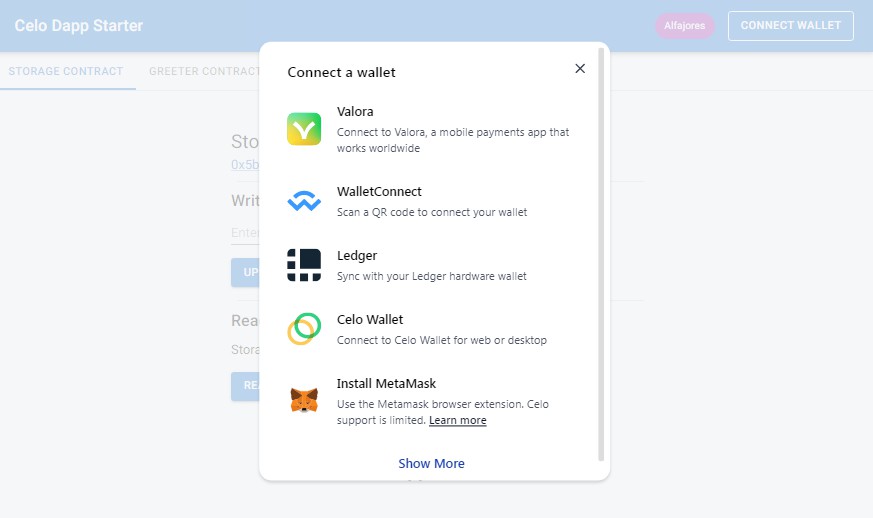
In another terminal, start the frontend (React app using Next.js)
cd packages/react-app
yarn install
yarn dev
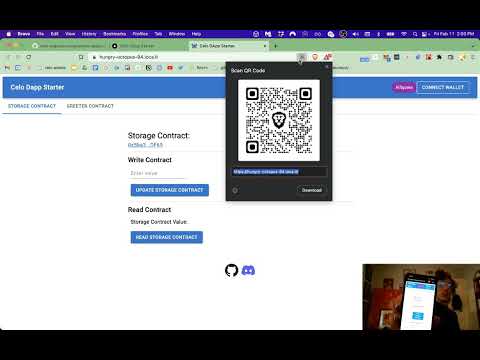
Testing on Mobile
- Get the Alfajores Testnet mobile wallet for Android and iOS here.
- Serve your React app to your mobile device for testing via a tunnel.
Next.js defaults to serving your app on port 3000, so point the tunnel there:
npx localtunnel --port 3000
Read more about localtunnel here.
Review
- Edit smart contracts in
packages/hardhat/contracts. - Edit deployment scripts in
packages/hardhat/deploy. - Edit frontend in
packages/react-app/pages/index.tsx. - Open http://localhost:3000 to see the app.
You can run yarn deploy --reset to force re-deploy your contracts to your local development chain.
Deploy Your DApp
This repo comes with a netlify.toml file that makes it easy to deploy your front end using Netlify. The toml file contains instructions for Netlify to build and serve the site, so all you need to do is create an account and connect your GitHub repo to Netlify.
Developing with local devchain
You can import account account keys for the local development chain into Metamask. To print the private keys of the local chain accounts cd /packages/hardhat and run
npx hardhat devchain-keys
If you are working on a local development blockchain, you may see errors about the tx doesn't have the correct nonce. This is because wallets often cache the account nonce to reduce the number of RPC calls and can get out of sync when you restart your development chain. You can reset the account nonce in Metamask by going to Settings > Advanced > Reset Account. This will clear the tx history and force Metamask to query the appropriate nonce from your development chain.
Note: You can get a local copy of mainnet by forking with Ganache. Learn more about forking mainnet with Ganache here.
React library choices
The example UI in packages/react-app uses the Next.js React framework, and use-contractkit Celo library to get you started with building a responsive, web3 DApp quickly. Feel free to use it as a reference and use whatever web3 packages you are familiar with.
The Graph
Using the Graph is not a requirement for building a web3 application. It is more of a convenience for when your application is reading a lot of data from a blockchain.
I suggest only adding support for the Graph when you need it, avoid premature optimization.
The /packages/subgraphs directory includes an example subgraph for reading data from the example Storage.sol contract. The Graph is a blockchain data indexing service that makes it easier to read data from EVM blockchains. You can read more about how the Graph works and how to use it in the README here.
? Learning Solidity
? Read the docs: https://docs.soliditylang.org
? Learn the Solidity globals and units
Support
Join the Celo Discord server at https://chat.celo.org. Reach out on the dedicated repo channel here.
Contributing
We welcome contributions to this repository!
If you decide to try this out and find something confusing, consider opening an pull request to make things more clear for the next developer that comes through.
If you improve the user interface or create new components that you think might be useful for other developers, consider opening a PR.
We will happily compensate you for contributions. Anywhere between 5 and 50 cUSD (or more) depending on the work. This is dependent on the work that is done and is ultimately up to the discretion of the Celo Foundation developer relations team.
You can view the associated bounty on Gitcoin here.
How to Contribute a new dApp
As a contributor, you can add your own dApp to this repository and include it as a tab for others to access. Follow the steps below and reference existing files for additional details to help you get started.
- Create a new smart contract in
packages/hardhat/contracts. - Add a new deployment script within
packages/hardhat/deploy/00-deploy.jsusing the name of your smart contract. - Deploy your Smart Contract from within packages/hardhat using
yarn deploy - Add a new component named
ContractName.tsxtopackages/react-app/componentsto create front end of your dApp. - Export component using
packages/react-app/components/index.tsxusingexport * from './ContractName - Import component to
packages/react-app/pages/index.tsxby adding contract toimport { ContractName } from "@/components"; - Add tab within tabs component in
packages/react-app/pages/index.tsxand replace # with tab number.
<Tab label="Contract Label" {...a11yProps(#)} />
- Add tab panel to page replacing
#with tab number andContractNamewith your smart contract name
<TabPanel value={value} index={#}>
    <GreeterContract contractData={contracts?.ContractName} />
</TabPanel>
You should now be able to view your new dApp from http://localhost:3000.
Troubleshooting
For M1 Mac developers who have installed nvm using brew, the server may crash. To resolve this issue, take a look here at this solution