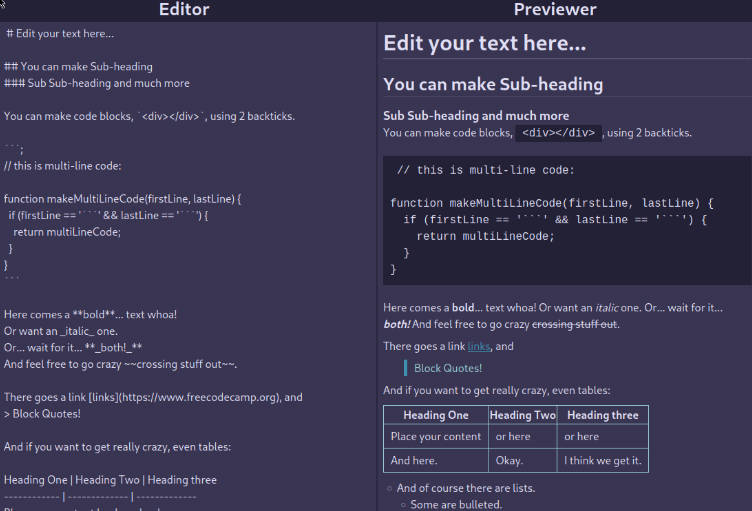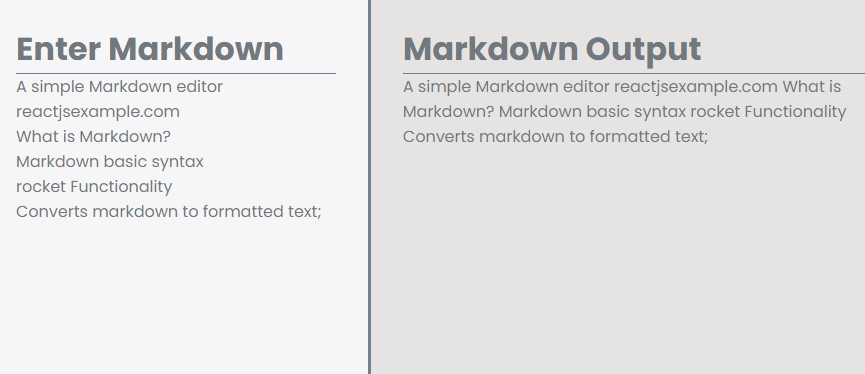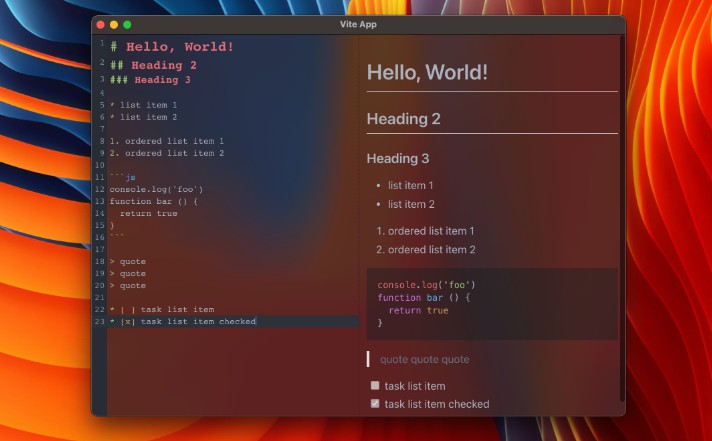
Markdown Editor Tutorial

A tutorial for building a beautiful Markdown editor
Stack
- Electron – A framework for building cross-platform desktop apps using HTML, JS, and CSS
- Vite – A fast build tool
- React – A library for building UI
- TypeScript – A typed JavaScript
- CodeMirror 6 – An extensible code editor for the web
- Remark – An extensible Markdown processor
Get started
npm i
npm run watch
Project Structure
The structure of this project is very similar to the structure of a monorepo.
The entire source code of the program is divided into three modules (packages) that are bundled each independently:
packages/mainElectron main script.packages/preloadUsed inBrowserWindow.webPreferences.preload. See Checklist: Security Recommendations.packages/rendererElectron web page.
Build web resources
Packages main and preload are built in library mode as it is a simple javascript.
renderer package build as regular web app.
The build of web resources is performed in the scripts/build.js. Its analogue is a sequential call to vite build for each package.
Compile App
Next step is run packaging and compilation a ready for distribution Electron app for macOS, Windows and Linux with “auto update” support out of the box.
To do this, using the electron-builder:
- In npm script
compile: This script is configured to compile the application as quickly as possible. It is not ready for distribution, is compiled only for the current platform and is used for debugging. - In GitHub Action: The application is compiled for any platform and ready-to-distribute files are automatically added to the draft GitHub release.
Using Node.js API in renderer
According to Electron’s security guidelines, Node.js integration is disabled for remote content. This means that you cannot call any Node.js api in the packages/renderer directly. To do this, you must describe the interface in the packages/preload where Node.js api is allowed:
// packages/preload/src/index.ts
import {readFile} from 'fs/promises'

const api = {
  readConfig: () =>  readFile('/path/to/config.json', {encoding: 'utf-8'}),
}

contextBridge.exposeInMainWorld('electron', api)
// packages/renderer/src/App.vue
import {useElectron} from '/@/use/electron'

const {readConfig} = useElectron()
Read more about Security Considerations.
Note: Context isolation disabled for test environment. See #693.
Modes and Environment Variables
All environment variables set as part of the import.meta, so you can access them as follows: import.meta.env.
You can also build type definitions of your variables by running scripts/buildEnvTypes.js. This command will create types/env.d.ts file with describing all environment variables for all modes.
The mode option is used to specify the value of import.meta.env.MODE and the corresponding environment variables files that needs to be loaded.
By default, there are two modes:
productionis used by defaultdevelopmentis used bynpm run watchscripttestis used bynpm testscript
When running building, environment variables are loaded from the following files in your project root:
.env                # loaded in all cases
.env.local          # loaded in all cases, ignored by git
.env.[mode]         # only loaded in specified env mode
.env.[mode].local   # only loaded in specified env mode, ignored by git
Note: only variables prefixed with VITE_ are exposed to your code (e.g. VITE_SOME_KEY=123) and SOME_KEY=123 will not. you can access VITE_SOME_KEY using import.meta.env.VITE_SOME_KEY. This is because the .env files may be used by some users for server-side or build scripts and may contain sensitive information that should not be exposed in code shipped to browsers.