FusionKit
Releases

FusionKit is a self-contained cross-platform app for generating images with Stable Diffusion. It leverages the InvokeAI project to give a common set of useful features on top of Stable Diffusion, such as inpainting and preview generation.
(Windows or Linux with an Nvidia GPU is currently required; support for Apple Silicon Macs should be released soon)
Features
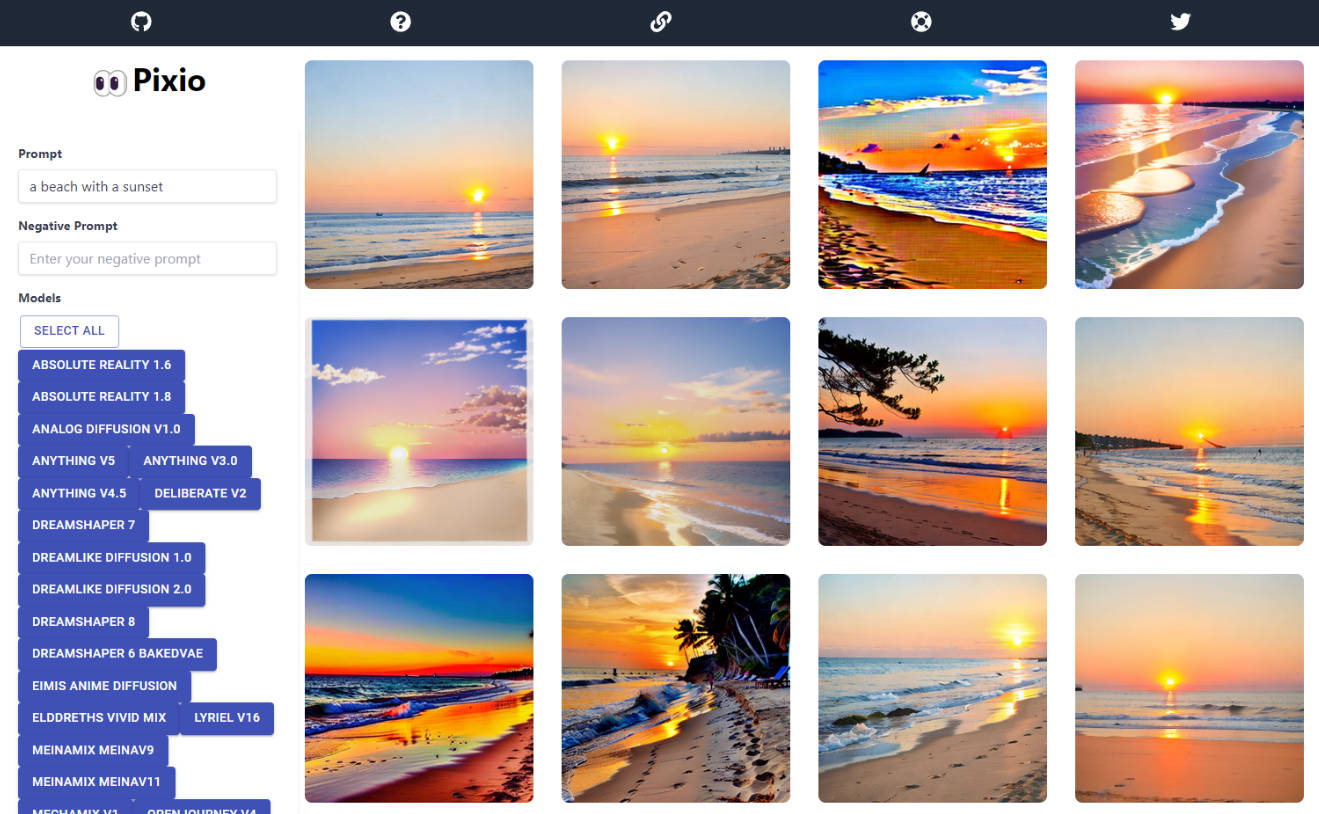
- Txt2img: Enter a prompt and click “Dream” to generate one or more images!
- Img2img: Drag and drop a “base image” and enter a prompt to generate a new image based on the base image. Change the “base image decimation” option to tweak how similar or different the new image is from the original.
- Inpainting: Click the edit button next to the base image to draw a mask to replace only specific parts of an image.
- Image previews: View images as they are being generated.
- Configure multiple models: Switch between different Stable Diffusion model versions or model forks without restarting the app!
- All generated images are saved to disk automatically (past images aren’t viewable in app yet).
Download and setup
FusionKit is offered both as a self-contained Electron app and as a standalone headless server with a web UI. The Electron app is recommended, but the server could be useful if you want to use FusionKit on a remote machine. When using the server, the web UI can be accessed via http://localhost:2424 by default.
After downloading the appropriate version for your platform from the “Releases” page, unzip the archive and launch the app by opening the file named fusion_kit_app.exe or fusion_kit_app (for the server release, the file will be named fusion-kit-server).
When first launching the app, you’ll be taken to the “Settings” page. You’ll need to download or configure a Stable Diffusion model before using FusionKit. After downloading or configuring a model, click “Save” on the Settings screen and you’ll be taken to the “Dream” page.
Security note: The app build currently starts an HTTP server on localhost port 2424. In a multi-user environment, this may mean that other users on the same system can access FusionKit through a browser. In a future release, FusionKit will likely switch to a proper IPC mechanism instead.
Security note: The server build has no authentication, but only listens on localhost by default. For added security, consider using a reverse proxy such as Nginx Proxy Manager.
Local development
FusionKit is broken up into 3 separate subprojects:
fusion_kit_server: The Python backend, which exposes Stable Diffusion through a GraphQL API.fusion_kit_client: The React frontend.fusion_kit_app: The Electron app, which just wraps the backend and frontend.
Dependencies
FusionKit uses Anaconda for dependency management. See the Anaconda installation instructions for details on setting up Anaconda for your platform.
After installing Anaconda, use the conda-{platform}.yaml file in this repo suitable for your platform. Each environment file will create an environment called fusion-kit-{platform}.
Windows setup
After installation, you should be able access Anaconda through “Anaconda Prompt (anaconda3)” in your Start menu.
git clone --recursive https://github.com/fusion-kit/fusion-kit.git
cd fusion-kit
git submodule update --init
conda env create -f conda-windows.yaml
conda activate fusion-kit-windows
If you’ve already created the Anaconda environment, you can update it by running conda env update -f conda-windows.yaml --prune, or recreate it by running conda env remove -n fusion-kit-windows followed by conda env create -f conda-windows.yaml.
Linux setup
Anaconda should be directly usable in your terminal after signing out and signing back in. If not, refer to the installation instructions to initialize Anaconda.
git clone --recursive https://github.com/fusion-kit/fusion-kit.git
cd fusion-kit
git submodule update --init
conda env create -f conda-linux.yaml
conda activate fusion-kit-linux
If you’ve already created the Anaconda environment, you can update it by running conda env update -f conda-linux.yaml --prune, or recreate it by running conda env remove -n fusion-kit-linux followed by conda env create -f conda-linux.yaml.
Starting the project
First, make sure you have the FusionKit Anaconda environment active by running conda activate fusion-kit-{platform}.
Start the server by running the following command:
python fusion_kit_server/main.py
Start the client by running the following commands:
cd fusion_kit_client
npm install
npm run dev
The client should now be accessible at http://localhost:2425! You can also access the GraphQL API at http://localhost:2424/graphql.
Building the project
At the moment, the build process is completely manual. To do the build, make sure you can start the project locally first.
1. Build the client
cd fusion_kit_client
npm install
npm run build
cd ..
2. Build the server
pyinstaller fusion_kit_server.spec --noconfirm
3. Build the Electron app
cd fusion_kit_app
npm install
npm run make
4. Done
- The client output is at
fusion_kit_client/dist/, and is a static site. - The server output is at
dist/fusion-kit-server/. The executable is calledfusion-kit-serverand bundles the client (meaning that when you start the server, the UI can be accessed on http://localhost:2424/.). - The Electron app output is at
fusion_kit_app/out/. There is a platform directory containing the build, and amake/directory containing a zip file of the build.