Landing Page Template built with Next JS 12+, Tailwind CSS 2.0 and TypeScript
Landing Page theme written in Next.js, Tailwind CSS and TypeScript zap Made with developer experience first: Next.js, TypeScript, ESLint, Prettier, Husky, Lint-Staged, VSCode, Netlify, PostCSS, Tailwind CSS.
DEMO
Features
Developer experience first:
- ? Next.js for Static Site Generator
- ? Integrate with Tailwind CSS (w/ JIT mode)
- ? PostCSS for processing Tailwind CSS and integrated to
styled-jsx - ? Type checking TypeScript
- ✅ Strict Mode for TypeScript and React 17
- ✏️ Linter with ESLint (default NextJS, NextJS Core Web Vitals and Airbnb configuration)
- ? Code Formatter with Prettier
- ? Husky for Git Hooks
- ? Lint-staged for running linters on Git staged files
- ? VSCode configuration: Debug, Settings, Tasks and extension for PostCSS, ESLint, Prettier, TypeScript
- ? SEO metadata, JSON-LD and Open Graph tags with Next SEO
- ⚙️ Bundler Analyzer
- ?️ One click deployment with Vercel or Netlify (or manual deployment to any hosting services)
- ? Include a FREE theme
- ? Maximize lighthouse score
Built-in feature from Next.js:
- ☕ Minify HTML & CSS
- ? Live reload
- ✅ Cache busting
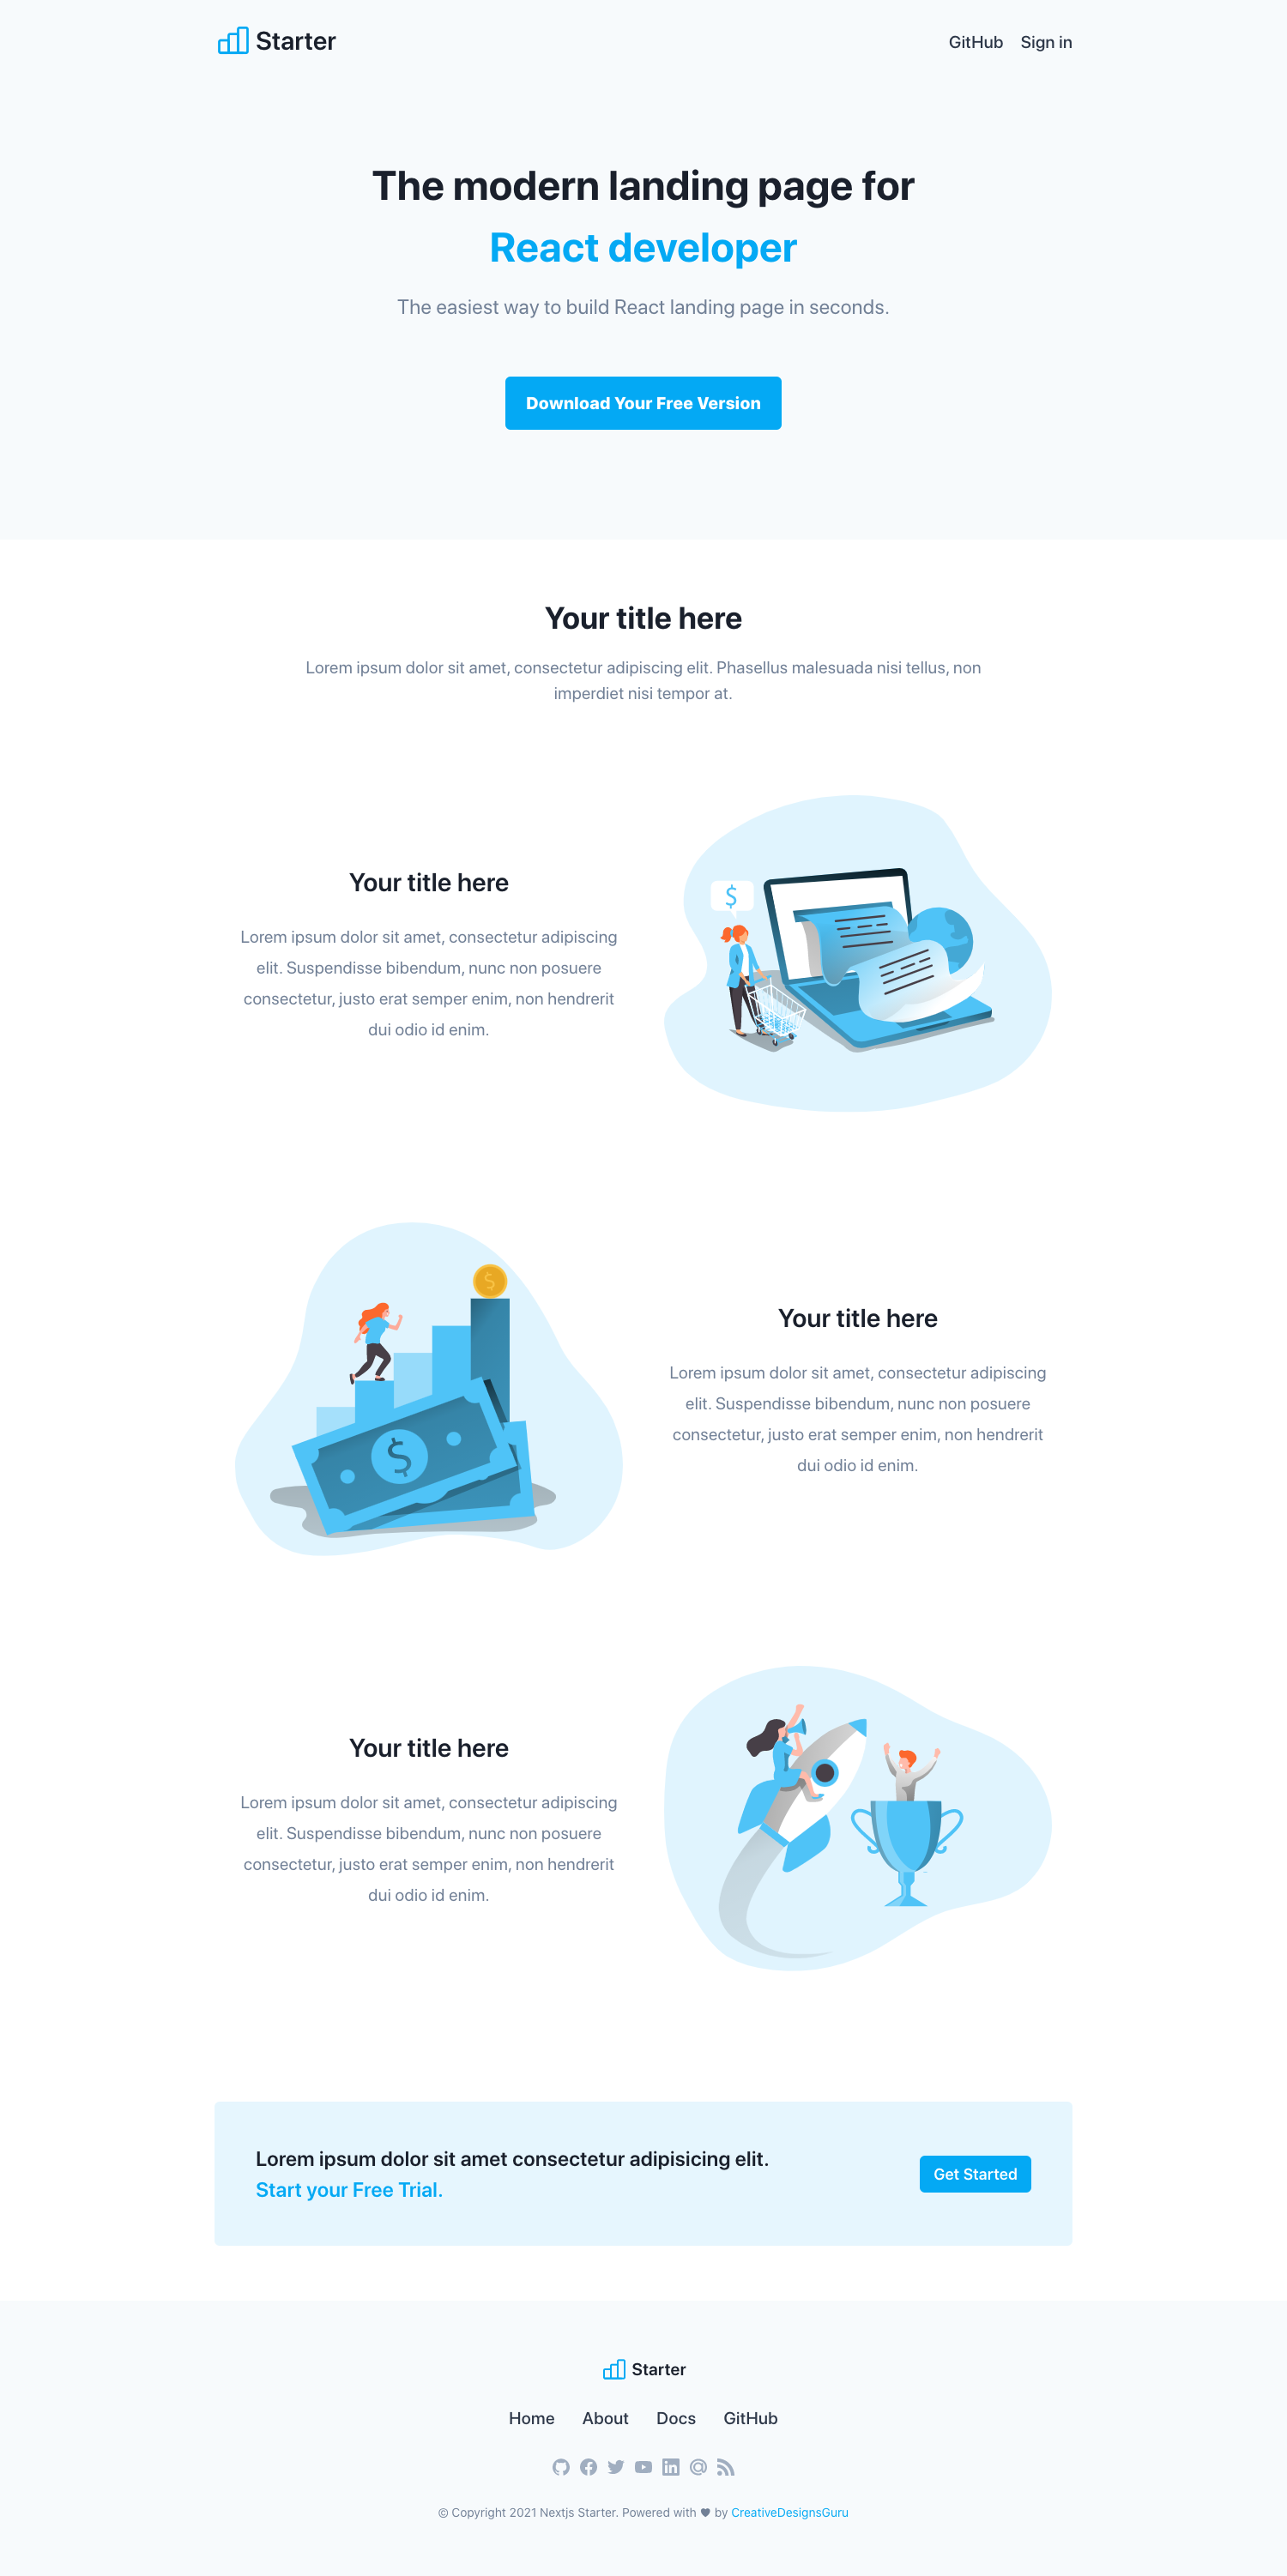
Included Components
- Navbar
- Hero
- Features
- CTA banner
- Footer
Philosophy
- Minimal code
- SEO-friendly
- ? Production-ready
Requirements
- Node.js and npm
Getting started
Run the following command on your local environment:
git clone --depth=1 https://github.com/ixartz/Next-JS-Landing-Page-Starter-Template.git my-project-name
cd my-project-name
npm install
Then, you can run locally in development mode with live reload:
npm run dev
Open http://localhost:3000 with your favorite browser to see your project. For your information, Next JS need to take some time to compile the project for your first time.
.
├── README.md            # README file
├── next.config.js       # Next JS configuration
├── public               # Public folder
│   └── assets
│       └── images       # Image used by default template
├── src
│   ├── background       # Atomic background component
│   ├── button           # Atomic button component
│   ├── cta              # Atomic cta component
│   ├── feature          # Atomic feature component
│   ├── footer           # Atomic footer component
│   ├── hero             # Atomic hero component
│   ├── layout           # Atomic layout component
│   ├── navigation       # Atomic navigation component
│   ├── pages            # Next JS pages
│   ├── styles           # PostCSS style folder with Tailwind
│   ├── templates        # Default template
│   └── utils            # Utility folder
├── tailwind.config.js   # Tailwind CSS configuration
└── tsconfig.json        # TypeScript configuration
Customization
You can easily configure the theme. Please change the following file:
public/apple-touch-icon.png,public/favicon.ico,public/favicon-16x16.pngandpublic/favicon-32x32.png: your favicon, you can generate from https://favicon.io/favicon-converter/src/styles/main.css: your CSS file using Tailwind CSSutils/AppConfig.ts: configuration filesrc/pages/index.tsx: the index page of the theme that uses theBasecomponentsrc/template/Base.tsx: theBasecomponent using component blockssrc/templates/*: the list of component blockssrc/*: other folders in src are the atomic components used by components blocks
Here is the layer:
- the entry point:
index.tsxinsrc/pages - the
Basetemplate:Base.tsxinsrc/templates - use component blocks from
src/templates/* - use atomic components from
src/*
Deploy to production
You can see the results locally in production mode with:
$ npm run build
$ npm run start
The generated HTML and CSS files are minified (built-in feature from Next js). It will also removed unused CSS from Tailwind CSS.
You can create an optimized production build with:
npm run build-prod
Now, your theme is ready to be deployed. All generated files are located at out folder, which you can deploy with any hosting service.
Deploy to Netlify
Clone this repository on own GitHub account and deploy to Netlify:

Deploy to Vercel
Deploy this Next JS Boilerplate on Vercel in one click:
VSCode information (optional)
If you are VSCode users, you can have a better integration with VSCode by installing the suggested extension in .vscode/extension.json. The starter code comes up with Settings for a seamless integration with VSCode. The Debug configuration is also provided for frontend and backend debugging experience.
Pro tips: if you need a project wide type checking with TypeScript, you can run a build with Cmd + Shift + B on Mac.
License
Licensed under the MIT License, Copyright © 2020
See [LICENSE] for more information.