● Build, test, send emails with React
- Email templates with React components
- MJML components that work across clients (Outlook!)
- Preview server with live reload for quick development
- Dev mode opens emails in your browser instead of sending
- Test mode for ensuring emails send and have the correct content
- Plays well with js frameworks like redwood.js, remix, next.js
- Written in TypeScript, inspired by Action Mailer from Ruby on Rails
● Why?
We’re longtime users of Action Mailer and wanted something similar for our typescript/react apps. We didn’t find anything, so we decided to build Mailing. We added some features that we would’ve liked in Action Mailer, like a mobile toggle (with hotkeys), and the ability to send a test email from the browser while developing. We went all in on MJML so that we (almost) never have to think about email clients or nested tables ?
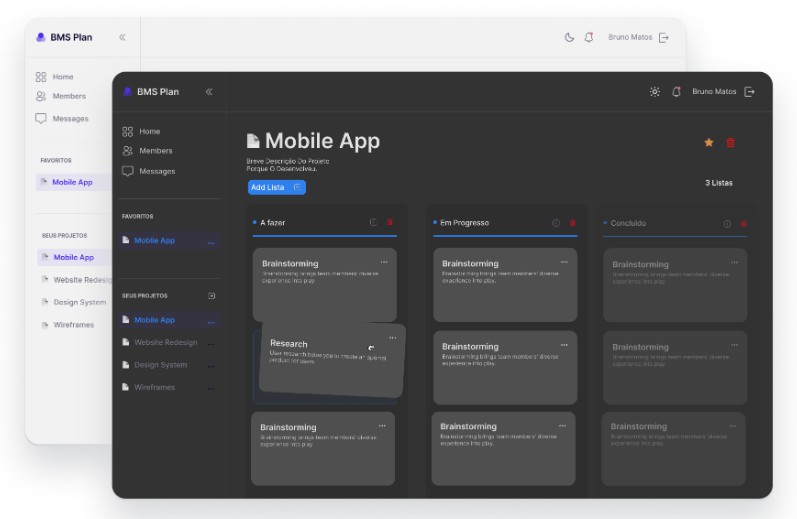
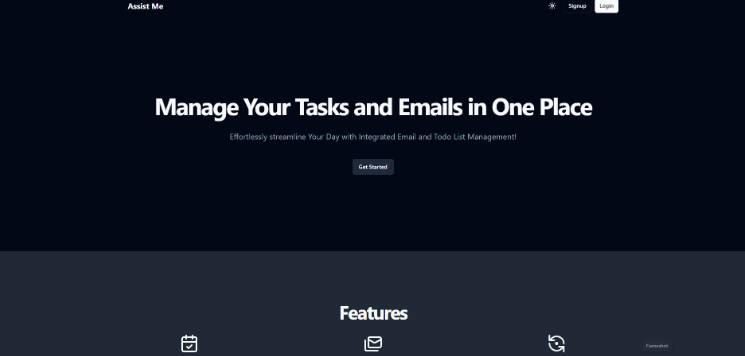
● Demo

● Setup
- Install mailing-core and the development server with yarn or npm:
yarn:
yarn add mailing-core mjml mjml-react nodemailer &&\
yarn add --dev mailing @types/mjml @types/mjml-react @types/nodemailer
npm:
npm install --save mailing-core mjml mjml-react nodemailer &&\
npm install --save-dev mailing @types/mjml @types/mjml-react @types/nodemailer
- Run
npx mailingto start the preview server and scaffold youremailsdirectory. This will create the following directory for all of your emails:
emails
├── TextEmail.tsx // a simple example email template
├── Welcome.tsx // a complicated example email template
├── components // shared components go in here
│   ├── BulletedList.tsx
│   ├── Footer.tsx
│   ├── Head.tsx
│   ├── Header.tsx
│   └── theme.ts
├── index.ts // this exports sendMail and is where your SMTP config goes
└── previews // use previews to develop and check templates
    ├── TextEmail.tsx
    └── Welcome.tsx
- Configure your email transport and
defaultFrominemails/index.ts. It defaults to nodemailer’s SMTP transport, but you can read about others here.
Example SendGrid transport:
const transport = nodemailer.createTransport({
  host: "smtp.sendgrid.net",
  port: 587,
  auth: {
    user: "apikey",
    pass: process.env.SEND_GRID_KEY,
  },
});
- Finally, send your first email like so:
import { sendMail } from "emails";
import Welcome from "emails/Welcome";

sendMail({
  subject: "My First Email",
  to: "[email protected]",
  cc: "[email protected]",
  bcc: ["[email protected]", "[email protected]"],
  component: <Welcome firstName="Amelita" />,
});
● Developing with email previews
Mailing includes a development mode for working on your emails. Running mailing in dev will boot the preview server on localhost:3883 and show you all previews in emails/previews. The previews live reload when files in the emails directory change. Previews are just functions that return one of your emails loaded up with props. We recommend grouping all previews for the same email template in a file at emails/previews/TemplateName.tsx.
For example, here’s emails/previews/Welcome.tsx:
import Welcome from "../Welcome";

export function toAmelita() {
  return <Welcome name="Amelita" />;
}
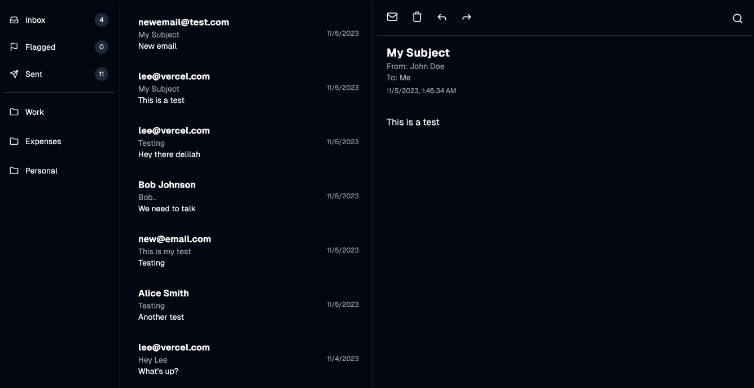
It will show up in the index:

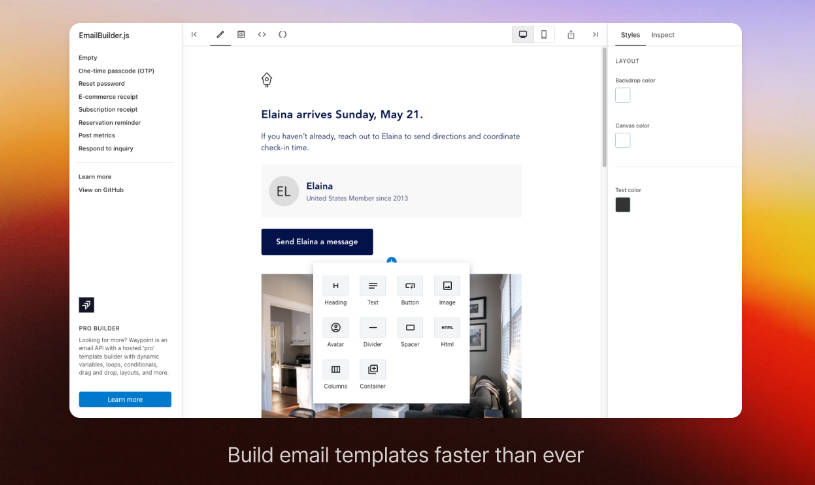
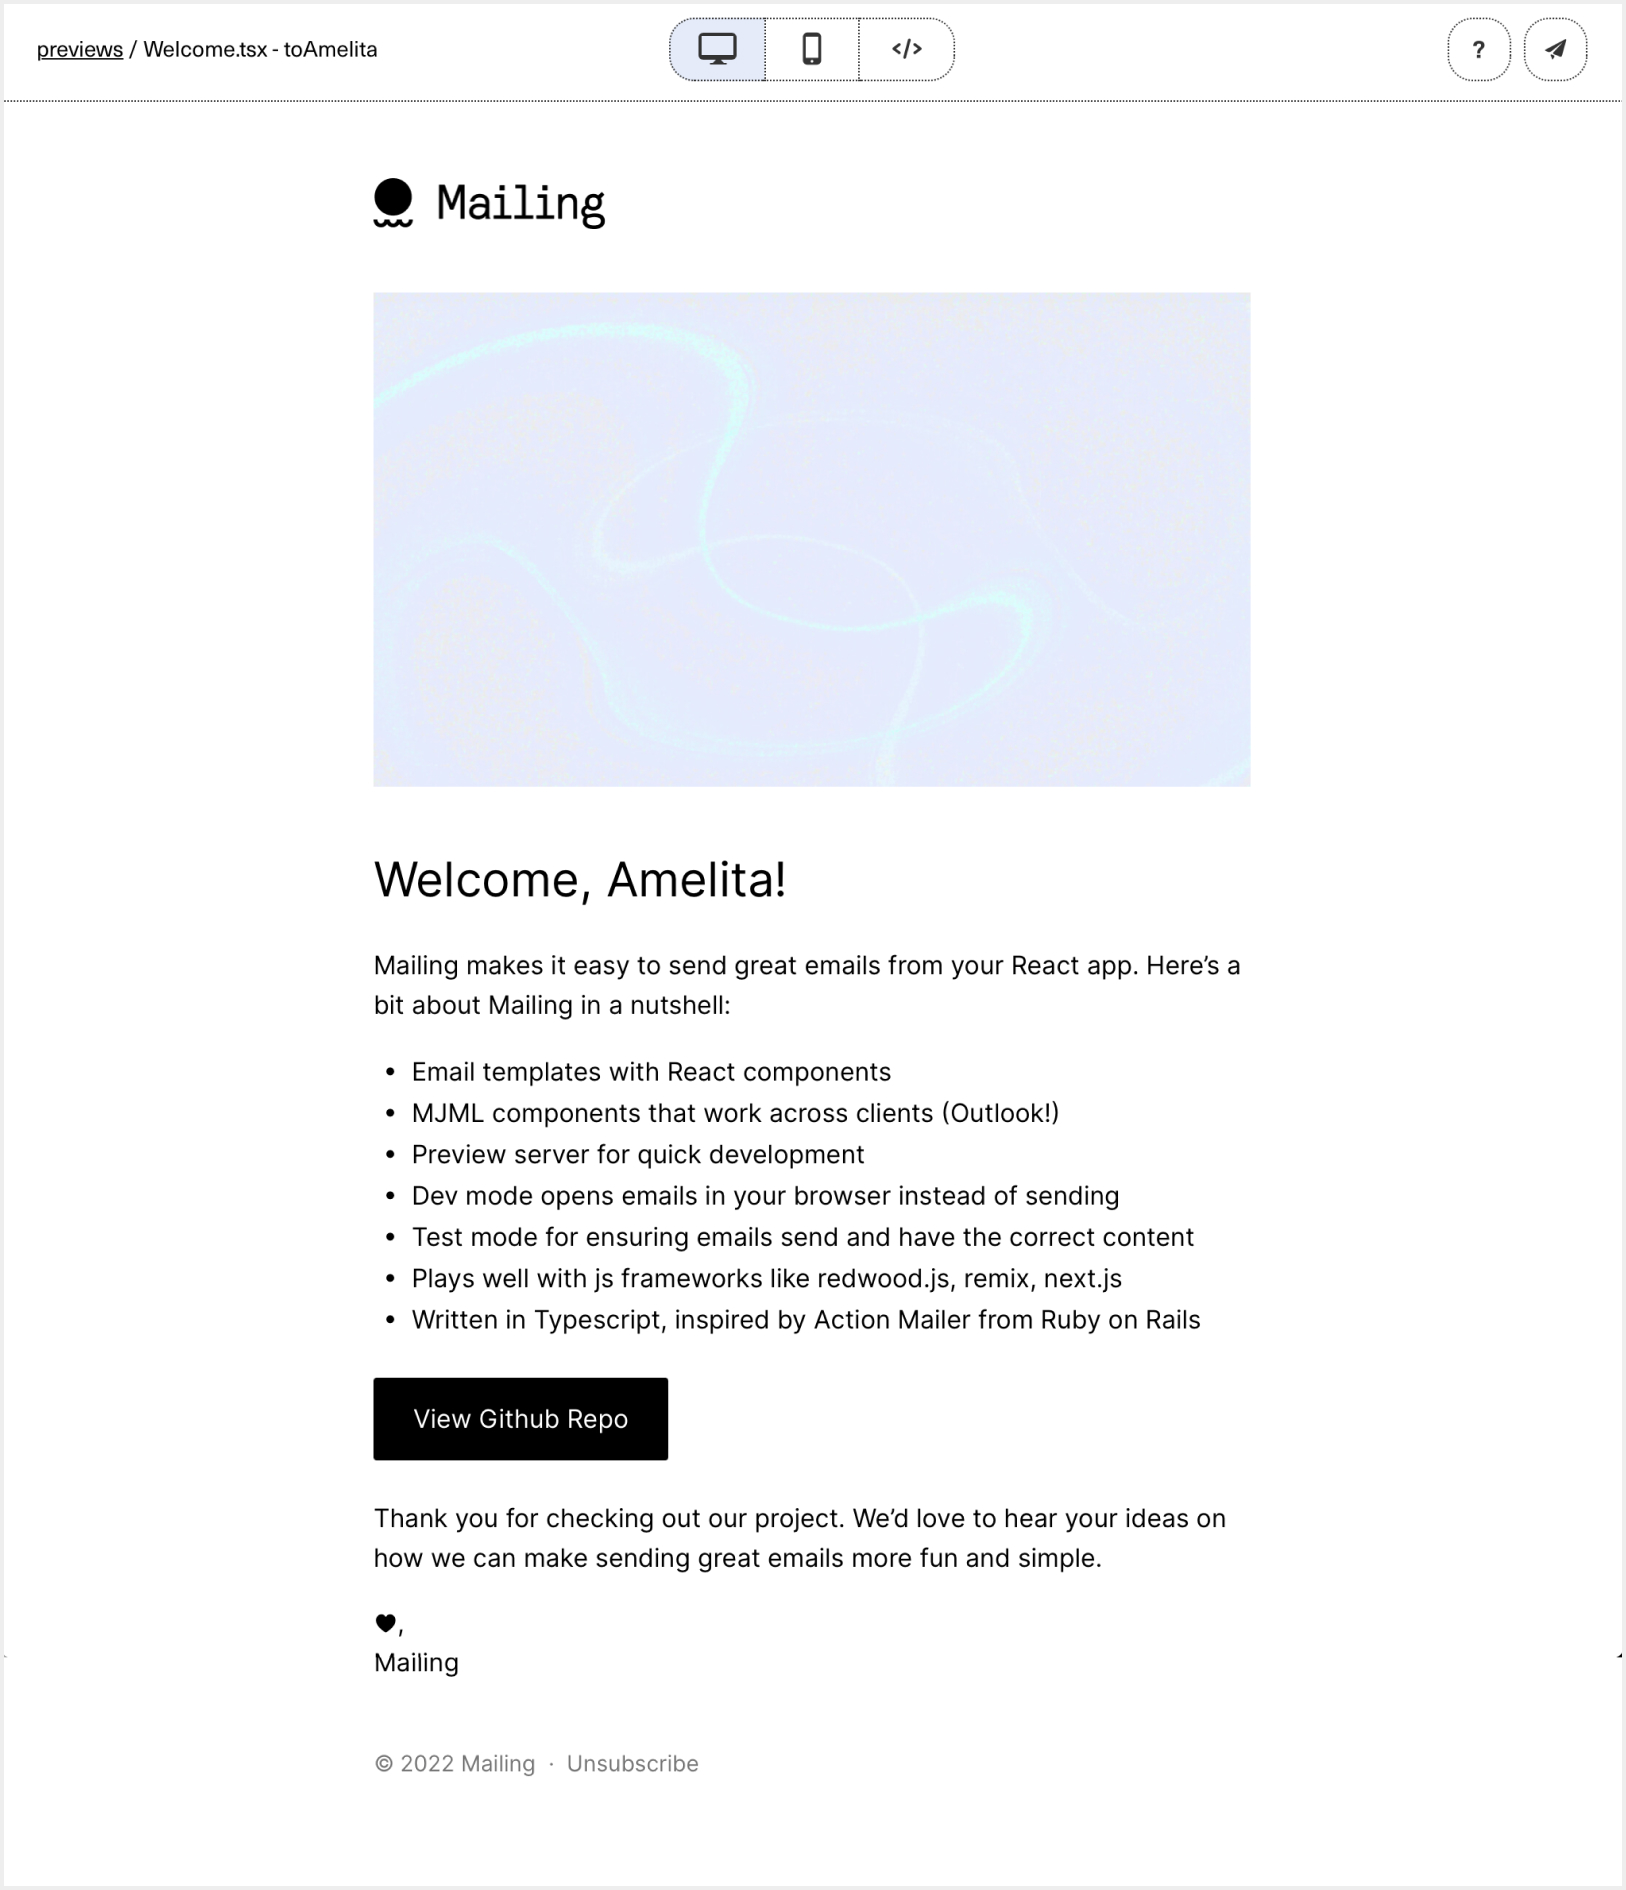
Clicking through shows you the email with a mobile/desktop toggle and live reload as you edit:

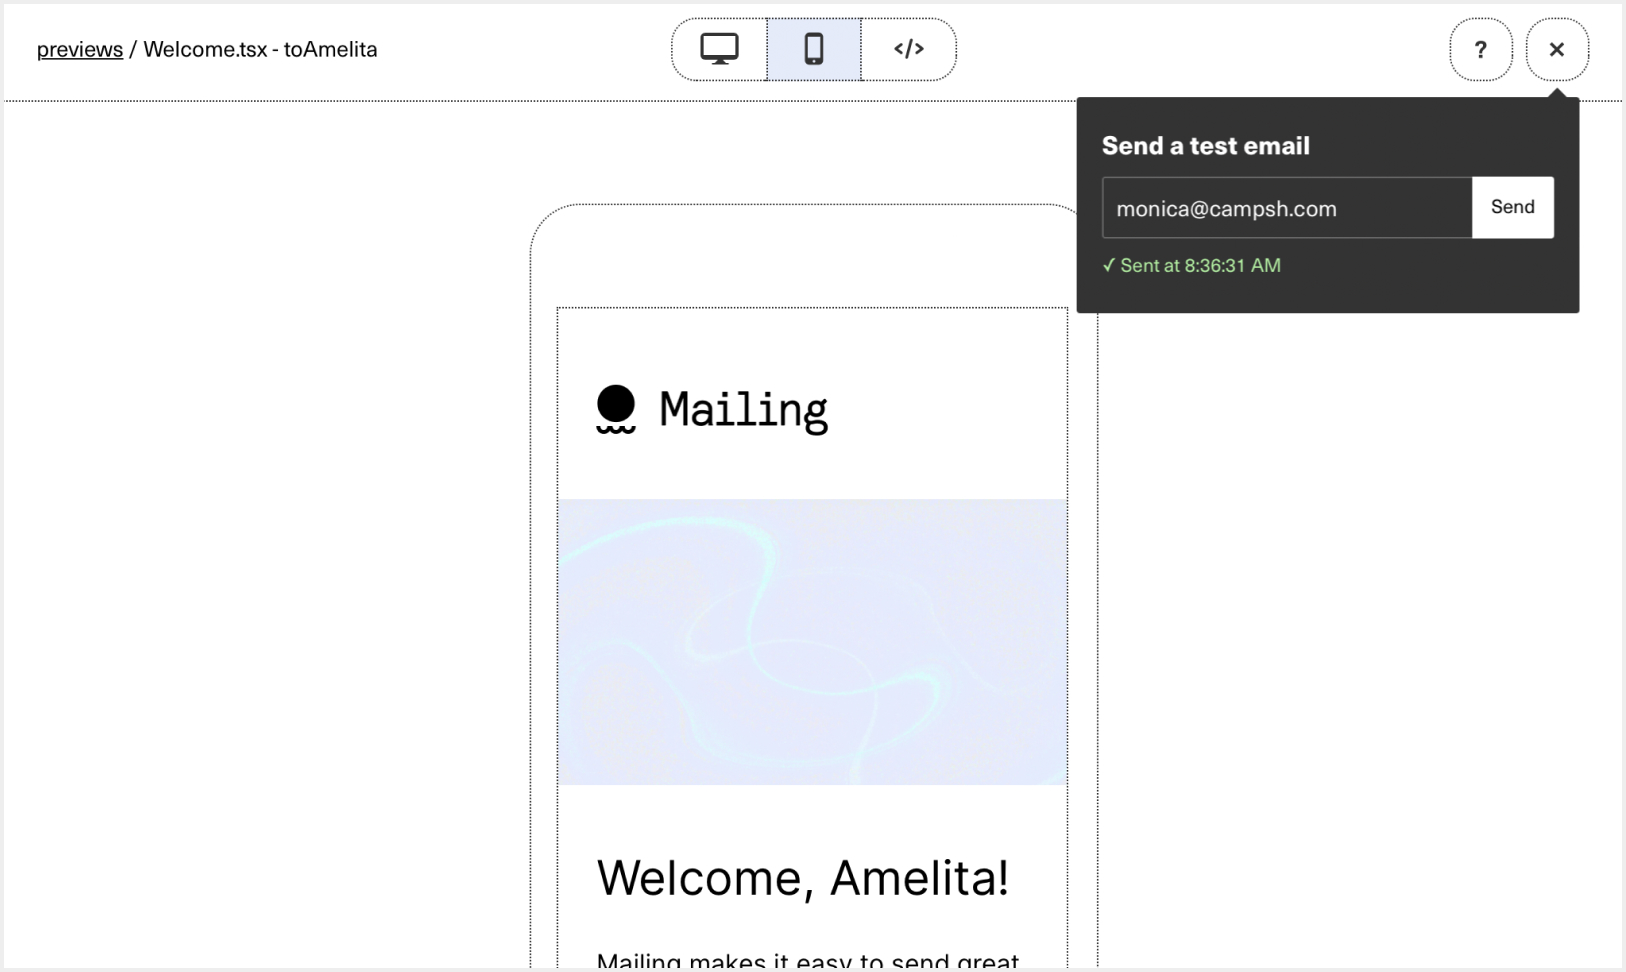
When it’s nice, send it to yourself or your QA tool of choice for final testing (we like Litmus):
● Templates
We ship with two templates to help you get started. We recommend using these as starting points and modifying them to fit your use case.
Welcome Template (link)
This template showcases a handful of MJML and Mailing features, including a responsive hero image, bulleted list, and custom Google font with fallbacks.
Transactional Template (link)
This is a simpler template for text-based transactional emails.

● Testing emails with jest
When NODE_ENV === "test", calling sendMail pushes messages into a queue for later examination. The mail-core package exports a couple of functions for testing that emails send with the correct content.
function getTestMailQueue(): Promise<Mail[]>
Retrieve the test message queue.
function clearTestMailQueue(): Promise<void>
Clear the test message queue. You probably want to call this before tests that use the queue.
Example:
import { sendMail } from "emails";
import { getTestMailQueue, clearTestMailQueue } from "mailing/core";
import IssueNotification from "emails/IssueNotification";

describe("Example API", () => {
  it("sends an email when an issue is ready for review", () => {
    await clearTestEmailQueue();

    // SOMETHING THAT WILL SEND AN EMAIL e.g.
    // sendMail({
    //   to: "[email protected]",
    //   subject: "test",
    //   component: <IssueNotification />
    // });

    const emails = await getTestMailQueue();
    expect(emails.length).toBe(1);
    expect(emails[0].subject).toMatch("Re: An issue title");
    expect(emails[0].html).toMatch("READY FOR REVIEW");
    expect(emails[0].html).toMatch("ready for QA");
  });
});
● CLI
mailing init initializes a project then starts the development server
mailing preview launches the development server
mailing runs init then preview
mm is a cute alias for mailing
● Contributing
Want to improve Mailing? Incredible. Try it out, file an issue or open a PR!
Setup
git clone [email protected]:sofn-xyz/mailing.git
cd mailing
yarn
yarn dev
yarn dev starts the cli in dev mode
Develop using a demo next app
For development, you may want to have a demo next app that pulls in your changes. We’ve had success using yalc[https://github.com/wclr/yalc] and the following flow:
- Register
mailingas a local package withyalc: in thepackages/clidirectory, runyalc add. - Create a new next app in your projects directory by running
yarn create next-app --typescriptfor a typescript app ORyarn create next-appfor a js app - In the next app, run
yalc add mailing, this createsnode_modules/mailingandnode_modules/.bin/mailing. (Note:yarn linkdoes not add the bin file, which is whyyalcis prefered) - Make your changes in
mailing - Run
yarn buildin themailingroot directory to create newdistfiles - Run
yalc pushin themailingroot directory to both publish your changes (yalc publish) and pull them in to your next app (yalc update)