NextAuth.js Example App
Open Source. Full Stack. Own Your Data.


Overview
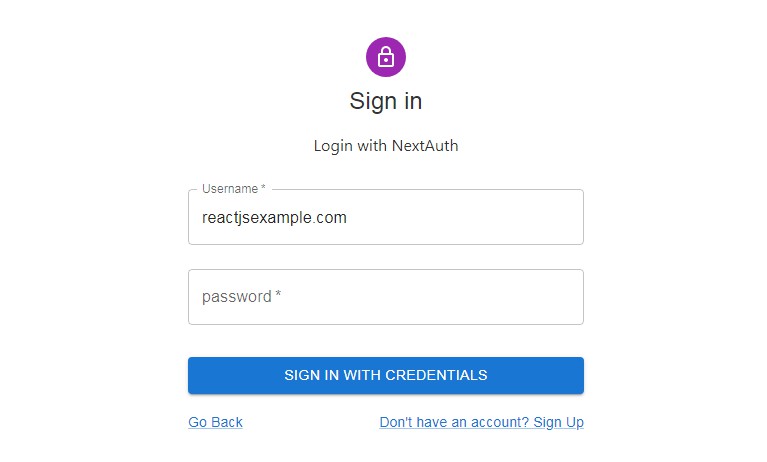
Demo: https://prefyp-v3.vercel.app/
NextAuth.js is a complete open source authentication solution for Next.js applications.
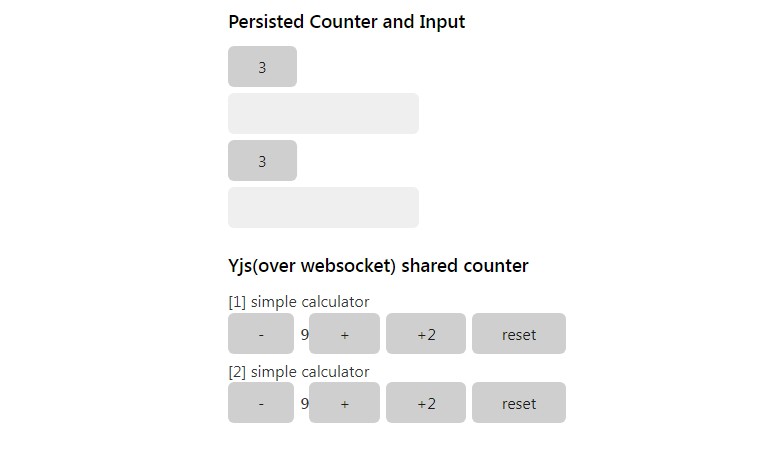
This is an example application which shows how next-auth is applied to a basic Next.js app. It is also used in many of our CI workflows and other places where a concrete usage example is necessary.
It can be found at next-auth-example.vercel.app
Technology Stack
- Frontend: React JS + Next.JS
- Backend: Express + Next.JS
- Authentication: NextAuth Framework
- Database ORM(Object Relation Mapping): PrismaDB
- Database: Postgres
- Cloud Provider:
- Vercel – Hosting the backend and frontend
- AWS – AWS RDS, For database storage
Additional Documentation
About NextAuth.js
NextAuth.js is an easy to implement, full-stack (client/server) open source authentication library designed for Next.js and Serverless.
Go to next-auth.js.org for more information and documentation.
NextAuth.js is not officially associated with Vercel or Next.js.
Getting Started
programs to install
- node.js v10.16.3 and above (Please check ur node.js and install the latest version, as this version came in NOV 2021)
- Docker *(Optional: it depends if you are going to run local database, otherwise docker is not required)
NPM global files to install
- npm i -g typeorm
1. Clone the repository and install dependencies
git clone https://github.com/nextauthjs/next-auth-example.git
cd next-auth-example
npm install
2. Configure your local environment
Copy the .env.local.example file in this directory to .env.local (which will be ignored by Git):
cp .env.local.example .env.local
Add details for one or more providers (e.g. Google, Twitter, GitHub, Email, etc).
Database
A database is needed to persist user accounts and to support email sign in. However, you can still use NextAuth.js for authentication without a database by using OAuth for authentication. If you do not specify a database, JSON Web Tokens will be enabled by default.
You can skip configuring a database and come back to it later if you want.
For more information about setting up a database, please check out the following links:
- Docs: next-auth.js.org/adapters/overview
- Adapters Repo: nextauthjs/adapters
- PrismaDB: Prisma Client
Setup Locally
- you will need docker installed
Connect to cloud (Prisma or AWS as a online database provider) *recommended approach if an cloud instance is available
- copy .env.local.example to .env.local
- update the
DATABASE_URLaccordingly - before starting the application run
npx prisma generate - you are good to go for database configuration !
3. Configure Authentication Providers
-
Review and update options in
pages/api/auth/[...nextauth].jsas needed. -
When setting up OAuth, in the developer admin page for each of your OAuth services, you should configure the callback URL to use a callback path of
{server}/api/auth/callback/{provider}.
e.g. For Google OAuth you would use: http://localhost:3000/api/auth/callback/google
A list of configured providers and their callback URLs is available from the endpoint /api/auth/providers. You can find more information at https://next-auth.js.org/configuration/providers
- You can also choose to specify an SMTP server for passwordless sign in via email.
4. Start the application
Important: before running the app, run this command at least once
npx prisma generate
To run your site locally, use:
npm run dev
To run it in production mode, use:
npm run build
npm run start
5. Database configuration
For this project we are using the postgres database for the database storage.
A database adapter is required to provide ORM(object relation mapping) to automatically
map records in the database with the classes & objects in the server.
- postgres (database storage)
- prisma (database adapter)
- prisma.io & heroku (cloud OLTP / OLAP) -> basically a GUI to view the database
- heroku & AWS (cloud hosting provider)
use this command to sync the prisma.schema with the cloud
npx prisma db push
currently our database does not support npx prisma migrate
todo: need to look for a workaround to address this issue
6. Additional configuration
the additional configuration is optional to perform but covers additional information, which u may require as u progress to expand on building on the application.
how to create superuser
we need superuser so you have access to all parts of the application. basic user only do not have administrator benefits.
there is two ways to be a superuser.
1st way is we need to perform an API insertion via a post request or via command line program
2nd way is to have your account nominated to be a superuser from an existing superuser
1st way of performing API insertion (via post request)
use postman or any application which can send data to the backend
the baseurl should be the url endpoint you would like to hit
eg. localhost:3000

7. Preparing for Production
An overview on how the deployment happens in this project
- we use GITHUB for the code repository (u can choose to migrate it to another repository of your choice)
- we use GITHUB CI / CD functionality for the deployment of the code
- the code gets deployed in VERCEL (digital service provider)
- VERCEL will spin up an instance and expose the web application to the internet once the deployment is complete.
Environment Variables required for production
- SECRET
- NEXT_PUBLIC_NEXTAUTH_URL
- DATABASE_URL
Deploy on Vercel
- Upload your code to github repository first (master branch)
- Configure your project on vercel and define the project name
- You must set the
NEXT_PUBLIC_NEXTAUTH_URLenvironment variable with the URL of your site, before deploying to production. e.g. in your.env.localfile –NEXT_PUBLIC_NEXTAUTH_URL=https://example.comorhttps://PROJECTNAME.vercel.app - You must set the
SECRETenvironment variable with the URL of your site, before deploying to production.
To do this with Vercel, you can use the Vercel project dashboard or their cli via the vc env command:
vc env add NEXT_PUBLIC_NEXTAUTH_URL production
Do not forget to set the environment variables for the Client ID and Client Secret values for all your configured authentication providers in your hosting providers dashboard, i.e. with Vercel as described above.
The easiest way to deploy your Next.js app is to use the Vercel Platform from the creators of Next.js.
Check out our Next.js deployment documentation for more details.
Superuser Access
Superuser Access is basically an access given to user that have all access in the system. To create a superuser access, the user will need to run a query on the terminal in order to be able to create a new user.
Steps to create a superuser: Firstly, the app must be running with a database connected to either -> AWS / HEROKU / PRISMA.IO / DOCKER / POSTGRES Secondly, run the command below
npx ts-node config/superuser/create_superuser.ts
Github code deployment
In July 2020, Github announced its deprecation of user passwords for all Git operations. From August 13, 2021, Github will no longer accept passwords when authenticating Git operations. Once the GitHub passwords get deprecated, Git operations that use authentication will require the use of token-based (GitHub User Access Token).
BASICLY THE TLDR is you need to login on terminal using token authentication instead of password authentication.
How to login with token authentication for github login on terminal
Acknowledgements

Thanks to Vercel sponsoring this project by allowing it to be deployed for free for the entire NextAuth.js Team
Learn More
To learn more about Next.js, take a look at the following resources:
- Next.js Documentation – learn about Next.js features and API.
- Learn Next.js – an interactive Next.js tutorial.
You can check out the Next.js GitHub repository – your feedback and contributions are welcome!