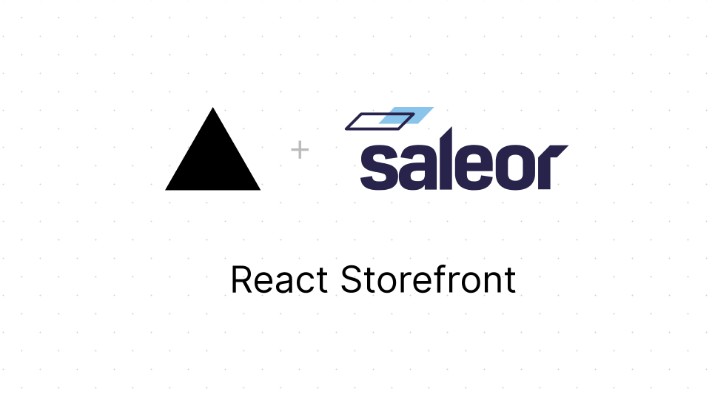
React Storefront

Live demo / Explore and run the code in CodeSandbox
React Storefront is an open-source frontend e-commerce platform from the Saleor team.
- Next.js
- TypeScript
- GraphQL with Apollo Client
- Tailwind CSS
- Saleor Checkout
Motivation
modern & fast: Project is focusing on best practices for e-commerce, like: SSR & ISR, image optimization.
easily customizable: TailwindCSS can be easily extended and tweaked, or completely changed to your favorite css solution.
works out-of-the-box: Pre configured tools for DX.
Setup
Supercharge your development with our CLI tool and free developer account at Saleor Cloud. To download and install Saleor CLI, run the following command:
npm i -g saleor@latest
Set up your local storefront development environment by running the storefront create command. It will take you through the process of creating a new Saleor API instance (or choosing an existing one) and connecting it to your freshly cloned local storefront setup:
saleor storefront create
If you don’t want to customize available options, you can also spawn a fully functional local storefront development environment, using--demo switch:
saleor storefront create --demo
package manager. To install it, run:
npm install -g pnpm
Install dependencies:
pnpm i
Start the dev server:
pnpm dev
Storefront can be now accessed at http://localhost:3001/.
Development
Configuration
Instructions how to configure the application (e.g. change the graphql API URL) can be found here.
GraphQL queries
Graphql queries are located under the ./graphql. We strongly encourage use of fragments, which minimizes code duplication and plays nicely with the TypeScript, during transformation of incoming data.
Our client of choice is Apollo, which provides excellent cache and features out of the box. To get fully typed requests and responses, GraphQL Code Generator transforms all .graphql files into ready to use hooks. Generated code is located at ./saleor/api.tsx file.
API endpoint can be configured via .env file as described in docs.
Workflow
- Modify or create GraphQL file. For example, new query at
./graphql/queries/FeaturedProducts.graphql - Run
pnpm generatecommand - New query will be added to the
./saleor/api.tsxfile - Import generated hook (
import { useFeaturedProductsQuery } from "@/saleor/api";) in your component code
Script will start the GraphQL Code Generator in the watch mode, so changes in the queries will be automatically updated.
React and Next.js code structure
When creating new components, please follow the React TypeScript Cheatsheet.
Code for the payment gateways can be found at ./components/checkout/payments. At the moment we support Saleor test gateway and basic flow for Stripe.
Routing and urls
Project use file based routing. Available routes can be found at ./pages. Dynamic routes (for example ./pages/product/[slug].tsx) are generated at build time based on getStaticPaths.
To ensure, that Link components use only the existing URLs with required arguments, we use pathpida. It is used to automatically generate the ./lib/$path.ts file with all available routes. File should not be updated manually, instead run:
pnpm paths
Since routes require additional arguments with current locale and channel, you should use usePaths hook which will automatically add those. Let’s create example component with link to the product page:
import Link from "next/link";
import { usePaths } from "@/lib/paths";

export const ProductLinkComponent = () => {
  const paths = usePaths();
  return (
    <Link href={paths.products._slug(line?.variant?.product?.slug).$url()}>
      <a>Product link</a>
    </Link>
  );
};
Saleor Checkout
React Storefront uses the new Saleor Checkout for checkout and payments. The setup is as easy as:
- Deploy Saleor Checkout
- Set the
NEXT_PUBLIC_CHECKOUT_URLenvironment variable with Saleor Checkout URL
Code style
Before committing the code, Git pre-hooks will check staged changes for following the code styles. If you would like to format the code by yourself, run the command:
pnpm lint
Other tools
Debugging using VS Code
The repository contains ready to use VS Code debugger configuration (.vscode/launch.json).
Start server in debug mode
pnpm debug
Add breakpoints, and start debugging session in your editor.
VS Code GraphQL Extension
GraphQL extension for VSCode adds syntax highlighting, validation, and language features like go to definition, hover information and autocompletion for graphql projects. This extension also works with queries annotated with gql tag.
VS Marketplace link
Bundle metrics
If you want to check how your changes impact page size, use command:
pnpm analyze-build
After the build, report will open in your browser.
Deployment
Vercel & Netlify
This application is optimized for deployments on Vercel and Netlify. You can use the following deploy buttons

or, configure it directly in the respective cloud provider.
Heroku
For Heroku, you need to specify a LTS version of Node.js in your package.json explicitly. Add the following snippet in package.json:
"engines": {
  "node": ">=14 <17",
  "npm": ">=6.11.0 <8"
}
We don’t add this in this codebase as we prefer to target the latest Node.js version.