reactive-video
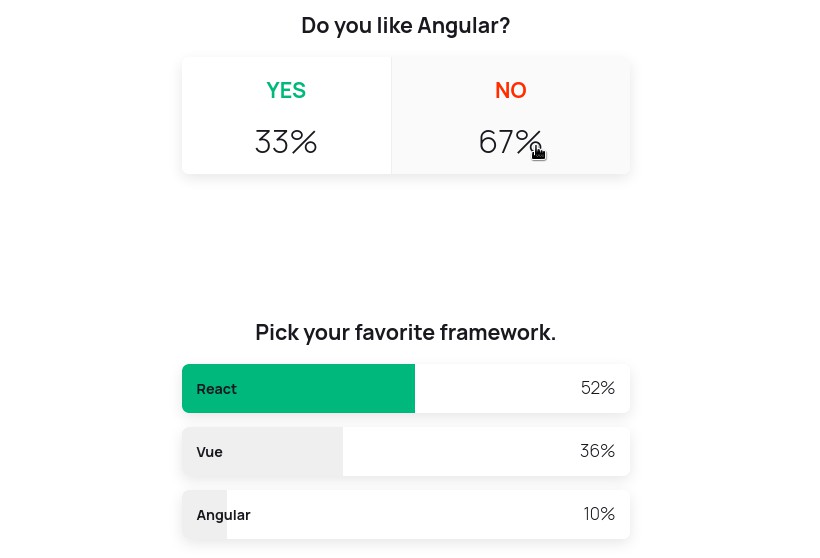
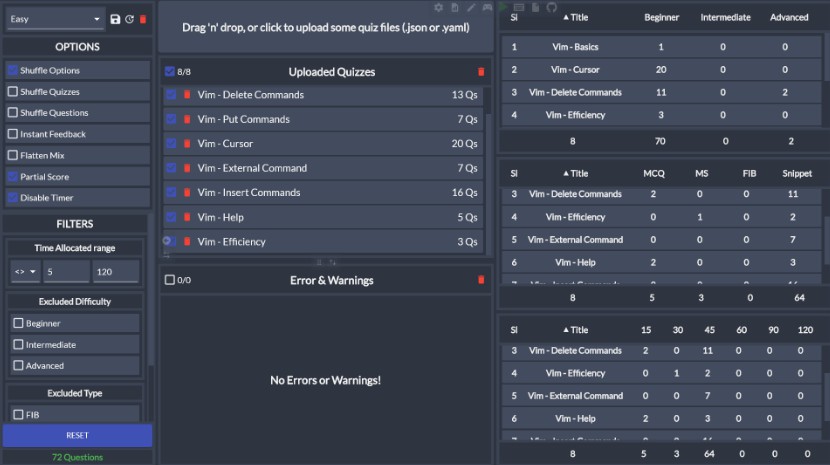
Reactive Videos are videos created using HTML and React components. This allows you to leverage the almost limitless possibilities of the web browser to render dynamic content into a video file.
How does it work?
Reactive Video fires up one or more Puppeteer/Chromium tabs to render the React component hierarchy and rapidly capture screenshots for each frame when they are done rendering. It starts a HTTP server on localhost serving files (videos, images etc) needed to the Puppeteer client (protected by a token.)
Features
- Edit videos with code! ?
- Full power of the web
- Parallel rendering ? Super fast (compared to editly)
- Supports all video formats/codecs that FFmpeg supports
- Headless mode (runs in the cloud)
- Output to any dimensions and aspect ratio, e.g. Instagram post (1:1), Instagram story (9:16), YouTube (16:9), or any other dimensions you like.
- Live preview for easy development
- Open source
Installation
First install and setup ffmpeg/ffprobe.
Then we can install the Reactive Video builder globally as a command line tool:
npm i -g @reactive-video/builder
Usage
Now create a file MyVideo.js with the content:
import React from 'react';
import { Image, Segment, Video, useVideo } from 'reactive-video';
export default () => {
const { currentFrame, currentTime, durationFrames, durationTime } = useVideo();
return (
<>
{/* This segment lasts for 30 frames. Print out the current frame number */}
<Segment duration={30}>
<div
style={{ width: '100%', height: '100%', backgroundColor: `hsl(${(currentFrame * 10) % 360}deg 78% 37%)`, color: 'white', display: 'flex', alignItems: 'center', justifyContent: 'center', flexDirection: 'column', fontSize: 100 }}
>
Current frame {currentFrame}
</div>
</Segment>
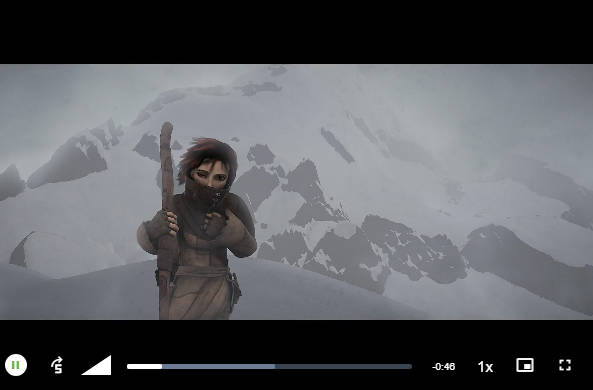
{/* This segment starts from 60 frames. Shows an image with a Ken Burns zoom effect */}
<Segment
start={30}
duration={30}
render={(segment) => (
<Image src="https://static.mifi.no/losslesscut/47320816_571610306620180_5860442193520120371_n.jpg" style={{ width: '100%', transform: `scale(${1 + (segment.currentFrame / segment.durationFrames) * 0.1})` }} />
)}
/>
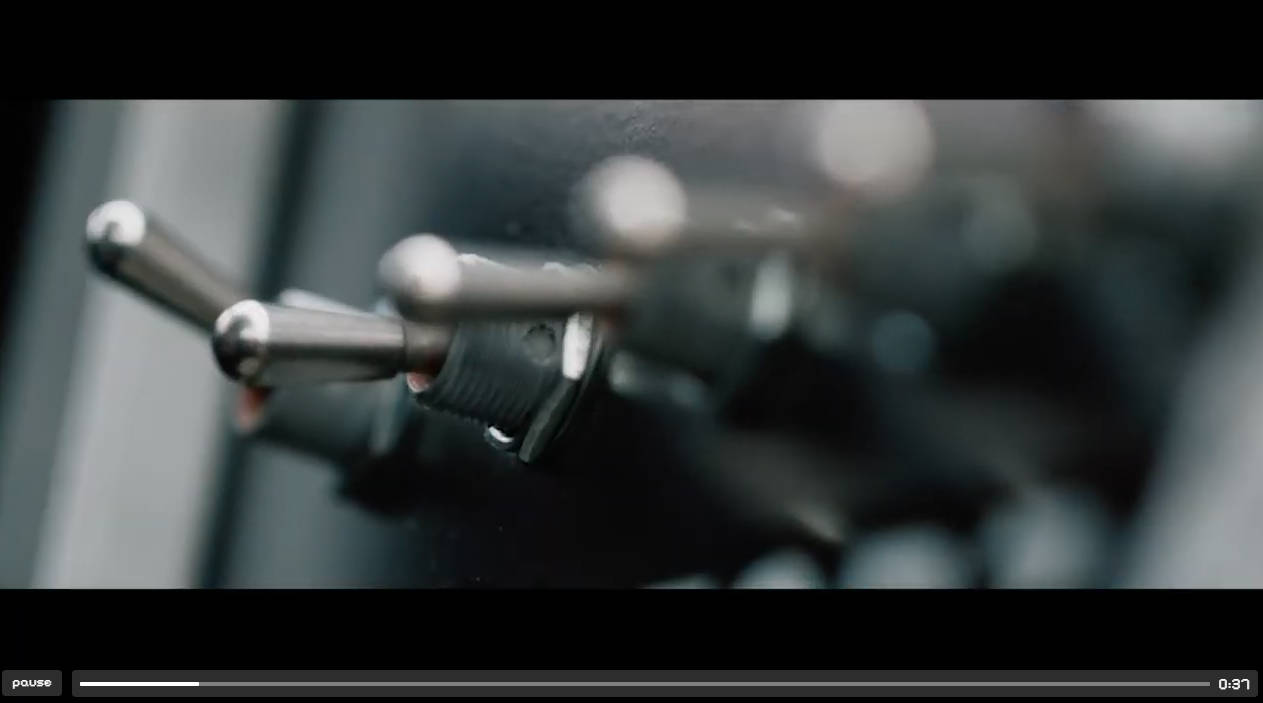
{/* This segment starts from 60 frames. Starts 100 frames into the source video (seek to) */}
<Segment start={60}>
<Segment start={-100}>
<Video src="https://static.mifi.no/Zv5RvLhCz4M-small.mp4" style={{ width: '100%' }} />
</Segment>
</Segment>
</>
);
};
Shell
Then run the CLI:
reactive-video --duration-frames 90 MyVideo.js
Duration can also be specified in seconds. See reactive-video --help
Live preview
Or to start a live preview:
reactive-video --duration-frames 90 MyVideo.js --preview
# or for HTML5 video:
reactive-video --duration-frames 90 MyVideo.js --preview-html
Programmatic API
Or you can use the programmatic Node API. Create a new Node.js project, then add @reactive-video/builder:
mkdir awesome-reactive-video
cd awesome-reactive-video
npm init
npm i --save @reactive-video/builder
Create index.js:
const Editor = require('@reactive-video/builder');

(async () => {
  const editor = Editor({
    ffmpegPath: 'ffmpeg',
    ffprobePath: 'ffprobe',
    devMode: true,
  });

  const width = 1280;
  const height = 720;
  const fps = 25;
  const durationFrames = 90;
  const reactVideo = 'MyVideo.js';
  const userData = { some: 'value' };

  // Build the video
  await editor.edit({
    reactVideo,
    width,
    height,
    durationFrames,
    userData,

    output: 'my-video.mp4',
    concurrency: 3,
    // headless: false,
  });

  // Or start a live preview:
  await editor.preview({
    reactVideo,
    width,
    height,
    fps,
    durationFrames,
    userData,
  });
})().catch(console.error);
Node API
Reactive Video has two parts:
@reactive-video/builder: CLI and Node.js video builder APIreactive-video: Code that runs in the React world. This package can also be installed in a separate frontend where you want to reuse Reactive Video code to render a video.
Data can be passed from Node.js to React via userData, which will become available in the useVideo hook.
Editor.edit / Editor.preview
const Editor = require('@reactive-video/builder');

const { edit, preview } = Editor({ ffmpegPath, ffprobePath });
See editor.js edit and preview for options.
Editor.readVideoMetadata
Useful to read an input video's parameters and use it for your video, for instance if you want to render something on top of an existing video. Returns durationTime. If countFrames is true, returns also durationFrames, which is more accurate, but slower. Example:
const fileUrl = require('file-url');
const inputVideoPath = '/path/to/input-video.mp4';

const { edit, readVideoMetadata } = Editor();
const { width, height, fps, durationTime, durationFrames } = await readVideoMetadata({ path: inputVideoPath, countFrames: true });

await edit({
  reactVideo: 'MyVideo.js',
  width,
  height,
  fps,
  durationFrames,
  userData: { videoUri: fileUrl(inputVideoPath) },
  // videoUri becomes file:///path/to/input-video.mp4
});
Then in MyVideo.js:
export default () => {
  const { userData: { videoUri } } = useVideo();

  return <Video src={videoUri} />;
}
React API
impprt {
  Video,
  IFrame,
  Image,
  Segment,
  useVideo,
  useAsyncRenderer,
} from 'reactive-video'
<Video> component
Renders video frames synced to time
src- See src below.htmlSrc- OverrideVideocomponentsrcby specifying a different URL to be used when rendering the video code in e.g. a separate React frontend.
For final rendering and preview, Reactive Video uses ffmpeg to stream to a <canvas>. Efficiently reuses the ffmpeg instance for sequential rendering. Supports virtually all formats that ffmpeg can seek in, even over HTTP (e.g. AWS S3)
Can also use HTML5 <video> for preview. Much faster seeking, but only supports certain codecs. Enabled with the --preview-html CLI flag.
<Image>
Works the same as HTML <image>. Waits for data to load.
src- See src below.
<IFrame>
Works the same as HTML <iframe>. Waits for data to load.
src- See src below.
src attribute
src must be a full, absolute file:// or http(s):// URI (e.g. file:///Users/me/video.webm or https://example.com/image.jpeg). Note the three slashes for local files! Tip: In Node.js you can use file-url to convert local (also relative) paths to file:// URIs! See example above.
useVideo
A hook that can be used to get the current video state.
const {
  // Global video properties
  fps,
  width,
  height,

  // Video (or Segment-relative) current frame:
  currentFrame,
  // Video (or Segment-relative) time:
  currentTime,
  // Video (or Segment) duration in frames:
  durationFrames,
  // Video (or Segment) duration in seconds:
  durationTime,

  // Value between 0 to 1 for the currentFrame's progress within the video (or Segment)
  // Useful for animating things inside segments.
  progress,

  // Global, never altered:
  video: {
    currentFrame,
    currentTime,
    durationFrames,
    durationTime,
  },

  // User JSON object passed from CLI (`--user-data`) or Node.js `userData` option
  userData,
} = useVideo();
useAsyncRenderer
A hook used to get a waitFor function that can be used to delay the frame capture operation due to an asynchronous task that needs to finish before drawing.
const MyVideoOrComponent = () => {
  // ...
  const { waitFor } = useAsyncRenderer();

  useEffect(() => {
    waitFor(async () => {
      setState(await api.loadSomeData());
    });
  }, [waitFor]);
  // ...
};
<Segment>
A Segment will, for a specific timespan specified by start and duration (specified in frames), render one of either:
- Its provided
children:
<Segment><MyComponent /></Segment>
- or a render prop:
<Segment render={(props) => <MyComponent />} />
Segment props
start- First frame that contents should be shown from (default:0)duration- Number of frames that contents should be visible for (default: videodurationFrames - start).override- Whether to override variables in theuseVideohook, see below (default:true)cut= Whether to cut off this component's children from rendering beforestartand afterduration(default:true)
Segments will override the following variables in the useVideo hook for its children (unless override = false):
currentFramecurrentTimedurationFramesdurationTime
Theses variables will instead be relative to the start/duration of the Segment. If the render prop is used, the render function's provided props argument will also contain the same relative variables.
Importing resources
Resources are fetched from the local filesystem automatically during edit and preview with file:// or remotely using http(s)://. You can also import resources from your React components using ES6 import. This can be used to import css, images, and even videos, but it is recommended to not import large videos like this, as they will be copied to the dist directory during the compile.
// MyVideo.js

import image from './image.jpeg';

export default () => (
  <Image src={image} style={{ width: 100 }} />
);
Reusing code in a different React app
npx create-react-app my-app
cd my-app
npm i --save reactive-video
Then you can import your Reactive Video code (e.g. MyVideo.js and dependencies) from a shared directory using your method of choice:
- npm/yarn workspaces (you may have to transpile the React code)
- git submodules
- ...
See example App.js:
import { VideoContextProvider } from 'reactive-video';

import MyVideo from 'path/to/MyVideo.js';

const App = () => {
  // You need to provide these parameters:
  const durationFrames = 1234;
  const width = 800;
  const height = 600;
  const fps = 30;

  const [currentFrame, setCurrentFrame] = useState();

  const canvasStyle = {
    width,
    height,
    overflow: 'hidden',
    position: 'relative',
    border: '3px solid black',
  };

  const userData = useMemo(() => {
    some: 'data',
  }, []);

  return (
    <div style={canvasStyle}>
      <VideoContextProvider
        currentFrame={currentFrame}
        durationFrames={durationFrames}
        width={width}
        height={height}
        fps={fps}
        userData={userData}
      >
        <MyVideo />
      </VideoContextProvider>
    </div>
  );
};
See also previewEntry.js
Examples
Your video here?
Submit a PR if you want to share your Reactive Video here.
TODO
- Improve docs
- Audio
- ci tests
- Improve logging
- multiple FFmpegVideos from the same source file (videoServer.js) not supported
- FFmpegVideo fallback to previous frame if missing frame? (like HTML5Video) or make HTML5Video also work like FFmpegVideo
- puppeteer intercept request instead of starting local express server (if possible and fast to send big binary data). Will not work for preview.
- make it easiser to animate (mount/unmount?) provide a react component that clamps animations? something like
<Segment start={} duration={} easing="easeIn" /> - easing example code
- render single frame as image
- allow speed up/down
<segment speed={1.3} /> - custom video component example
- getCodecArgs allow custom
- preview currentFrame flooding browser history https://stackoverflow.com/questions/26793130/history-replacestate-still-adds-entries-to-the-browsing-history
Ideas
- subtitle rendering (programmatically create Segments)
- easy merge videos recipe/helper
- webgl
- react three js
- create demo video, YouTube video
- editly features
- Recreate editly's video in reactive-video
Troubleshooting
React webpage failed to initialize- Try to run with
headless falseand check puppeteer developer tools
- Try to run with