? Gatsby Starter Stripemart
Like a supermarket but for Stripe.
No ongoing monthly costs.
This is a basic and minimalist e-commerce storefront built with Gatsby, Stripe, Use-Shopping-Cart, and Netlify.
The three main features are:
- ? Shopping cart state management and checkout flow with Use-Shopping-Cart
- ? Secure payments and cart validation via Stripe
- ? Optional and basic inventory management via Stripe metadata and Netlify serverless functions
- ? Optional and basic support for shipping options via Stripe metadata
The benefits of using this set of technologies is that there are no ongoing monthly costs – you only pay the Stripe fees when you actually sell something. This works well if you have a seasonal business or periods inactivity.
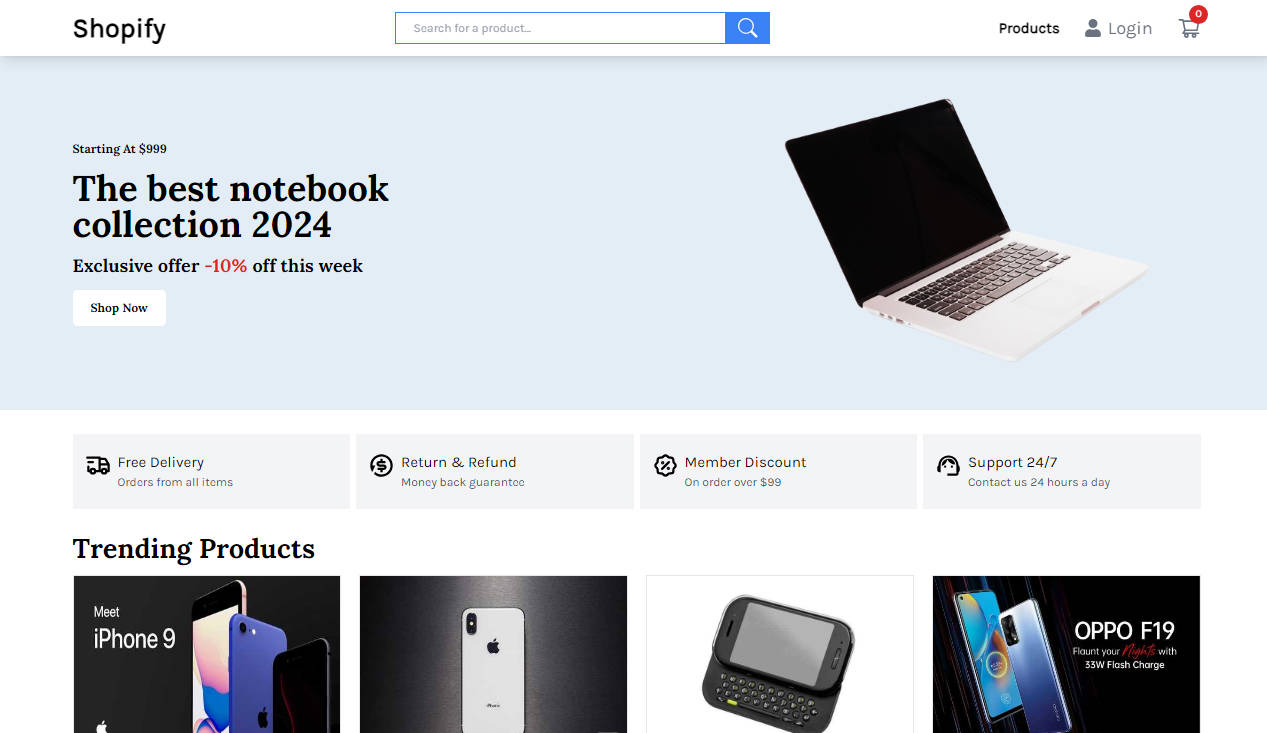
Demo
https://gatsby-starter-stripemart.netlify.app/
⚠️ Heads up!
A few words of caution.
- If you have an active and ongoing business please use Shopify or Snipcart. They are great products and are way better for most businesses, most of the time.
- This starter will never reach v1.0, it is intended as a barebones starter that you can fork and make your own! I will likely never add more significant features because there are better products for a complete e-commerce experience. You can read the roadmap below to see what is planned.
- The getting started guide below assumes you have some familiarity with Jamstack and modern web development practices.
? Tech stack
I chose this tech stack because it is one I know really well, and can move quickly in. There is no CMS on purpose, you could easily add your own if you wanted. I did add support for MDX and markdown.
- Gatsby (frontend)
- Stripe (payments)
- Use-Shopping-Cart (cart state management)
- Netlify (hosting)
- Theme-UI (styling)
- MDX/Mardown (authoring)
- React-Hook-Form (form validation)
- Reach-UI for a11y cart modal
- Framer Motion (animations)
? Getting started
To use this starter properly you will need the Gatsby CLI,the Netlify CLI and the Stripe CLI.
gatsby new my-store ehowey/gatsby-starter-stripemart- Create a Stripe account, follow all of their prompts to get an account setup. This can take a little bit as you need to provide some personal banking information in the process.
- Create a
.env.developmentand a.env.productionfollowing the format in.example.env. You will need your Stripe Public Key and Stripe Secret Key. You should start in test mode and your keys will start withpk_test_...andsk_test_.... There is also a Stripe Webhook Secret, more on that in a moment. - Run
gatsby develop– this should build successfully without any added products or shipping options. - Update the Cart Provider with the appropriate props for your business and region. You can find this in the Layout file,
src/components/layout/layout. For those who are wondering why it is not insidegatsby-browserandgatsby-ssr, the CartProvider was conflicting with the proper creation of open graph tags by the Seo component and had to be included lower in the component layer. - Go back to Stripe and add a few test products. There are fallbacks for the description and image, however you should provide an image and description for your products as well as these are used in the frontend.
- Restart
gatsby developand you should now see your products on the homepage. Congratulations! But you will notice that the stock just says “Checking stock…” – this is because the stock is dynamically checked every time the page loads. Let’s pull in the stock. - Stop your development server and run
netlify devthis will start the Netlify development server and then start Gatsby allowing the serverless functions to run as needed. You should now see the stock updated to say “1 available”. If you don’t specify a stock number it defaults to 1. - Now you need to setup the Stripe webhook to fire when a purchase has been successful(
checkout.session.completed). The Stripe CLI lets you setup a test webhook listener with the commandstripe listen --forward-to localhost:8888/.netlify/functions/handle-purchase. After running this command it will tell you what your webhook secret is, something likewhsec_.... Add this to the.envfiles. Now when there is a successful purchase this serverless function will update the stock on the Stripe product. - Stripe has a number of different outgoing webhook options, you can set it to rebuild your site via a webhook to Netlify(or other hosts) whenever a product is added, updated or deleted.
??Congrats! You now have a basic e-commerce store up and running use the latest and greatest in Jamstack tech! Deploy that greatness!
Stock and shipping via Stripe product metadata
Note if there are no shipping options provided via Stripe the cart will not display any shipping options. You can skip shipping entirely if it does not apply to your business.
The only special thing to know about the creation of Stripe products is that you can add two different kinds of metadata that will be recognized by the Gatsby frontend. These are stock and shipping. All Stripe metadata is stored as a string, but stock should be a raw number and shipping is a boolean.
For example if you were creating a shipping product you might call it “Standard shipping”, stock can be skipped or ignored. It won’t be changed. But you do need to set a metadata called shipping with the value of true.
Try updating some of your products with a stock number in the metadata, and try creating some shipping options as well by setting shipping to true. You will notice that the cart now includes the shipping options you created in it.
When the stock is below 1, the product is marked as inactive and not available for purchase anymore. On the frontend it will show as a “sold out” until the site rebuilds and then it will no longer be shown.
Cart validation and security
The main cart validation is handled on the backend by Stripe. All payments are handled securely by Stripe. If the product price passed from the frontend to Stripe and the price listed in the backend do not match then the transaction will not be approved.
I have also included some basic validation on the frontend, e.g. if you select a stock of “-5” if will show an error. It also checks the stock number against the quantity selected, try selecting a quantity above the current listed stock and you will also see an error.
Styling with Theme-UI
Theme-UI is a css-in-js library with a constraints based design system. You can find the main theme file in src/styles/theme.js. Try changing around some of the colors and you will see how quickly you can customize the look and feel of the site.
Theme-UI is based on Emotion and is very similar to Chakra-UI if you are familiar with that library.
Roadmap
- Complete transition to typescript. I have made most of the important files and functions typescript however want to finish transitioning the entire repo.
- Any and all a11y improvements!
- Add support for Gatsby Cloud. I was hoping to do this with Gatsby functions however they do not play nice with Stripe currently and so went back to tried-and-true Netlify functions.