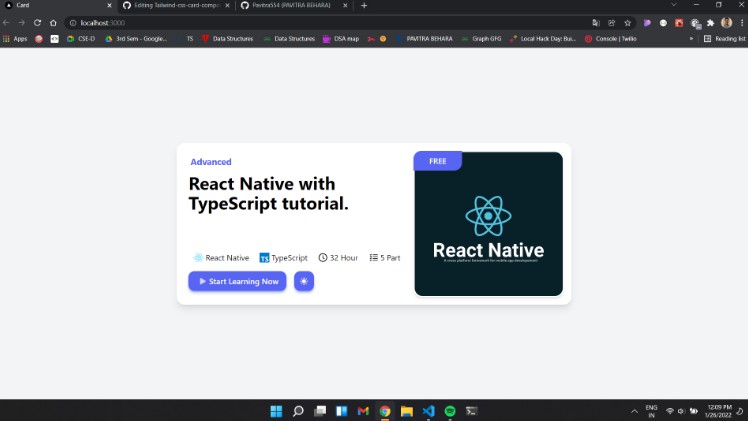
Project Name : Tailwind Card Component
This is just a card commponent using tailwind css. it just awesome.
Technologies
- Next.Js
- React.Js
- Tailwind Css
- heroicons
- React-icons
- JavaScript
- Visual Studio Code
- Git & GitHub
How it look’s


Some important information about Next.Js
Getting Started
First, run the development server:
npm run dev
# or
yarn dev
Open http://localhost:3000 with your browser to see the result.
You can start editing the page by modifying pages/index.js. The page auto-updates as you edit the file.
API routes can be accessed on http://localhost:3000/api/hello. This endpoint can be edited in pages/api/hello.js.
The pages/api directory is mapped to /api/*. Files in this directory are treated as API routes instead of React pages.
Learn More
To learn more about Next.js, take a look at the following resources:
- Next.js Documentation – learn about Next.js features and API.
- Learn Next.js – an interactive Next.js tutorial.
You can check out the Next.js GitHub repository – your feedback and contributions are welcome!
Some important information about Tailwind Css with Next.js
Step-1 First create a next app
npx create-next-app my-project
Step-2 Go to the project directory
cd my-project
Step-3 run the following command on terminal
npm install -D tailwindcss postcss autoprefixer
Step-4 then run this command
npx tailwindcss init -p
Step-5 add this in tailwind.config.js
module.exports = {
content: [
 "./pages/**/*.{js,ts,jsx,tsx}",
 "./components/**/*.{js,ts,jsx,tsx}",
],
theme: {
 extend: {},
},
plugins: [],
}
Step-6 add the following code in global.css file
@tailwind base;
@tailwind components;
@tailwind utilities;
Deploy on Vercel
The easiest way to deploy your Next.js app is to use the Vercel Platform from the creators of Next.js.
Check out our Next.js deployment documentation for more details.