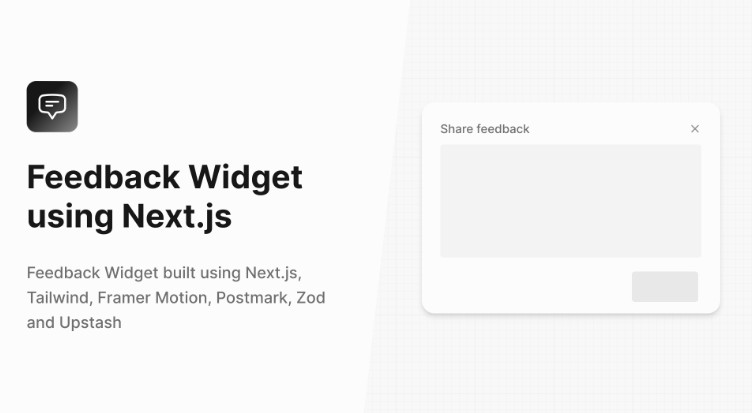
Feedback Widget for Next.js
Create a Feedback Widget for your Next.js site with two steps. See the demo

1. Frontend
Install @upstash/feedback:
npm install @upstash/feedback
Import css and component:
// pages/_app.js
import '@upstash/feedback/dist/style.css'
import FeedbackWidget from '@upstash/feedback'
export default function MyApp({ Component, pageProps }) {
return (
<>
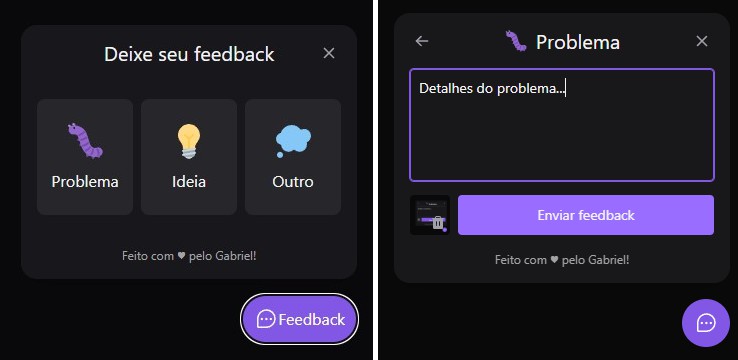
<FeedbackWidget type="full" />
<Component {...pageProps} />
</>
)
}
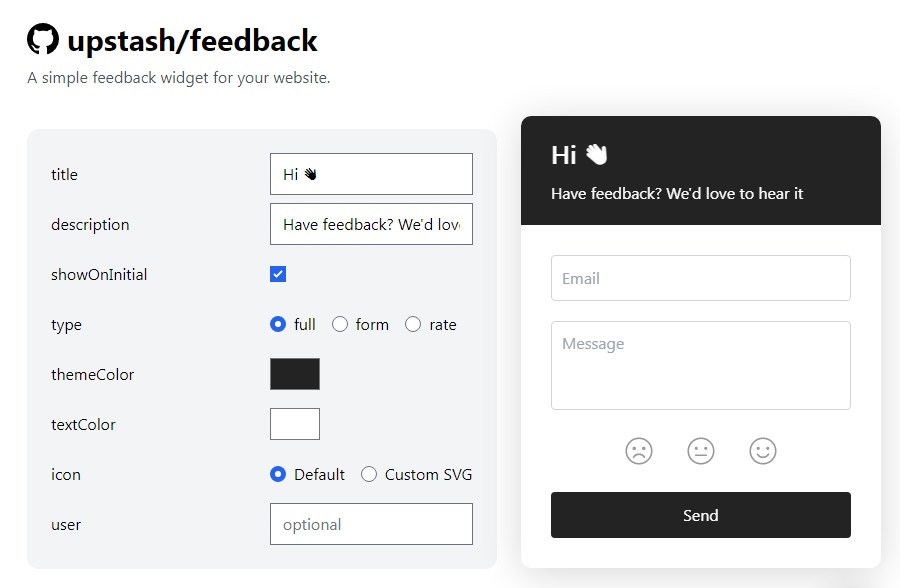
The options can be passed as React props
| key | type | default | accept |
|---|---|---|---|
user? |
string | ||
metadata? |
object | null | |
type? |
string | “form” | ‘form’, ‘rate’, ‘full’ |
apiPath? |
string | ‘api/feedback’ | |
themeColor? |
string | ‘#5f6c72’ | |
textColor? |
string | ‘#ffffff’ | |
title |
string, React.ReactElement | ||
description |
string, React.ReactElement | ||
showOnInitial? |
boolean | false | |
children? |
React.ReactElement |
2. Backend
The data will be kept at Upstash Redis. Create a free Redis database at Upstash Console
Install @upstash/redis:
npm install @upstash/redis
Create API:
// pages/api/feedback.js

import upstash from '@upstash/redis'

const redis = upstash('UPSTASH_REDIS_REST_URL', 'UPSTASH_REDIS_REST_TOKEN')

export default async function FeedbackWidgetAPI(req, res) {
  try {
    const { error } = await redis.hset('feedback', Date.now(), req.body)
    if (error) throw error

    return res.status(200).json({ message: 'success' })
  } catch (err) {
    return res.status(400).json({ message: err })
  }
}
UPSTASH_REDIS_REST_URLandUPSTASH_REDIS_REST_TOKENcan be found at the database details page in Upstash Console.
Data Administration
The submitted forms can be managed on Upstash Console Integrations page.

Submitting the User Id
If you already have an id (or email) for the current user, you can pass it to the component as a parameter, so the feedback will be stored together with the user’s id.
<FeedbackWidget type="full" user={currentUser.email}/>
Also, you can set a user id just to hide email input, so the form can be submitted anonymously.
<FeedbackWidget type="full" user="anything"/>