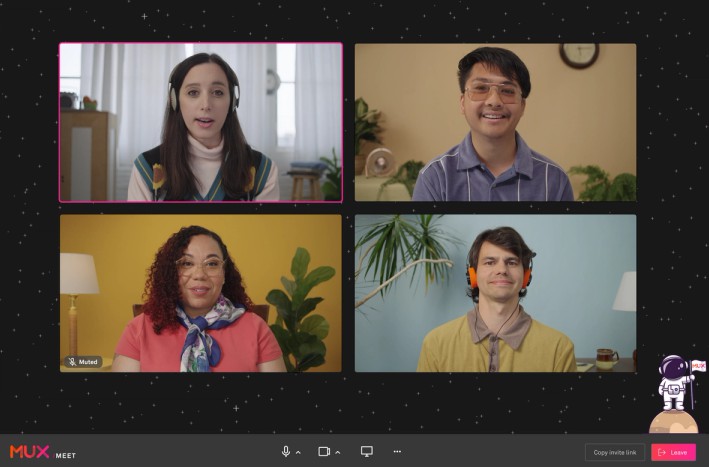
Mux Meet
Mux Meet is a reference implementation of Mux Real-Time Video, in React, using the Next.js framework.

Getting Started
First, create a space to meet in. For all of these steps we will be using the ‘Development’ environment. But feel free to use ‘Production’ when ready.
Log in to https://dashboard.mux.com. In the left navigation menu, click on Spaces from within the “/VIDEO” section. Click ‘Create New Space’ and follow the prompts to create a new space.
Now, create a .env.local file at the root of the repo with the following secrets:
MUX_TOKEN_ID=
MUX_TOKEN_SECRET=
MUX_SIGNING_KEY=
MUX_PRIVATE_KEY=
To generate the MUX_TOKEN_ID and MUX_TOKEN_SECRET, log in to https://dashboard.mux.com. Open API Access Tokens from the navigation menu on the left. And generate a new token with Mux Video permissions. You will be given a MUX_TOKEN_ID and a MUX_TOKEN_SECRET. Fill in the values for the .env.local file and don’t commit them into the repo.
To generate the MUX_SIGNING_KEY and MUX_PRIVATE_KEY, log in to https://dashboard.mux.com. Open Signing Keys from the navigation menu on the left. And generate a new Video key. You will be given the MUX_SIGNING_KEY as well as the MUX_PRIVATE_KEY. Fill in the values for the .env.local file and don’t commit them into the repo. For MUX_PRIVATE_KEY make sure you use the base64-encoded version rather than the raw .pem file download.
Then, run the development server:
npm run dev
Open http://localhost:3000 with your browser to see the result.
You can start editing the page by modifying pages/index.tsx. The page auto-updates as you edit the file.
Learn More
To learn more about Next.js, take a look at the following resources:
- Next.js Documentation – learn about Next.js features and API.
- Learn Next.js – an interactive Next.js tutorial.
You can check out the Next.js GitHub repository – your feedback and contributions are welcome!