Commerce Layer Starter
A multi-country ecommerce starter that features the sanity studio built with Commerce Layer, Next.js, and deployed to Netlify.


What is Commerce Layer?
Commerce Layer is a multi-market commerce API and order management system that lets you add global shopping capabilities to any website, mobile app, chatbot, wearable, voice, or IoT device, with ease. Compose your stack with the best-of-breed tools you already mastered and love. Make any experience shoppable, anywhere, through a blazing-fast, enterprise-grade, and secure API.
Table of contents
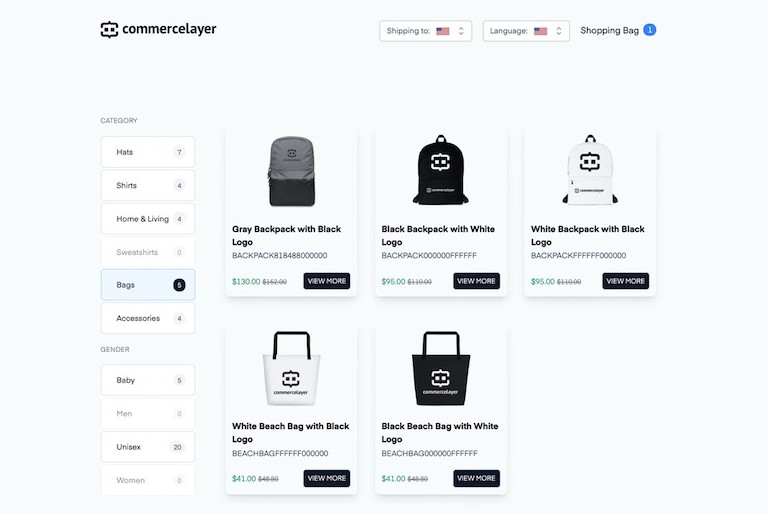
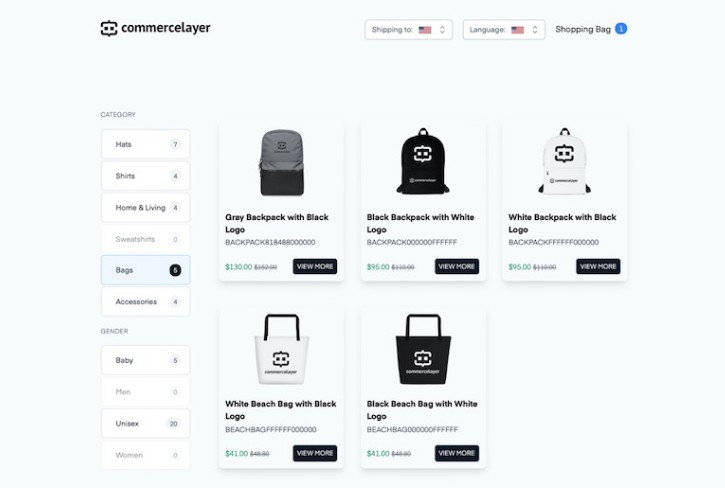
Starter features
- An ecommerce storefront built with Nextjs, Commerce Layer react components library, and Tailwind CSS.
- International shopping capabilities powered by Commerce Layer APIs.
- Micro CLI seeder to import Commerce Layer data.
- Structured content on Sanity CMS.
- Localization support.
- Deployment configuration to Netlify.
Getting started
The quickest way to get up and running is to go to https://www.sanity.io/create?template=commercelayer/sanity-template-commercelayer and create a new project by following the instructions on Sanity.
Alternatively, you can clone this repository, configure the starter, import the dataset into your Sanity studio, import some test data into your Commerce Layer organization, and deploy your application.

⚙️ Installation guide
-
Clone this repository (learn how to do this).
-
Rename the
/env.examplefile to.envand add the following:
- Your project ID, dataset, and token from manage.sanity.io.
- Your client ID and client endpoint from Commerce Layer.
- Run the command below to install the necessary dependencies of your project:
npm install && cd /studio && sanity install
-
Add your
projectTitle,projectId,anddatasetin/studio/sanity.json. -
Run the command below to start the development server:
npm run dev
This will run the frontend at localhost:3000 and studio at localhost:3333.
⬇️ Import test studio content
If you set up your project from the starters page on Sanity, you should skip this step as Sanity will automatically add the dataset’s content.
- Extract the
production.tar.gzfile in/.sanity-template/datadirectory using the command below:
tar -xf production.tar.gz
The extracted folder name should look like production-export-2021-02-26t14-15-56-557z.
- Run the command below in
/studioto import thedata.ndjsonfile in the extracted folder.
sanity dataset import ../.sanity-template/data/<name of extracted folder>/data.ndjson <your_dataset>
- Check the frontend and studio now to preview the imported content.
⬇️ Seed Commerce Layer data
-
Create a free Commerce Layer account.
-
Create a new organization.
-
Create a new application in the Integrations tab with Name set to
<Project Name>, and Role set toadmin. -
In your newly created application, copy your
Client ID,Client Secret, and organization slug. -
Install the Commerce Layer CLI which is available as an npm package using the command below:
// npm
npm install -g @commercelayer/cli

//yarn
yarn global add @commercelayer/cli
- Log into your application via the CLI using the previously created CLI credentials like so:
commercelayer applications:login -o <organizationSlug> -i <clientId> -s <clientSecret> -a <applicationAlias>
- Install the seeder plugin using the command below:
commercelayer plugins:install seeder
- Run the command below to import a set of products, related prices, and inventory into your organization.
commercelayer seed
- To see the commands for other seeder options, type the command below:
commercelayer --help
Contributors guide
-
Fork this repository (learn how to do this here).
-
Clone the forked repository like so:
git clone https://github.com/<your username>/sanity-template-commercelayer.git && cd sanity-template-commercelayer
-
Make your changes and create a pull request (learn how to do this).
-
Someone will attend to your pull request and provide some feedback.
Need help?
-
Create an issue in this repository.
-
Ping us on Twitter.
License
This repository is published under the MIT license.
Want to learn more about how we built this starter and how you can build yours? Sign up for our newsletter to get notified once we publish the article.