Windmill with Laravel Breeze as Backend API
Introduction
This repository is an implementing of the Laravel Breeze application / authentication starter kit frontend in Next.js. All of the authentication boilerplate is already written for you – powered by Laravel Sanctum, allowing you to quickly begin pairing your beautiful Next.js frontend with a powerful Laravel backend.
Official Documentation
Installation
First, create a Next.js compatible Laravel backend by installing Laravel Breeze into a fresh Laravel application and installing Breeze’s API scaffolding:
# Create the Laravel application...
laravel new next-backend

cd next-backend

# Install Breeze and dependencies...
composer require laravel/breeze

php artisan breeze:install api
Next,
-
Ensure that your application’s
APP_URLandFRONTEND_URLenvironment variables are set tohttp://localhost:8000andhttp://localhost:3000/example, respectively. -
In
app/Providers/RouteServiceProvider.php, update :public const HOME = '/'; -
In
app/Http/Middleware/Authenticate.php, update :
protected function redirectTo($request)
{
    if (! $request->expectsJson()) {
        return config('app.frontend_url').'/login?next_to='.urlencode($request->url());
    }
}
- In
app/Http/Middleware/RedirectIfAuthenticated.php, update :
public function handle(Request $request, Closure $next, ...$guards)
{
    $guards = empty($guards) ? [null] : $guards;

    foreach ($guards as $guard) {
        if (Auth::guard($guard)->check()) {
            return redirect(config('app.frontend_url').RouteServiceProvider::HOME);
        }
    }

    return $next($request);
}
- In
config/cors.php, update :
<?php

$frontedUrl = env('FRONTEND_URL', '*');

if ($frontedUrl !== '*') {
    $parsed = parse_url($frontedUrl);
    $frontedUrl = sprintf(
        '%s://%s%s',
        $parsed['scheme'],
        $parsed['host'],
        isset($parsed['port']) ? ':' . $parsed['port'] : ''
    );
}

return [

    /*
    |--------------------------------------------------------------------------
    | Cross-Origin Resource Sharing (CORS) Configuration
    |--------------------------------------------------------------------------
    |
    | Here you may configure your settings for cross-origin resource sharing
    | or "CORS". This determines what cross-origin operations may execute
    | in web browsers. You are free to adjust these settings as needed.
    |
    | To learn more: https://developer.mozilla.org/en-US/docs/Web/HTTP/CORS
    |
    */

    'paths' => ['*'],

    'allowed_methods' => ['*'],

    'allowed_origins' => [$frontedUrl],

    'allowed_origins_patterns' => [],

    'allowed_headers' => ['*'],

    'exposed_headers' => [],

    'max_age' => 0,

    'supports_credentials' => true,

];
After defining the appropriate environment variables and update several codes above, you may serve the Laravel application using the serve Artisan command:
# Serve the application...
php artisan serve
Next, clone this repository and install its dependencies with yarn install or npm install. Then, copy the .env.example file to .env.local and supply the URL of your backend:
NEXT_PUBLIC_BACKEND_URL=http://localhost:8000
Finally, run the application via yarn dev or npm run dev. The application will be available at http://localhost:3000:
yarn dev

# or

npm run dev
Note: Currently, we recommend using
localhostduring local development of your backend and frontend to avoid CORS “Same-Origin” issues.
Authentication Hook
This Next.js application contains a custom useAuth React hook, designed to abstract all authentication logic away from your pages. In addition, the hook can be used to access the currently authenticated user:
const ExamplePage = () => {
    const { logout, user } = useAuth({ middleware: 'auth' })

    return (
        <>
            <p>{user?.name}</p>

            <button onClick={logout}>Sign out</button>
        </>
    )
}

export default ExamplePage
Note: You will need to use optional chaining (
user?.nameinstead ofuser.name) when accessing properties on the user object to account for Next.js’s initial server-side render.
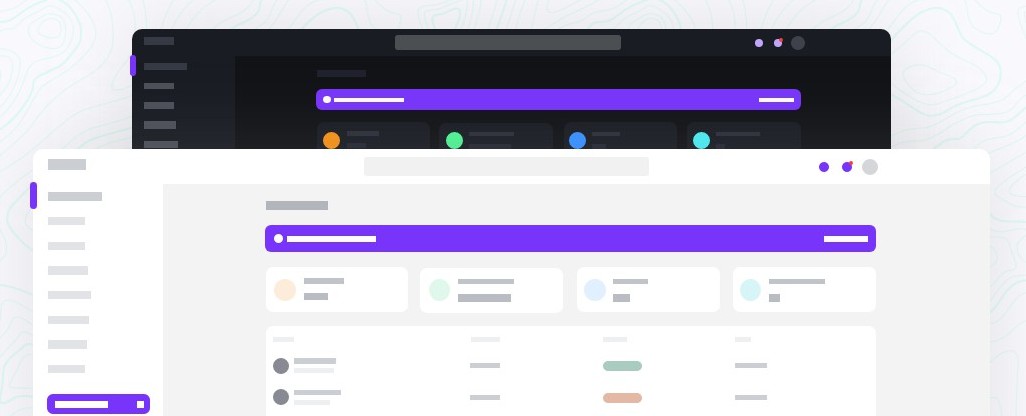
About Windmill
Windmill Dashboard Next.js Typescript

See the Original Project by @estevanmaito
This is not a template. This is a complete application, built on top of React, with all tiny details taken care of so you just need to bring the data to feed it.
Accessibility is a priority in my projects and I think it should be in yours too, so this was developed listening to real screen readers, focus traps and keyboard navigation are available everywhere.
? Features
- ? Throughly accessible (developed using screen readers)
- ? Dark theme enabled (load even different images based on theme)
- ? Multiple (custom) components
- ⚡ Code splitting
- Tailwind CSS
- Windmill React UI Documentation
- Heroicons
- Chart.js
? Docs
General components
Windmill Dashboard React is built on top of Windmill React UI.
See Windmill React UI Documentation
Example Boilerplate
All components and containers are saved in folder example
Routing
Change default redirecting when hit the / or home in file next.config.js
  async redirects() {
    return [
      {
        source: '/',
        destination: '/example/login',
        permanent: false,
      },
    ]
  }
Sidebar routes
To configure sidebar menus, see file (routes/sidebar.tsx).
These are the routes that will show in the sidebar. They expect three properties:
path: the destination;name: the name to be shown;icon: an icon to illustrate the item
Item that are used as dropdowns, like the Pages option, don’t need a path, but expect a routes array of objects with path and name:
// sidebar.js
{
  path: '/example/tables',
  icon: 'TablesIcon',
  name: 'Tables',
},
{
  icon: 'PagesIcon', // <-- this is used as a submenu, so no path
  name: 'Pages',
  routes: [
    // submenu
    {
      path: '/example/login',
      name: 'Login', // <-- these don't have icons
    },
    {
      path: '/example/create-account',
      name: 'Create account',
    },
This is a Next.js project bootstrapped with create-next-app.
Getting Started
First, install dependencies :
npm install
# or
yarn install
then, you can run the development server:
npm run dev
# or
yarn dev
Open http://localhost:3000 with your browser to see the result.
You can start editing the page by modifying pages/index.tsx. The page auto-updates as you edit the file.
API routes can be accessed on http://localhost:3000/api/hello. This endpoint can be edited in pages/api/hello.ts.
The pages/api directory is mapped to /api/*. Files in this directory are treated as API routes instead of React pages.
Learn More
To learn more about Next.js, take a look at the following resources:
- Next.js Documentation – learn about Next.js features and API.
- Learn Next.js – an interactive Next.js tutorial.
You can check out the Next.js GitHub repository – your feedback and contributions are welcome!
Deploy on Vercel
The easiest way to deploy your Next.js app is to use the Vercel Platform from the creators of Next.js.
Check out our Next.js deployment documentation for more details.