We-Vibe
A real time web-app for one to one chatting. The project is broadly divided into two parts – Server and Public (client). The Socket.io module has been used for bi-directional and low latency communication
Tech Stack Used
MERN
Hosting Platform
The Web-App (used Netlify): https://wevibe.netlify.app/ The Server (Used Heroku): https://wevibe-backend.herokuapp.com/
Ther Server is mainly used for handling the HTTP requests and accesing the mongoDB database hosted on mongoDB Atlas.
THE UI
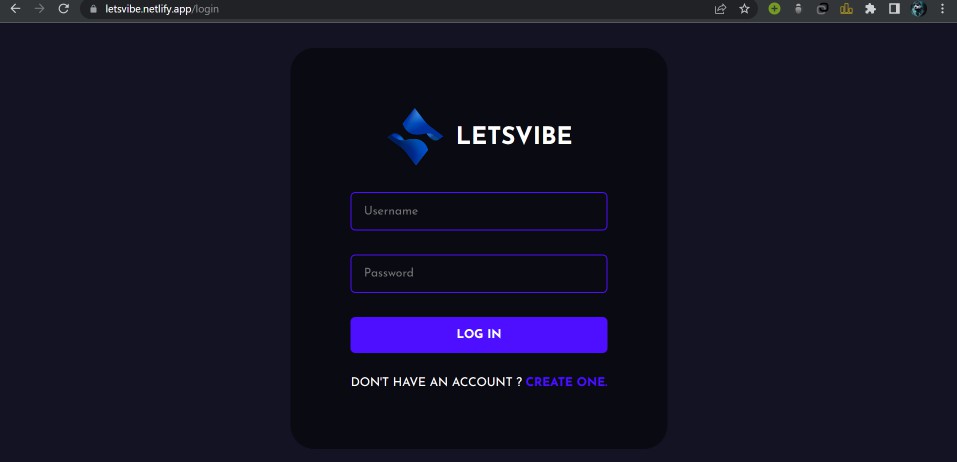
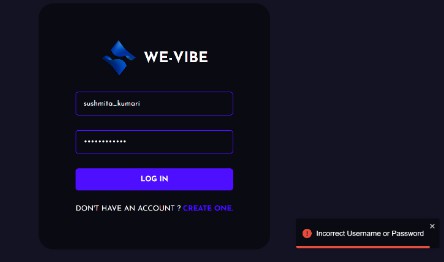
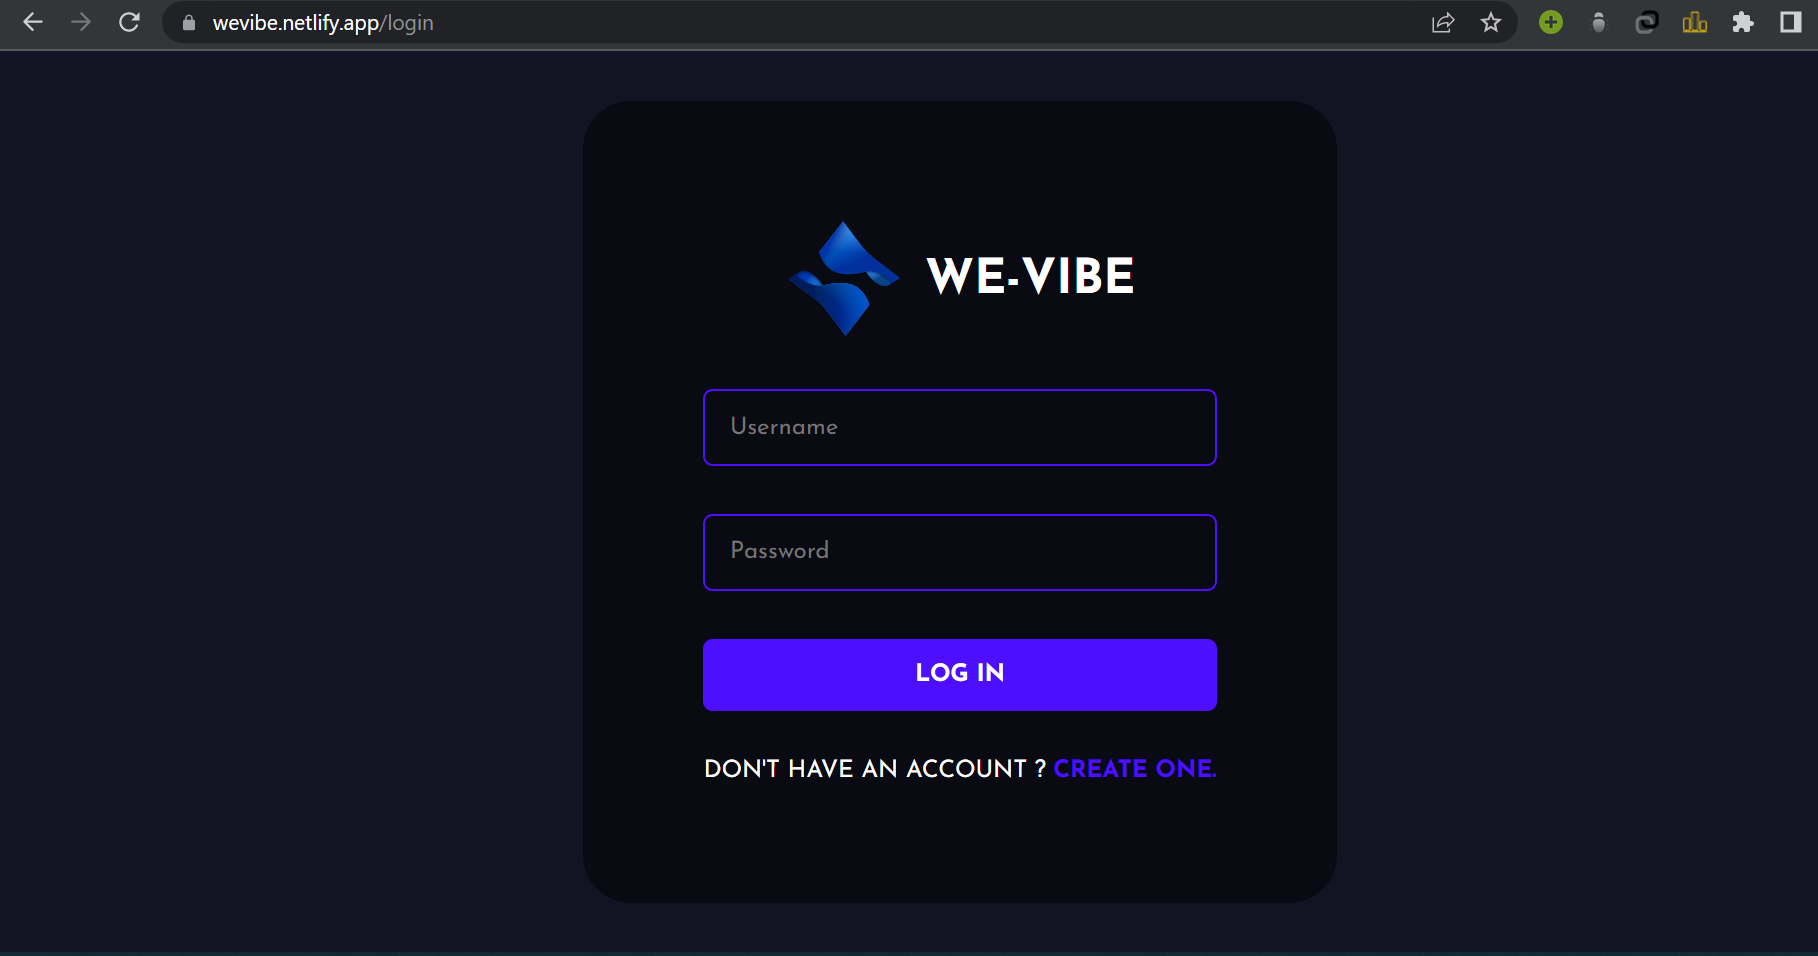
Login Page
Registration Page

Toasts
react-toastify have been used for the purposes of notifying the users.

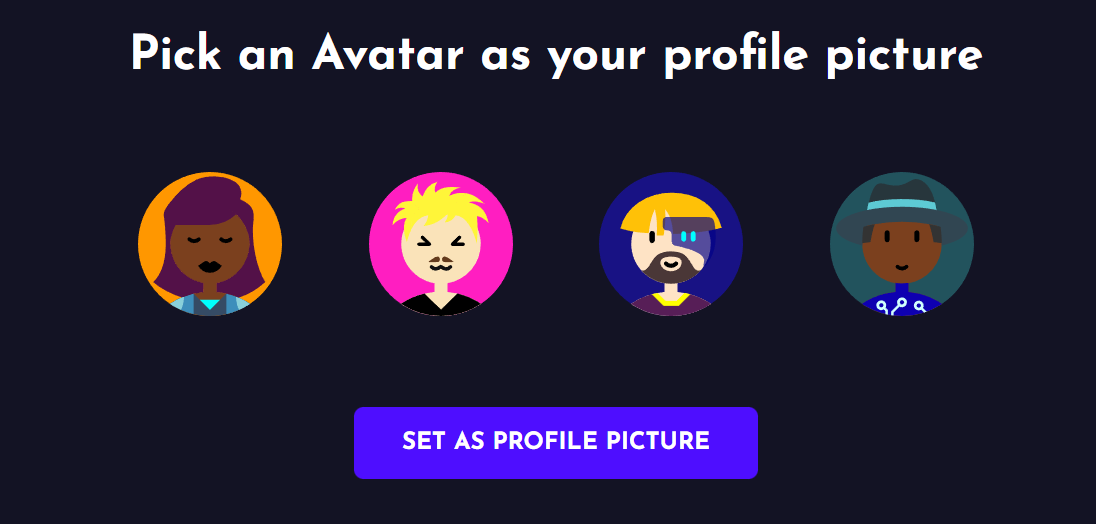
Avatar Image
Upon Registration, the User is Prompted to set an Avatar Image out of four random avatars.
These random avatars are fetched from https://api.multiavatar.com/4645646
Welcome Page

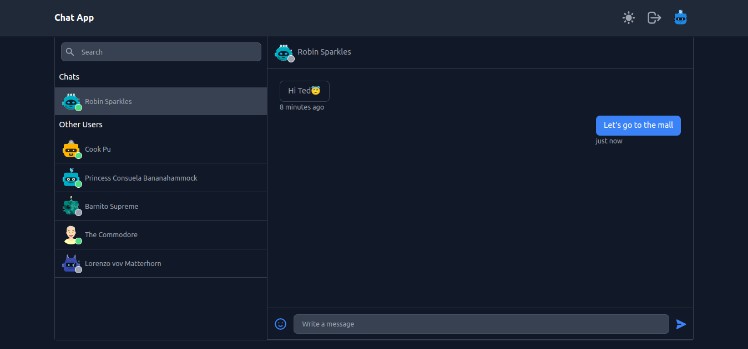
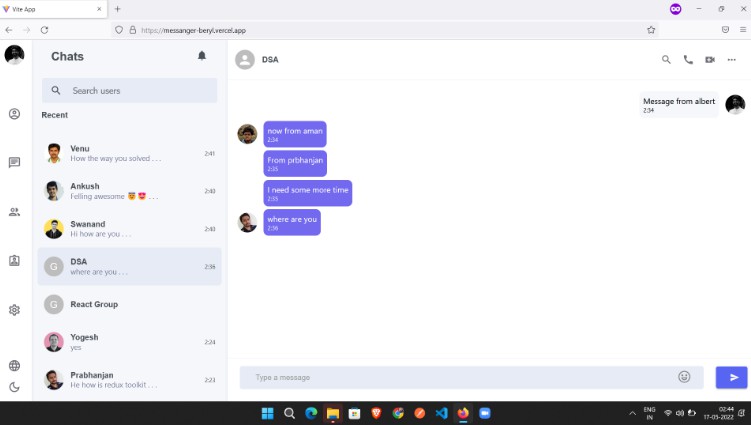
The Chat

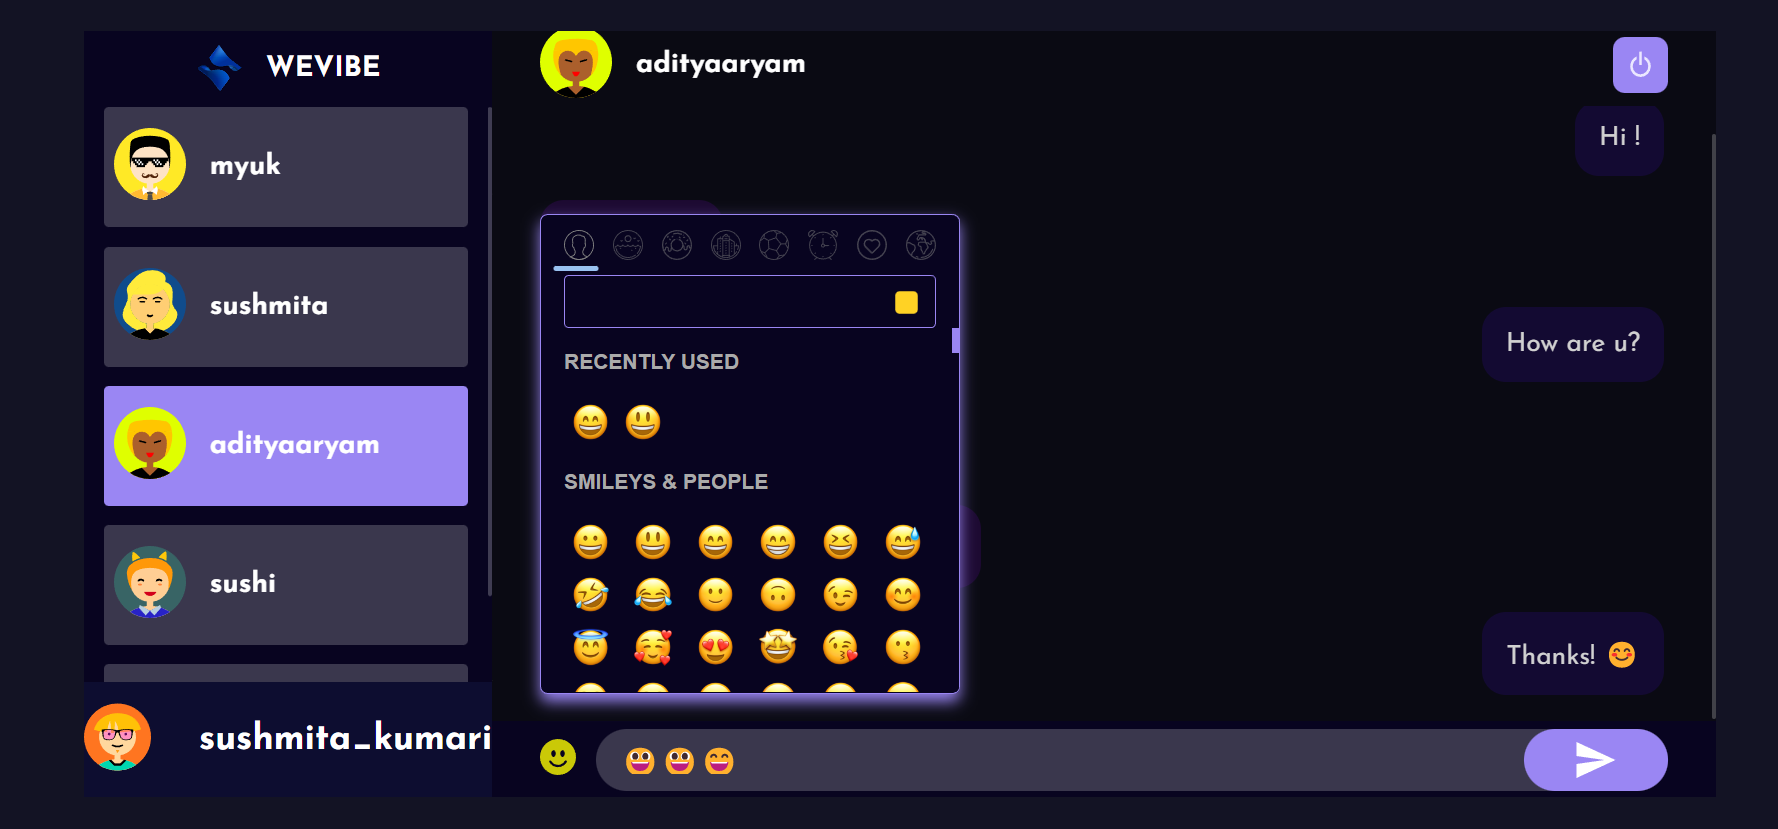
import Picker from "emoji-picker-react" for implementing the emoji’s Input.
The App and Server
Mongoose Models
Two Mongoose Models have been used – userModel & messageModel
- The
userModelstores the basic user details likeusernameemailpasswordisAvatarImageSetavatarImage - The
messageModelcontains themessageuserssender
The userSchema
const userSchema = new mongoose.Schema({
  username: {
    type: String,
    required: true,
    min: 3,
    max: 20,
    unique: true,
  },
  email: {
    type: String,
    required: true,
    unique: true,
    max: 50,
  },
  password: {
    type: String,
    required: true,
    min: 8,
  },
  isAvatarImageSet: {
    type: Boolean,
    default: false,
  },
  avatarImage: {
    type: String,
    default: "",
  },
});
The messageSchema
const MessageSchema = mongoose.Schema(
  {
    message: {
      text: { type: String, required: true },
    },
    users: Array,
    sender: {
      type: mongoose.Schema.Types.ObjectId,
      ref: "User",
      required: true,
    },
  },
  {
    timestamps: true,
  }
);
User Registration and Login
The input changes in the login/regsitartion forms are continuously tracked using {useState} from "react"
On submitting, the handleSubmit functions for the respective action (login/register) are called using the onSubmit attribute.
<form action="" onSubmit={(event) => handleSubmit(event)}>
handleSubmitfor Loginconst handleSubmit = async (event) => { event.preventDefault(); if (validateForm()) { const { username, password } = values; const { data } = await axios.post(loginRoute, { username, password, }); if (data.status === false) { toast.error(data.msg, toastOptions); } if (data.status === true) { localStorage.setItem( process.env.REACT_APP_LOCALHOST_KEY, JSON.stringify(data.user) ); navigate("/"); } } };
handleSubmitfor Registrationconst handleSubmit = async (event) => { event.preventDefault(); if (handleValidation()) { const { email, username, password } = values; const { data } = await axios.post(registerRoute, { username, email, password, }); // console.log(data); if (data.status === false) { toast.error(data.msg, toastOptions); } if (data.status === true) { localStorage.setItem( process.env.REACT_APP_LOCALHOST_KEY, JSON.stringify(data.user) ); navigate("/"); } } };
axios.post() is used for the HTTP post request through which the data is passed on to the backend server where the login and regsiter APIs are implemented.
The backend server uses bcrypt which hashes and salts the password, before we store it in our database.
-
Register API
  module.exports.register = async (req, res, next) => {
    try {
      const { username, email, password } = req.body;
      const usernameCheck = await User.findOne({ username });
      if (usernameCheck)
        return res.json({ msg: "Username already used", status: false });
      const emailCheck = await User.findOne({ email });
      if (emailCheck)
        return res.json({ msg: "Email already used", status: false });
      const hashedPassword = await bcrypt.hash(password, 10);
      const user = await User.create({
        email,
        username,
        password: hashedPassword,
      });
      delete user.password;
      return res.json({ status: true, user });
    } catch (ex) {
      next(ex);
    }
  };
req.bodyis destructured intousernameemailpassword.- First we check if the user already exists in our database, if so we toast an error with a message
Username already usedorEmail already useddepending on the scenario. - If they don’t, the password (user input) undergoes hashing and ten rounds of salting. Hashing and salting exponentially increases the security level, and makes it impossible to decrypt this encrypted password.
- This
hashed passwordis now stored in our database alongsideusernameandemail.
-
Login API
  module.exports.login = async (req, res, next) => {
    try {
      const { username, password } = req.body;
      const user = await User.findOne({ username });
      if (!user)
        return res.json({ msg: "Incorrect Username or Password", status: false });
      const isPasswordValid = await bcrypt.compare(password, user.password);
      if (!isPasswordValid)
        return res.json({ msg: "Incorrect Username or Password", status: false });
      delete user.password;
      return res.json({ status: true, user });
    } catch (ex) {
      next(ex);
    }
  };
req.bodyis destructured intousernamepassword.- First we find the username in our database, if no user found, toast an error with a message
Incorrect Username or Password. - If found, we compare the user input password with the hashed password stored against the input username using
bcrypt.compare()which return a boolean. - If evaluated to false, toast an error with the message
Incorrect Username or Password. - Else return an object to the client, with status as true, and other user details which have been fetched from the database.
- On the Client side, this user data is set in the
localStoragefor checking if the user is logged in or not usinguseEffectfromreact.
Sending Message
Implemented using the scket.io model
  global.onlineUsers = new Map();
  io.on("connection", (socket) => {
    global.chatSocket = socket;
    socket.on("add-user", (userId) => {
      onlineUsers.set(userId, socket.id);
    });

    socket.on("send-msg", (data) => {
      const sendUserSocket = onlineUsers.get(data.to);
      if (sendUserSocket) {
        socket.to(sendUserSocket).emit("msg-recieve", data.msg);
      }
    });
  });
we create a socket for each user and map to each userID. Whenever a new chat is selected and a message is send, it travels through the circuit, using the socket which has been mapped to the userID.
-
handleSendMsgfunctionconst handleSendMsg = async (msg) => { const data = await JSON.parse( localStorage.getItem(process.env.REACT_APP_LOCALHOST_KEY) ); socket.current.emit("send-msg", { to: currentChat._id, from: data._id, msg, }); await axios.post(sendMessageRoute, { from: data._id, to: currentChat._id, message: msg, }); const msgs = [...messages]; msgs.push({ fromSelf: true, message: msg }); setMessages(msgs); };
- Here
socket.currentis the socket associated with a particular userID. socket.emit()is used for sending message to all user connected to that socket except self. Heresocket.currentmaps to only one, thus the message is only sent to the current chat selected.- Also we store all the messages using our messageModel, so that they can be loaded onto to the client side in the future. Aparts, to succesfully access the correct messages in the future, we also need to store the
from: data._idandto: currentChat._id
- Here
Configure the
.envfile as required and usenpm installto install the required dependencies to run this web-app on your local system. Suugesting Improvements are welcome!