choonio
Remember Google Play Music?
Well, it's dead now.
I really liked it, so I made this.
Status
![]()
What is this?
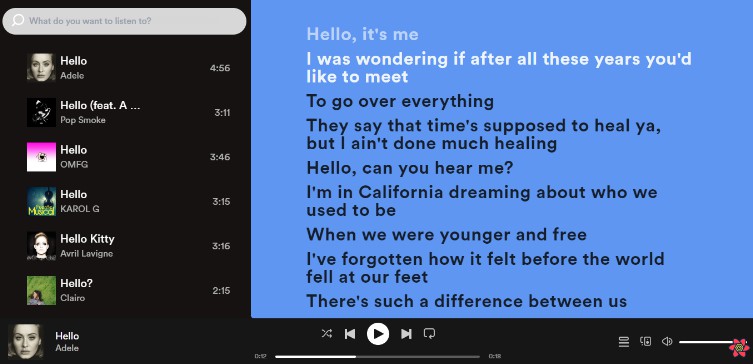
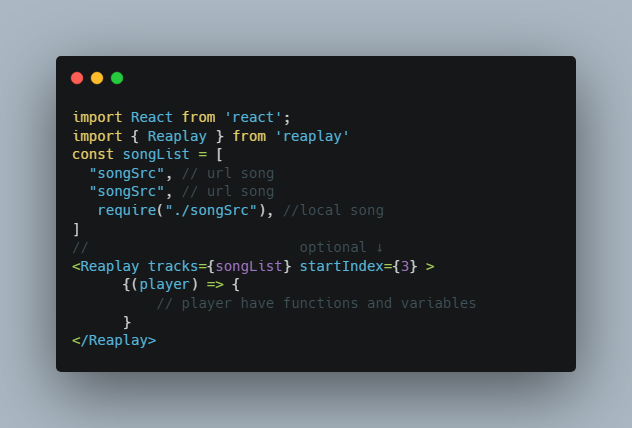
This project is a local media player for desktops, using a web browser with a UI that is very similar to the Google
Play Music user interface.
It uses LibVLC and vlcj to play media files on your own computer.
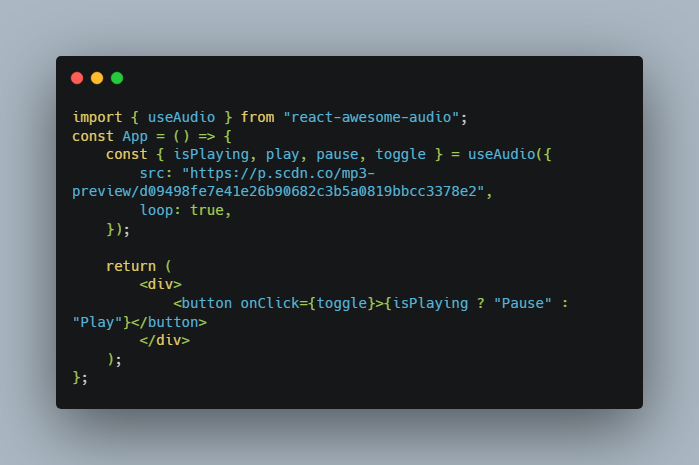
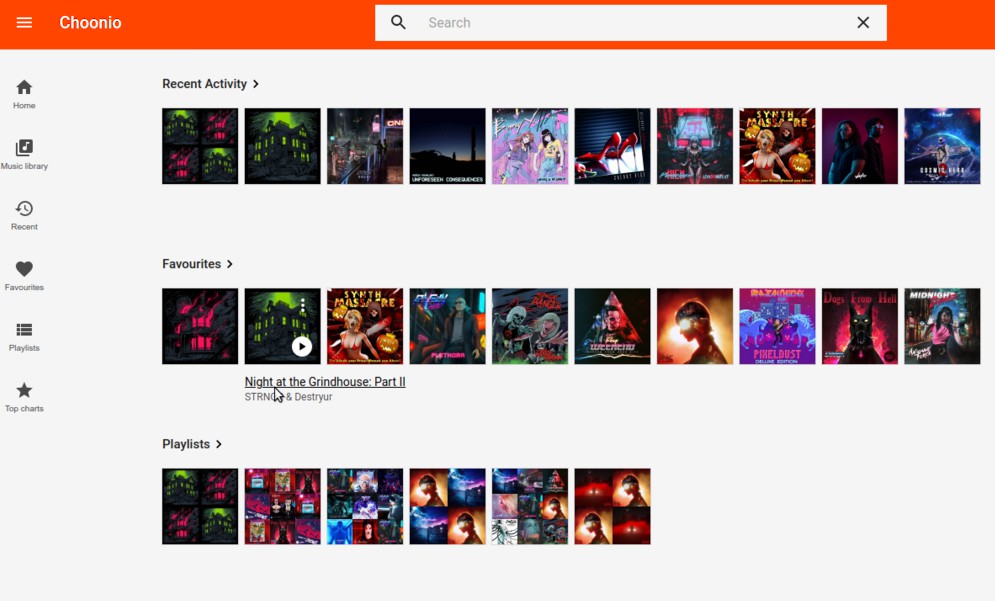
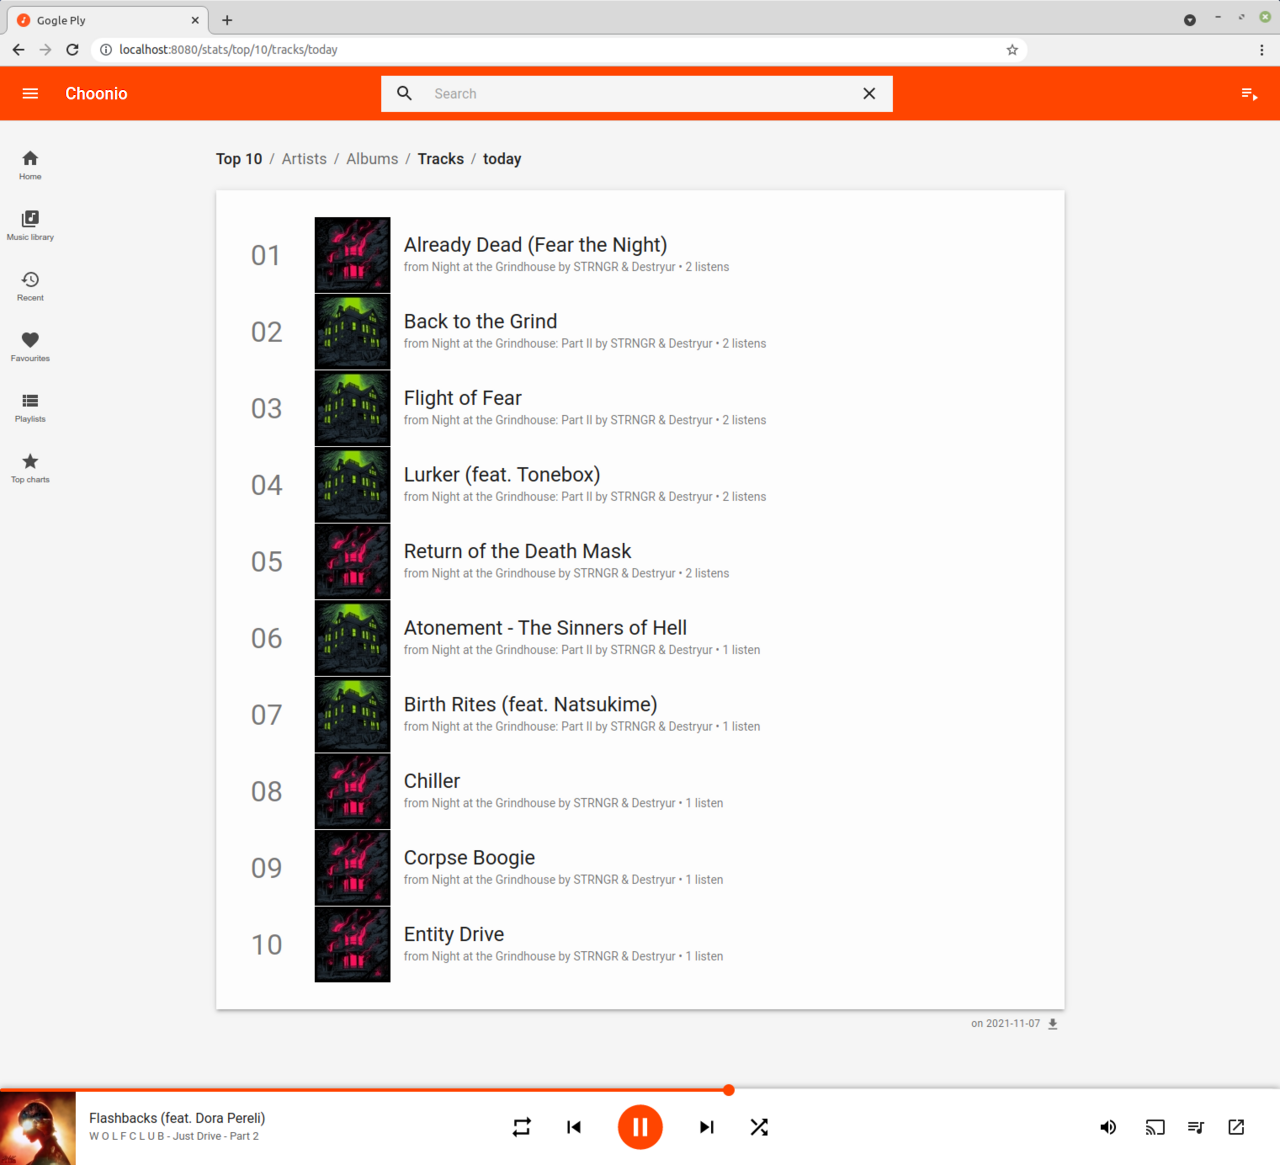
Screenshots and video
Here are some screenshots to give an idea of what this project is...


There are also some short videos at YouTube,
including a two-minute video showing going from scratch
to cloning the project from GitHub, then building and running the application.
What this is not?
This is not (yet?) a music streaming server, although it could maybe be made into one someday.
So, no streaming to your phone or tablet.
What else?
Primarily this is a fully-functional (well, almost), suitable for everyday use, desktop media player.
In addition, it is also a technology/competence demonstration for some interesting contemporary technologies that I use
for my day job:
- Java
- Spring Boot
- Spring WebFlux
- Reactor
- Jetty
- MongoDB
- React
- React Query
- Material UI
- Typescript
- Docker
Current status
This is a fully functional media player that I use for hours every day. Things are mostly complete, and what is there
should be fully working.
Like a lot of software projects, this will likely never be "finished", but right now it is in pretty good shape and
completely stable and usable.
There is still plenty that could be done and there may be some rough edges.
It also has to be said that currently this is more of a project for developers than end-users - what this means is that
this isn't (yet?) a turnkey installation that you can just download and run - you may need to be comfortable installing
your own MongoDB server or using Docker.
It could also do with an accessibility pass as well as a localisation pass.
Tests
There is a lot of code here, which ideally means a lot of tests.
The backend API server has a lot of tests with a high degree of, although not full, code coverage.
The frontend has only a modest number of representative tests, both unit-tests using Jest and some integration tests
using Cypress. Frontend testing and coverage is therefore far from ideal.
Prerequisites
A goal of this project is to pretty much use the latest available versions of everything it uses.
- A Java 17 runtime environment, or JDK
- MongoDB 4.4.x, earlier versions are NOT supported
- VLC 4.x, using vlcj 5.0.0
VLC 4.x is currently in pre-release status - you will need to build it yourself or use a nightly build from VideoLAN.
Database
This application requires the use of a MongoDB database.
You can use a pre-existing MongoDB database, a local standard installation, or a database running inside a Docker
container.
You can configure the MongoDB database connection details in an application.properties or application.yaml file in
the same directory that you start the application from.
For example, application.yaml:
spring:
  data:
    mongodb:
      host: localhost
      port: 27017
      database: choonio
      username: choonio-user
      password: toomanysecrets
Building and running
Note from the pre-requisites that Java 17 is required to build or run this project.
Building from sources
Clone the GitHub repository, and in the top-level directory of the project:
mvn clean install
Or if you want to build and run:
mvn clean install spring-boot:run
This will build the backend API and the frontend UI React application.
If you just want to run the project:
mvn spring-boot:run
Note however that this spring-boot goal will always build the application first, including the frontend application
build using yarn, so it might take some time.
Note also that when using spring-boot:run to launch the application, which ordinarily you would not use, you must
ensure your local configuration file (with at least database connection details) is present in the choonio-core
directory, not the top level project directory.
Running
At the very least, you must create an application.properties or application.yaml file that specifies the MongoDB
connection details.
This file must be located in the current directory when you launch the application.
After running mvn install as described above, a standalone jar file will be created:
./choonio/choonio-core/target/choonio-core-[VERSION].jar
This jar can be executed directly, or converted into an operating service or whatever.
To execute the jar:
java -jar ./choonio-core/target/choonio-core-[VERSION].jar
Or from the same directory as the jar file:
java -jar choonio-core-[VERSION].jar
Launching the frontend user interface
Start a web browser and visit:
http://localhost:8080
The port number can be changed, see the developer notes below.
Adding your media library
Your media needs to be structured in a particular way so that it can be scanned and parsed correctly.
The required structure is rigid, at least for now. In principle this could be made smarter, but for now it must be as
exactly as described below.
Configuring media root directories
To start using this application, you need to configure the full names of the directories that contain your media files.
With the application running in a web browser, use the left-hand navigation drawer to select "Settings".
This will show the application settings screen with some tabs, select the "Library" tab.
In this settings tab you can enter the full names of the directories containing your media file.
The settings are automatically saved when you tab-off or click away from the input field.
Media directory structure
A specific directory structure is expected, for example if the media root directory is "/home/music":
/home/music
/home/music/Some Cool Artist
/home/music/Some Cool Artist/Some Cool Album
/home/music/Some Cool Artist/Some Cool Album/01 Some Cool Track.mp3
/home/music/Some Cool Artist/Some Cool Album/02 Another Cool Track.mp3
/home/music/Some Cool Artist/Some Cool Album/cover.jpg
/home/music/Some Cool Artist/Another Cool Album
/home/music/Some Cool Artist/Another Cool Album/01 Yet Another Cool Track.mp3
/home/music/Some Cool Artist/Another Cool Album/cover.jpg
Within each album directory, your media files and a base cover art file.
The media files require good meta information (e.g. ID3 tags), with album name, album artist name, (track) artist name,
genre, track number and so on.
Scanning media
Using the "Scan" tab, press the "Regenerate Catalog" button to scan your configured media root directories.
This scanning progress will search for media files and cover art, parse the metadata, generate the media catalog in the
database, and process the cover art to generate all the art files of the various sizes that the application uses.
This process can take some significant time if you have a large collection.
Automatic backups
Key data is backed up regularly to locally stored gzipped JSON files - this includes favourites, recents, ratings, plays
and so on.
By default, a backup is executed on every startup and shutdown of the application, and on a periodic schedule (e.g.
every 30 minutes).
These backups can be imported back into the application using the web-service API.
Configuring the application
There are a lot of configuration options that can safely be left to their default values.
To override the default configuration, add property overrides to an application.properties or application.yaml file
and have that configuration file be in the current directory when launching the application.
Since this is a standard Spring Boot application, you can use the normal Spring Boot mechanisms for overriding
configuration.
To see the available configuration options, look at choonio-core/src/main/resources/application.yaml.
License
This is an Open Source project, distributed according to the terms of the GNU Affero General Public License.
This program is free software: you can redistribute it and/or modify
it under the terms of the GNU Affero General Public License as published
by the Free Software Foundation, either version 3 of the License, or
(at your option) any later version.

This program is distributed in the hope that it will be useful,
but WITHOUT ANY WARRANTY; without even the implied warranty of
MERCHANTABILITY or FITNESS FOR A PARTICULAR PURPOSE.  See the
GNU Affero General Public License for more details.

You should have received a copy of the GNU Affero General Public License
along with this program.  If not, see <https://www.gnu.org/licenses/>.
This license applies to all project resources, source code, resources, test files, test resources, build artefacts and
anything else in the project repository at GitHub.
Contact
For any enquiries, contact mark <dot> lee <at> capricasoftware.co.uk via email.
Contributions
Contributions are welcome.
For any contribution to be accepted, all copyright in the contribution must be freely assigned to Caprica Software
Limited. Caprica Software Limited reserves the right to re-license any contribution without notice and under any terms
as we see fit.
Notice regarding mp3 files, metadata and so on
This project does not host or distribute any copyrighted media files such as third-party mp3 files.
The tests make use of our own sample mp3 files.
While some tests may use the names of real artists and albums to emulate real metadata, no material that is hosted in
this repository infringes on the copyrights of any third parties.
Developer notes
Intellij integration
This project uses the frontend-maven-plugin to integrate the frontend React application build.
When rebuilding the backend application, it is necessary to copy the frontend build into the backend static resources
directory for bundling into the application jar file. When using Maven on its own this will just work as expected.
With IntelliJ this will not happen automatically - this means that when running inside IntelliJ the frontend
application will fail to run (or update if you rebuild the frontend).
You need to play around with the IntelliJ Maven life-cycle/plugins window to come up with a configuration that will work
for your own workflow. In my case it is enough the configre the "generate-resources" lifecycle to run after every IDE
build command.

This will only work once you have built the frontend for the first time. With this configuration, it will not rebuild
the frontend each time you rebuild the backend (it can be quite slow building the frontend), but with other similar
configuration on the frontend package it is possible to rebuild the frontend after every IDE build command.
It seems like this should actually just work with IntelliJ, in that it should be smart enough to copy the necessary
build resources based on information already present in the Maven pom files - but it does not.
Client tests and coverage
yarn test
yarn test --coverage --coverageDirectory='coverage' --watchAll=false
Running as a service
Eventually an installation package will be provided that will install, configure and run the software as a system
service. For now you will have to do things manually.
Service descriptor file
See etc/choonio.service for an example.
Port overrides
By default, the backend API runs on port 8080. This can be changed on the application command-line:
java -Dserver.port=9080 -jar choonio.jar
Configuration and caches
Application caches/files are stored in ~/.choonio/
Backup and Restore with MongoDB client tools
You must remember to ensure the MongoDB client tools are version-compatible with the MongoDB server for these commands
to work.
Backup
mongodump --host <dbhost> --port <dbport> --authenticationDatabase <dbname> --username <dbuser> --password <dbpass>
Restore
mongorestore --drop --maintainInsertionOrder --host <dbhost> --port <dbport> --authenticationDatabase <dbname> --username <dbuser> --password <dbpass>