Overview
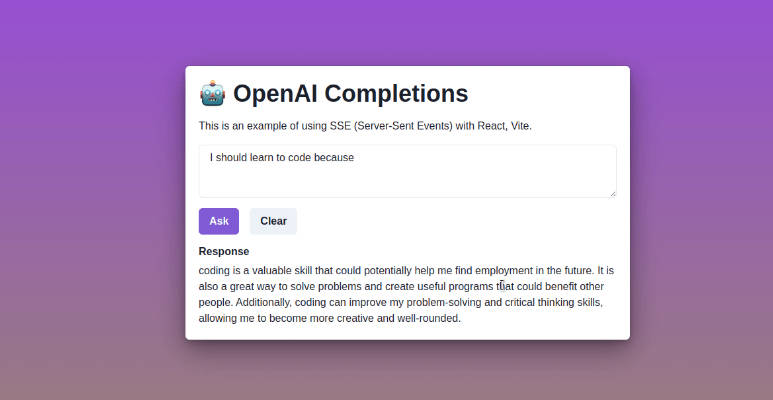
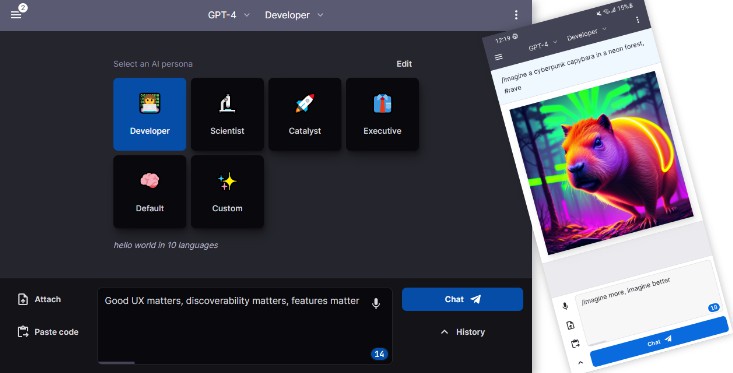
This is an Figma AI plugin template that demonstrates streaming LLM responses inside of a Figma plugin. This template shows:
- Securely storing OpenAI keys / prompts on a server
- Streaming a GPT completion to an iframe
- Streaming a GPT completion to a Figma document
- A fully functional React iframe using tailwind and Next.js
- Deploying your plugin to production
- Accessing the Figma API directly from the iframe
Getting Started
This plugin is set up to use Next.js.
First create this template using create-next-app:
npx create-next-app@latest --example https://github.com/figma/ai-plugin-template/
Next you need to store you OpenAI API key in the .env.local file. You can get an API key from the API keys page. Create a .env.local file in the root of this project and add your API key:
OPENAI_API_KEY=***
Then, run the development server:
npm i
npm run dev
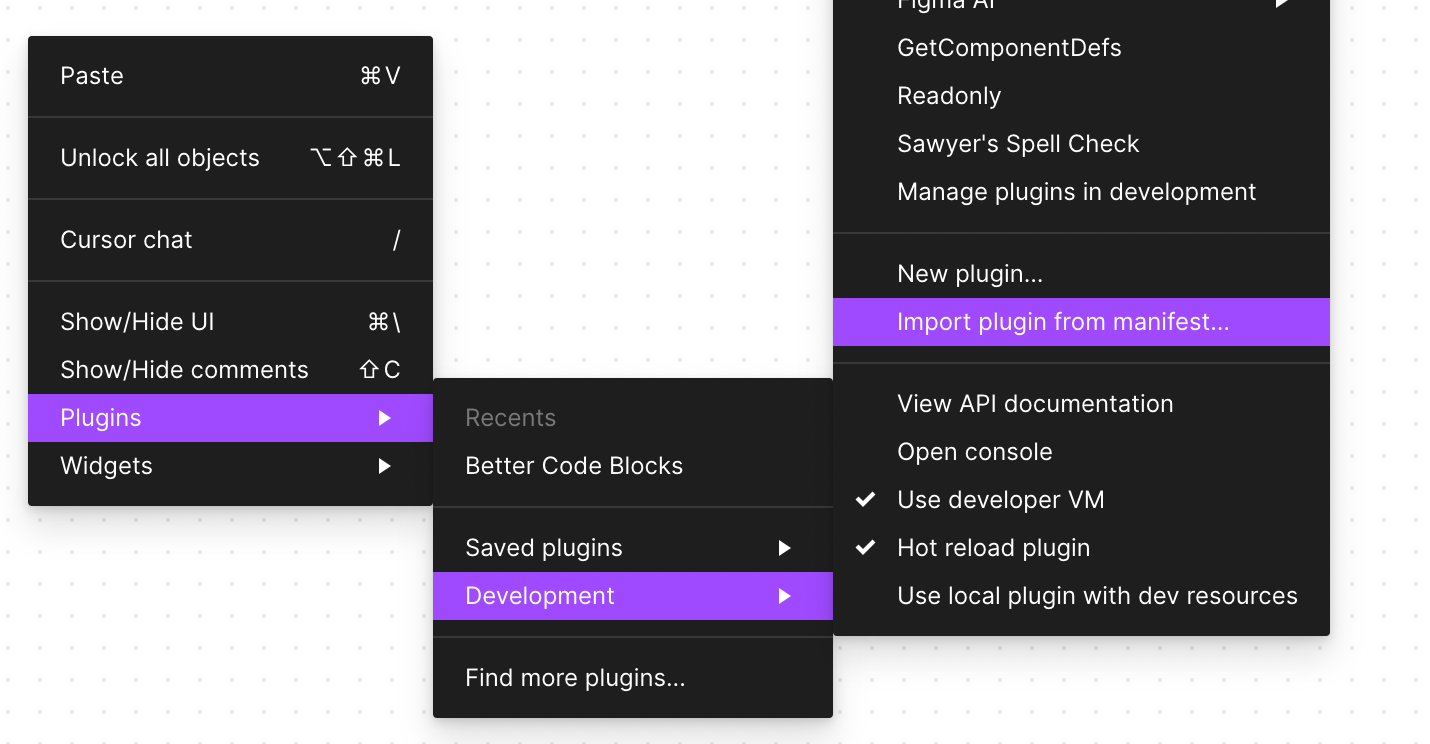
You can then open up the Figma desktop app and import a plugin from the manifest file in this project. You can right click on the canvas and navigate to Plugins > Development > Import plugin from manifest... and select the manifest.json in {path to this project}/plugin/manifest.json.
Editing this template
The main files you’ll want to edit are:
app/page.tsx: will let you update the pluginiframe. The page auto-updates as you edit the file and will let you update the user interface of your plugin.app/completion/route.ts: This is the “server” of the plugin and is what talks to OpenAI. This is where you can update the prompt that you are sending to GPT.plugin/manifest.json: this is the manifest file that will let you update the permissions and editor types of your plugin.
Publishing your plugin
In this example we will be publishing the Next.js app to Vercel. You can also publish to any other hosting provider that supports Next.js.
- If you haven’t already, push your code to a git repo on GitHub.
- Create an account on Vercel and connect your GitHub account.
- Deploy your app to Vercel. You can follow the guide (here)[https://vercel.com/docs/concepts/deployments/git].
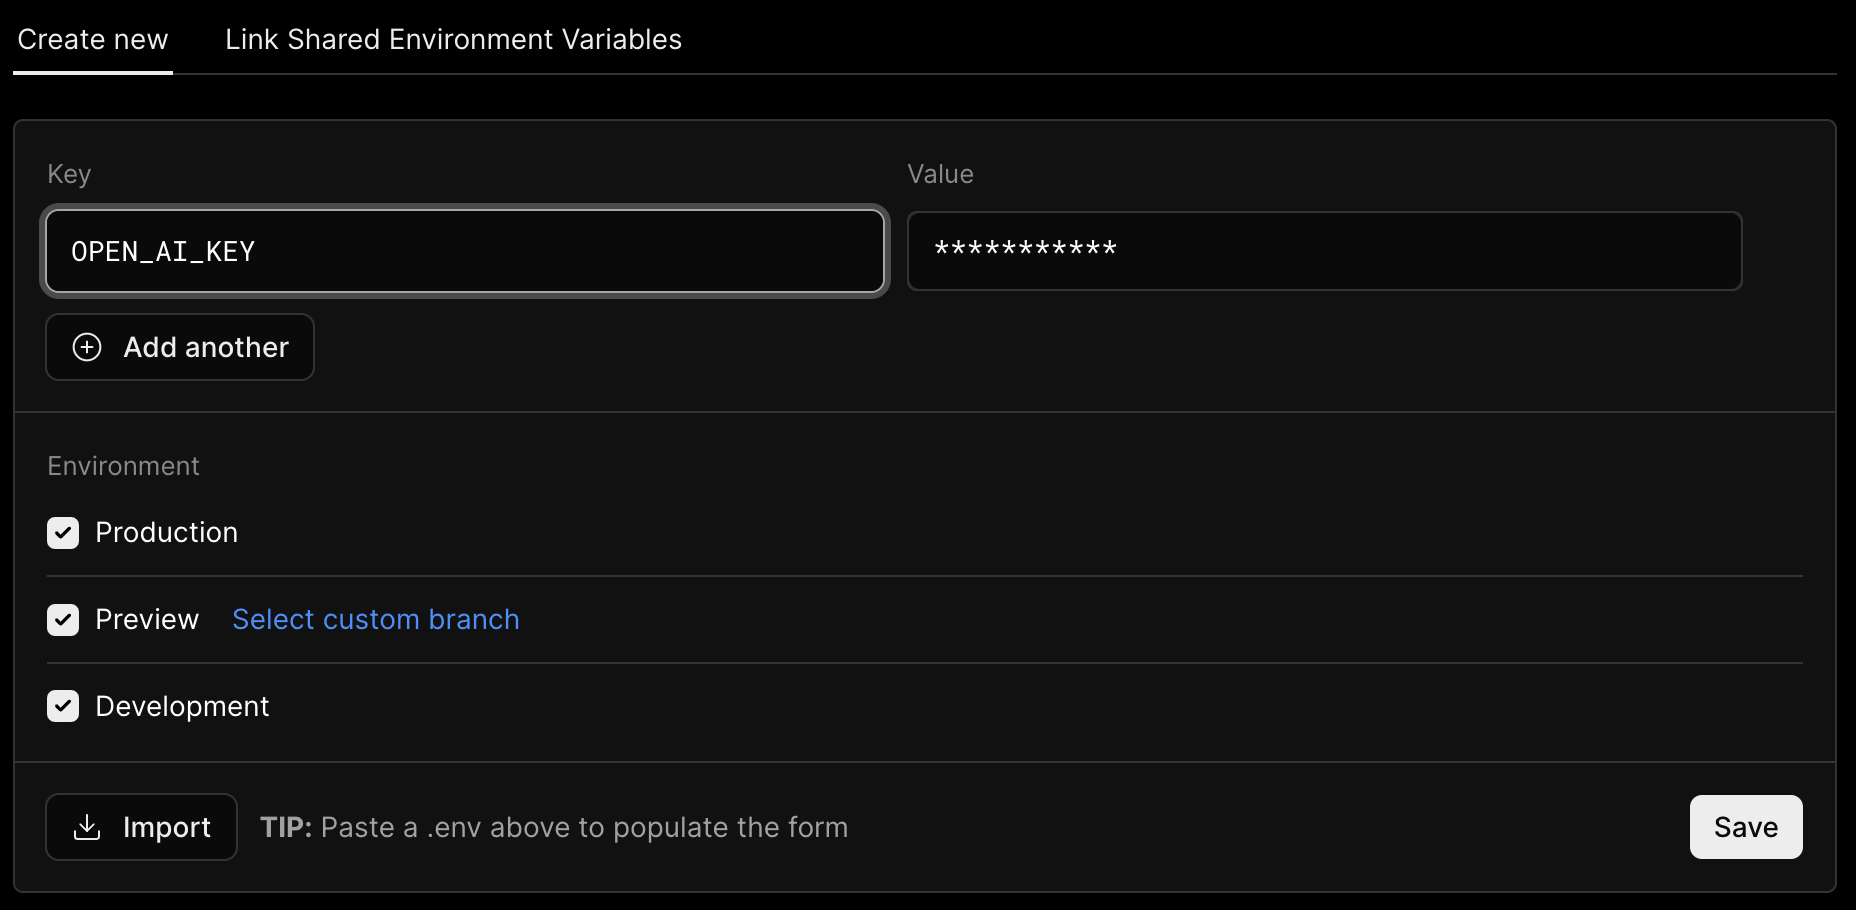
- While deploying make sure to set the environment variable
OPENAI_API_KEYto your OpenAI API key. - Once your app is deployed you can update the
siteURLsection of yourpackage.jsonfile to point to the deployed URL. It will look something likehttps://your-site-here.vercel.app/
"config": {
  "siteURL": "https://your-site-here.vercel.app/"
}
- Run
npm run buildto create the production build of your plugin that points to your deployed URL. - Test your plugin locally and make sure that it works after pointing to vercel.
- Publish your plugin to community
- After publishing to community your plugin will update automatically when you push to your git repo.
figmaAPI
This template includes a figmaAPI helper at @/lib/figmaAPI that lets you run plugin code from inside of the iframe. This is
useful for avoiding the iframe <-> plugin postMessage API and reduces the amount of code you need to write.
Example:
import { figmaAPI } from "@/lib/figmaAPI";

const nodeId = "0:2";

const result = await figmaAPI.run(
  (figma, { nodeId }) => {
    return figma.getNodeById(nodeId)?.name;
  },
  // Any variable you want to pass to the function must be passed as a parameter.
  { nodeId },
);

console.log(result); // "Page 1"
A few things to note about this helper:
- The code cannot reference any variables outside of the function unless they are passed as a parameter to the second argument. This is because the code is stringified and sent to the plugin, and the plugin evals it. The plugin has no access to the variables in the iframe.
- The return value of the function must be JSON serializable. This is because the result is sent back to the iframe via postMessage, which only supports JSON.
Learn More
- Next.js Documentation – learn about Next.js features and API.
- Figma Plugin API – learn about the Figma plugin API.
- OpenAI API – learn about GPT apis.