AI-Playground ?
Welcome to the AI-Playground, an interactive web application that leverages the power of OpenAI’s API, including ChatGPT, DALL-E, and Text-Davinci. This project is built using Next.js and TypeScript for the front end, and Spring Boot with MongoDB for the back end. RabbitMQ, Redis, Clash and other tech stacks are applied for flexibility.

View Live Demo:
Table of Contents
Features
- ? ChatGPT: Experience the AI-powered language model that can generate human-like text based on given input.
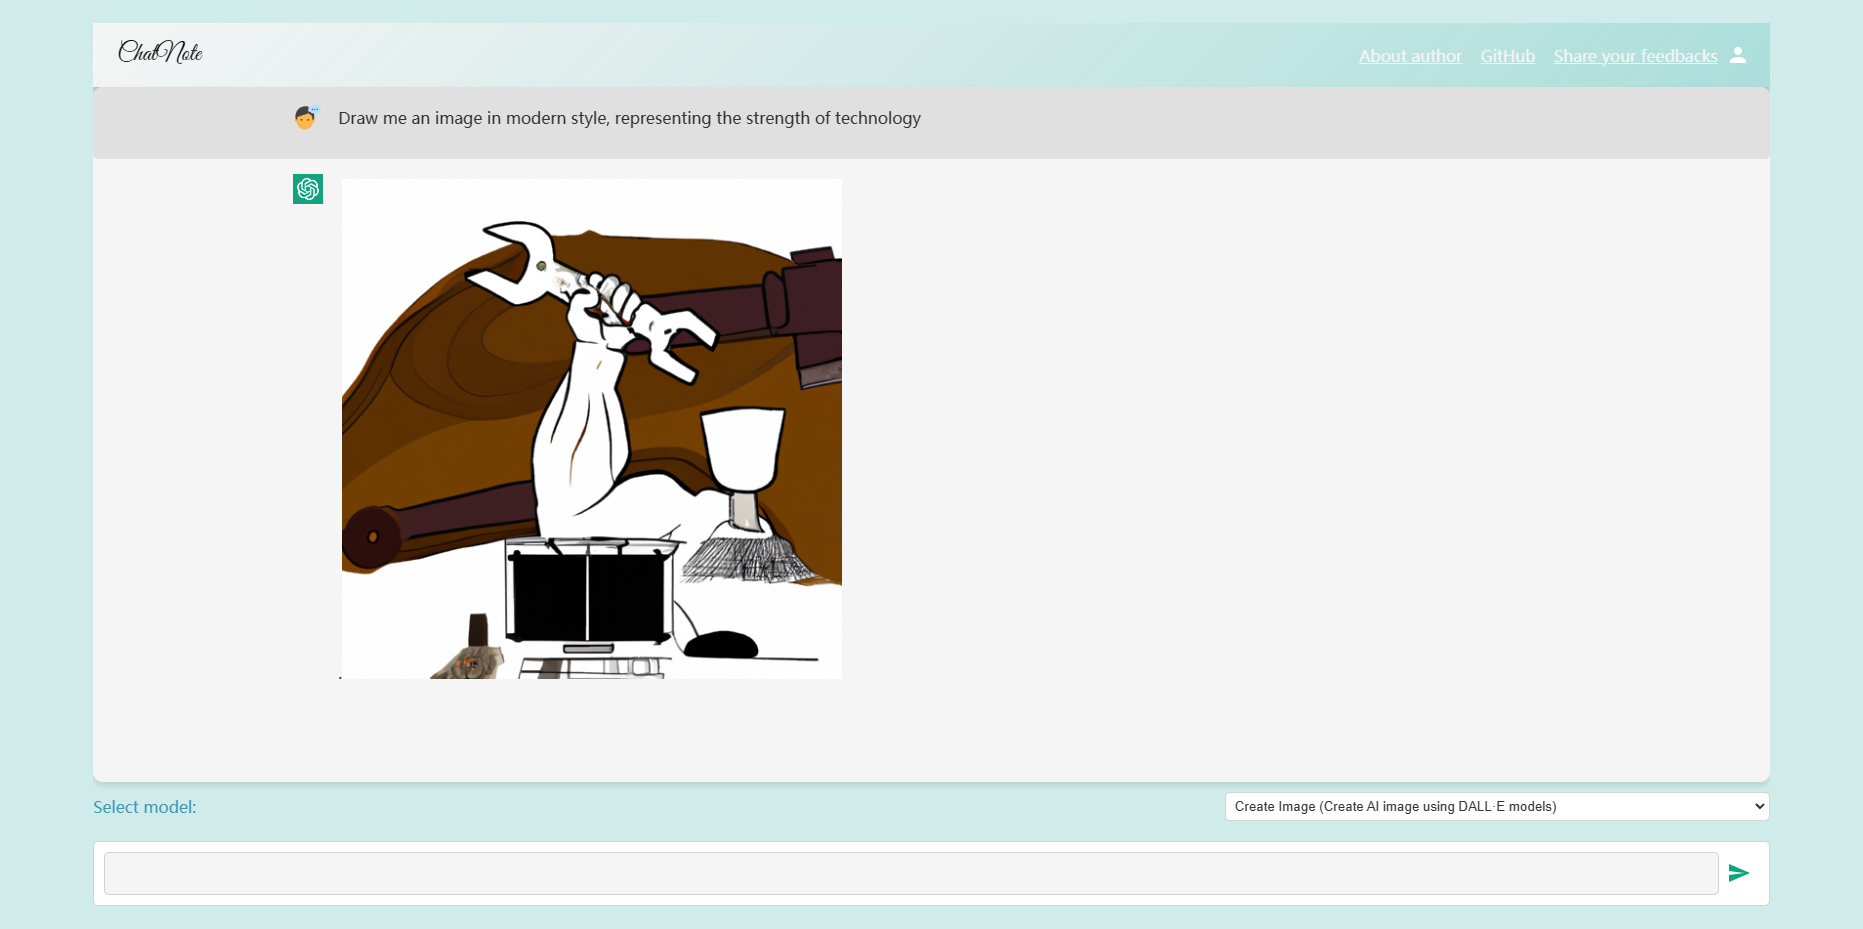
- ? DALL-E: Generate creative and unique images from textual descriptions using the DALL-E model.
- ? Text-Davinci: Use the power of Text-Davinci for complex tasks like content generation, semantic search, and more.
- ⚡ Next.js & TypeScript: A blazing-fast, modern front-end built using Next.js and TypeScript for excellent user experience.
- ? Spring Boot & MongoDB: A robust and scalable back end with Spring Boot and MongoDB for efficient data storage and retrieval.
Prerequisites
Before you can run the project, make sure you have the following installed:
- Node.js (v14.x or higher)
- npm (v6.x or higher)
- Java (v11 or higher)
- MongoDB (v4.4 or higher)
Additionally, you’ll need an OpenAI API key for using the ChatGPT, DALL-E, and Text-Davinci services.
Installation
Follow these steps to set up the project on your local machine:
- Clone the repository:
git clone https://github.com/OpenSourceDavy/ChatNote.git cd ai-playground
- Install the front-end dependencies:
cd frontend npm install
- Set up the environment variables for the front end:
cp .env.example .env.local
Now, open the .env.local file and fill in your OpenAI API key:
NEXT_PUBLIC_OPENAI_API_KEY=your_openai_api_key_here
Install the back-end dependencies:
cd ../backend ./mvnw clean install
Set up the environment variables for the back end: Create a new file called application.properties inside the src/main/resources folder and add the following content:
spring.data.mongodb.uri=mongodb://localhost:27017/aiplayground openai.api.key=your_openai_api_key_here
Usage
To run the project, follow these steps:
Start the back end:
cd backend ./mvnw spring-boot:run
Start the front end:
First, run the development server:
npm run dev
# or
yarn dev
# or
pnpm dev
Open http://localhost:3000 with your browser to see the result.
You can start editing the page by modifying pages/index.tsx. The page auto-updates as you edit the file.
API routes can be accessed on http://localhost:3000/api/hello. This endpoint can be edited in pages/api/hello.ts.
The pages/api directory is mapped to /api/*. Files in this directory are treated as API routes instead of React pages.
This project uses next/font to automatically optimize and load Inter, a custom Google Font.
Learn More
To learn more about Next.js, take a look at the following resources:
- Next.js Documentation – learn about Next.js features and API.
- Learn Next.js – an interactive Next.js tutorial.
You can check out the Next.js GitHub repository – your feedback and contributions are welcome!
Deploy on Vercel
The easiest way to deploy your Next.js app is to use the Vercel Platform from the creators of Next.js.
Check out our Next.js deployment documentation for more details.