Bagisto Next.js Commerce
The all-in-one starter kit for high-performance e-commerce sites. With a few clicks, Next.js developers can clone, deploy and fully customize their own store.
Features
- Performant by default
- SEO Ready
- Internationalization
- Responsive
- UI Components
- Theming
- Standardized Data Hooks
- Integrations - Integrate seamlessly with the most common ecommerce platforms.
- Dark Mode Support
Configuration
Setup Bagisto Store
- For
BAGISTO_CURRENCY_CODEandBAGISTO_STORE_ENDPOINT, you need to install the Bagisto. - Then, you need to install the Bagisto Headless Extension in the Bagisto.
- Now you need to host the full application so that you have store endpoint and if you are in development mode then you can use Ngrok also.
- After that you can proceed with setting up Next.js commerce.
Setup Vercel Commerce Provider
Open site/.env.local and change the value of COMMERCE_PROVIDER to @vercel/commerce-bagisto, then set the environment variables for the Bagisto provider (use site/.env.template as the base).
The setup for Bagisto would look like this for example:
COMMERCE_PROVIDER=@vercel/commerce-bagisto
BAGISTO_CURRENCY_CODE=INR
BAGISTO_STORE_ENDPOINT=https://example.bagisto.com/graphql
Features
Bagisto provider defines the features that it supports under packages/bagisto/src/commerce.config.json
Features Available
The following features can be enabled or disabled. This means that the UI will remove all code related to the feature.
For example: Turning cart off will disable Cart capabilities.
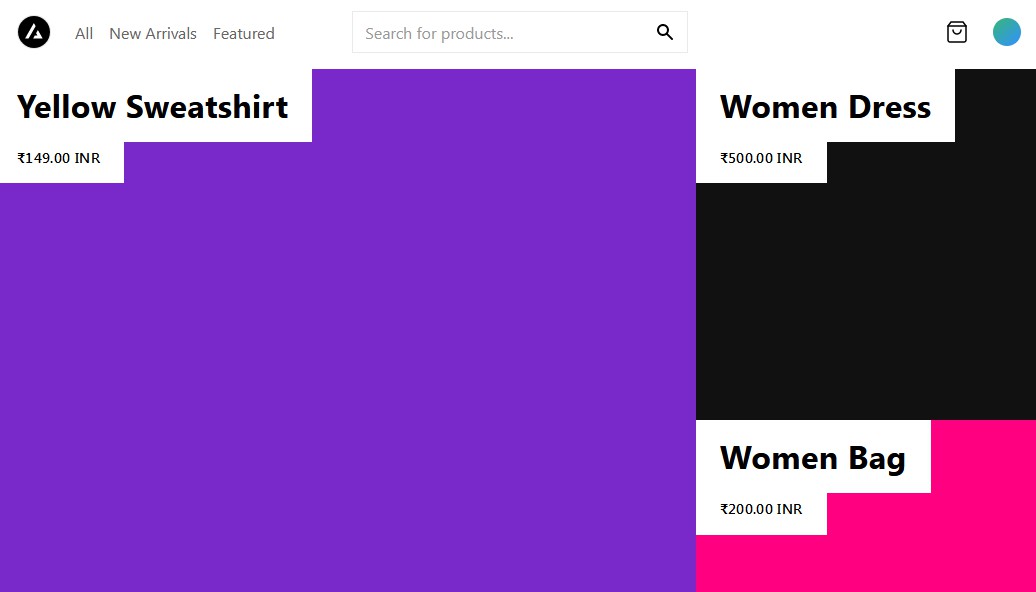
- cart
- search
- customerAuth
- customCheckout
How to turn Features on and off
NOTE: The selected provider should support the feature that you are toggling. (This means that you can't turn wishlist on if the provider doesn't support this functionality out the box)
- Open
site/commerce.config.json - You'll see a config file like this:
{ "features": { "wishlist": false, "customCheckout": true } } - Turn
wishliston by settingwishlisttotrue. - Run the app and the wishlist functionality should be back on.