WPGens WordPress React Admin Panel
⭐ Star us on GitHub — it motivates us a lot!
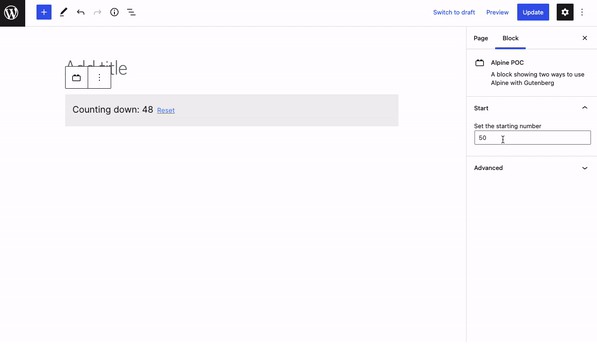
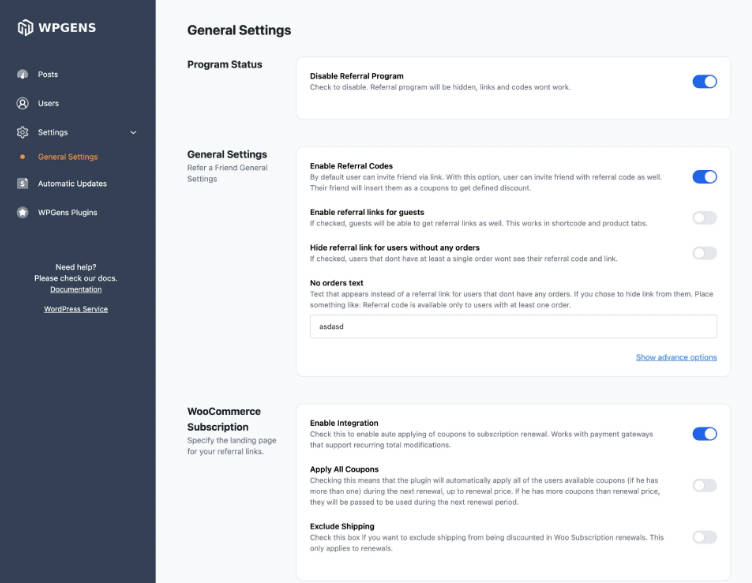
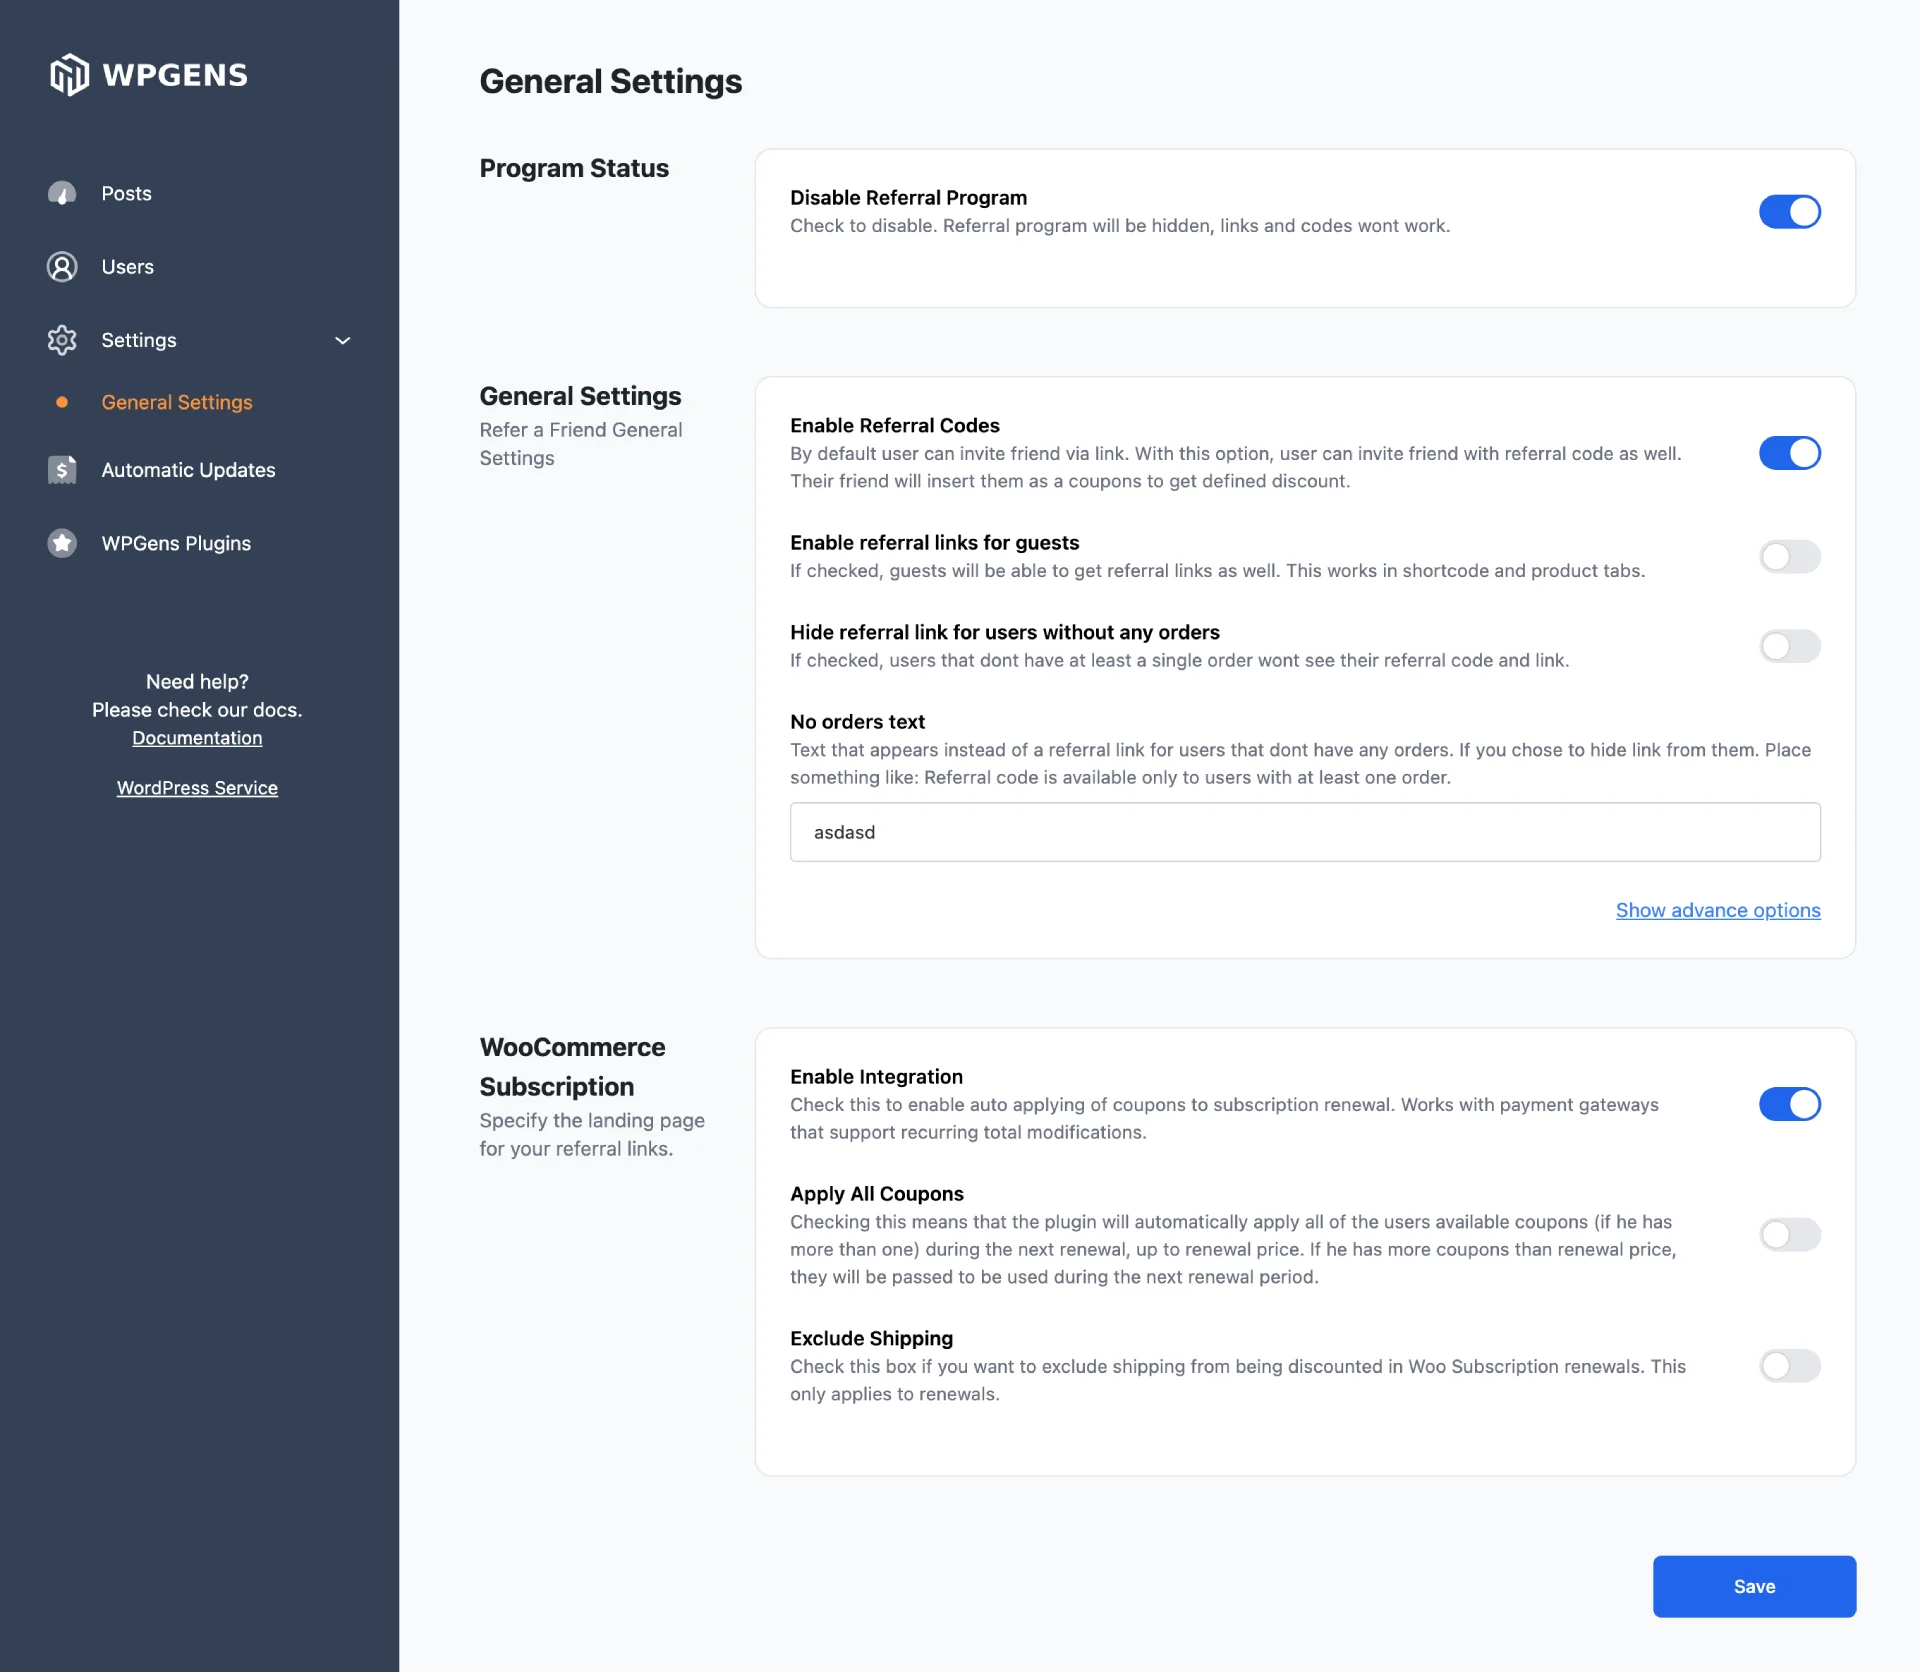
WPGens WordPress React Admin Panel is a professional looking WordPress administration panel for plugins written in TypeScript with WP REST API and React. Its simple to extend and use for your own WordPress plugins. Check out the demo here.
About Project
WPGens WordPress React Admin Panel was built to modernize the building and the look of WordPress plugins administration panel. Instead of using Settings API, we are communicating with the backend through REST API, allowing the use of modern technologies. @wordpress/api-fetch also simplified the flow.
Project Stack
WPGens WordPress React Admin Panel is written in TypeScript. React hook form is used for the settings panel forms and @wordpress/api-fetch to securely communicate with WordPress backend. TailWind CSS for styling (easy to start with, just set up your IDE), React Query optimizes data management by efficiently handling fetched data, reducing the need for extensive manual state management, and yup is used for form validation to ensure data integrity before submission. We are also using vite instead of webpack to build the app and serve the HMR. The only UI libraries are React Select and React Color. We can add more libraries but the goal is to keep it light and simple.
Technology Overview:
Written in Typescript with following libraries:
-
TypeScript: The entire WPGens WordPress React Admin Panel is written in TypeScript, offering type safety and improved development workflows.
-
React: You know what this is.
-
WordPress API Fetch (@wordpress/api-fetch): This package provides functions to interact with the WordPress REST API securely. It allows fetching data from the WordPress backend, enabling seamless integration with WordPress functionalities.
-
React Hook Form (@react-hook-form): A library for managing form state and validation in React using hooks. It simplifies the process of building complex forms by providing an intuitive API.
-
Tailwind CSS: A utility-first CSS framework that provides a set of pre-built CSS classes to rapidly build custom designs without leaving your HTML.
-
React Query (@react-query): A library for managing and caching asynchronous data in React applications. It optimizes network requests, caching, and state management, enhancing the performance of data-fetching operations.
-
Yup: is a schema validation library used to define and validate data before sending it to backend.
-
Vite: A build tool that offers fast and optimized development and production builds for web applications. It provides a modern development environment with features like hot module replacement (HMR) and lightning-fast build times.
-
React Select (@react-select): An elegant and efficient dropdown select component for React. It provides a highly customizable and feature-rich interface for selecting options.
-
React Color (@react-color): A library that offers a collection of color pickers and tools for integrating color selection and manipulation into your React applications.
Supported fields
- Input Field
- Select Field
- React Select (multiselect)
- Toggle Field
- TextArea
- Color Picker
Open for PR’s for more fields like Date picker. But not for big libraries.
Project Structure
The project is located under the /backend folder. You probably won’t be using PHP files from this repo. They are used to define the menu item, enqueue scripts, and define API routes that you will create inside your plugin. So, /backend folder structure is as follows:
├── src
│ ├── assets
│ │ ├── css
│ │ │ ├── index.css
│ │ │ └── ...
│ │ ├── img
│ │ │ ├── bg.jpeg
│ │ │ └── ...
│ ├── components
│ │ ├── Button
│ │ │ ├── Button.tsx
│ │ ├── Header
│ │ │ ├── Header.tsx
│ │ └── ...
│ ├── hooks
│ │ ├── useClickOutside.ts
│ │ └── ...
│ ├── services
│ │ ├── settings.service.ts
│ │ ├── licence.service.ts
│ │ └── ...
│ ├── utils
│ │ ├── helpers.ts
│ │ └── ...
│ ├── views
│ │ ├── Settings
│ │ │ ├── GeneralSettings.tsx
│ │ │ ├── AdvanceSettings.tsx
│ │ │ └── ...
│ │ ├── Posts
│ │ │ ├── Posts.tsx
│ │ └── ...
├── .eslintrc.cjs
└── .gitignore
├── .prettierrc
├── package.json
├── pnpm-lock.yaml
└── postcss.config.js
└── README.md
└── tailwind.config.js
└── tsconfig.json
└── tsconfig.node.json
└── vite.config.js
Installation
Minimum requirement is PHP 7.3+
How to run the demo
To run the demo in your WordPress installation, you just need to:
Download the repository.
Copy it to the WordPress plugins folder
Activate the plugin
How to use in your projects
1. Download the repository.
   Copy to the WordPress plugins folder
2. Open the project.
   Under the wp-react-admin-panel.php, set `PLUGIN_NAME_DEV` constant to `true`. This will load dev server instead of the JS build.
3. Navigate to the includes/admin/backend and run `pnpm i` (I prefer pnpm, you can use npm).
4. Once dependencies are installed, run `pnpm run dev`. (npm run dev).
5. Log in to your WordPress and navigate to the WP Admin Panel. This should now load a dev build. Try changing the text to see if changes are showing instantly. HMR should work.

Once you are done, run the pnpm run build that will create a single JS file that you need to enqueue in your projects.
Thats it.
Note: When ziping plugin files, you do not need a backend folder, just index.js file that was built inside the assets/js folder.
Improvements
When you have multiple settings for a WordPress plugin, it’s generally better to store them as a single array within a single option value rather than creating individual options for each setting. Currently this plugin is creating single option for each value, which was fine for my small plugin, but for bigger plugins you do not want to do that. I will add this change in the next update, it should be pretty straightforward thing to do.
License
The WPGens WordPress React Admin Panel is licensed under the terms of the GPL Open Source license and is available for free.