Coupon

For students
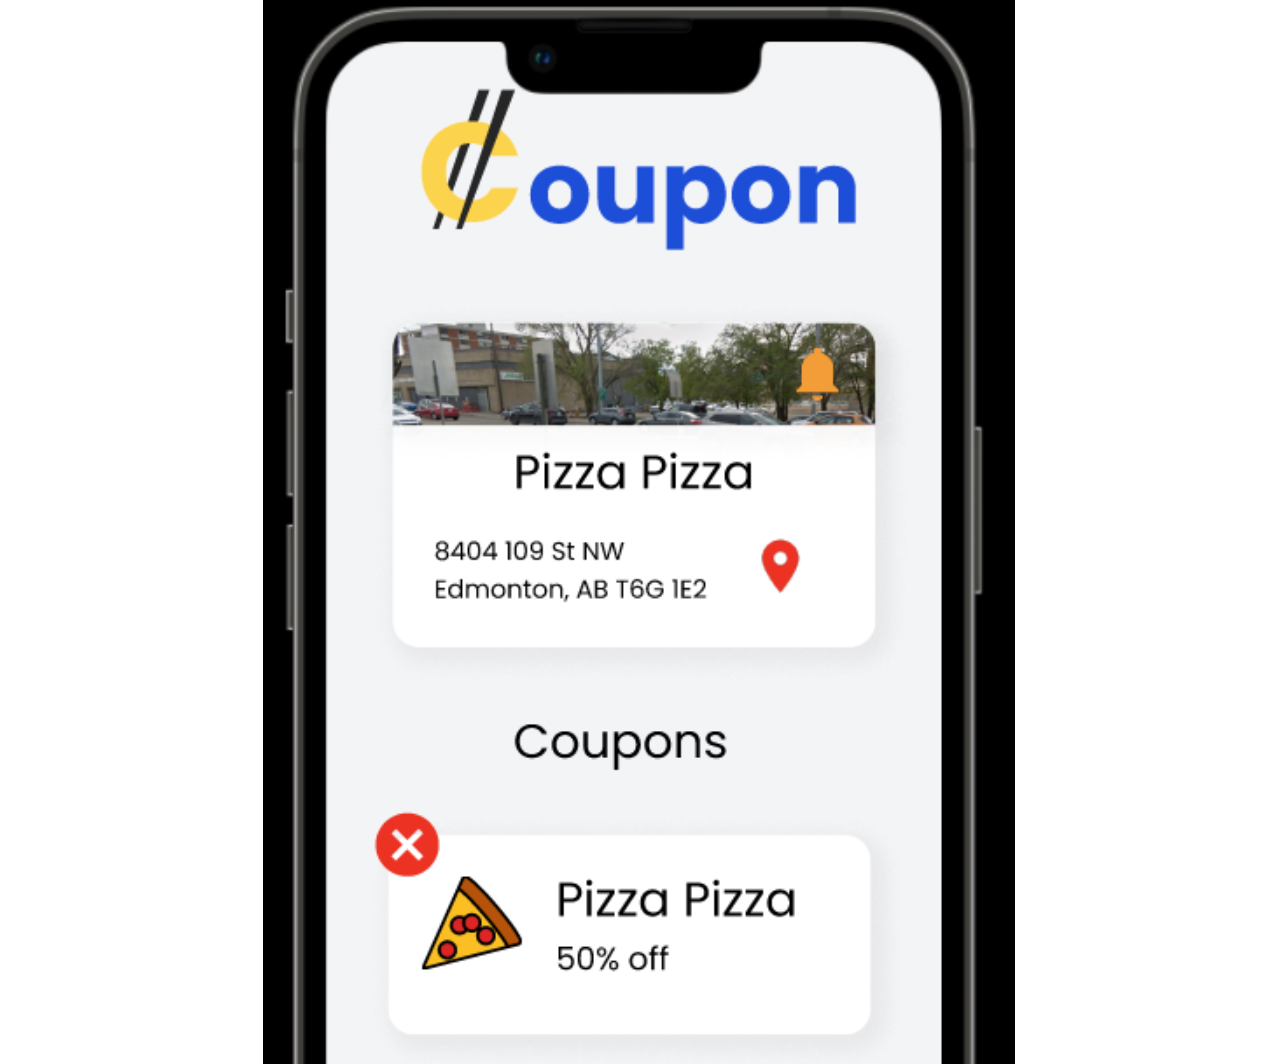
Coupon is a mobile first app that allows students to find coupons for their favorite stores. It also allows stores to create and manage coupons.
Check it out now @ coupons.andrewli.site
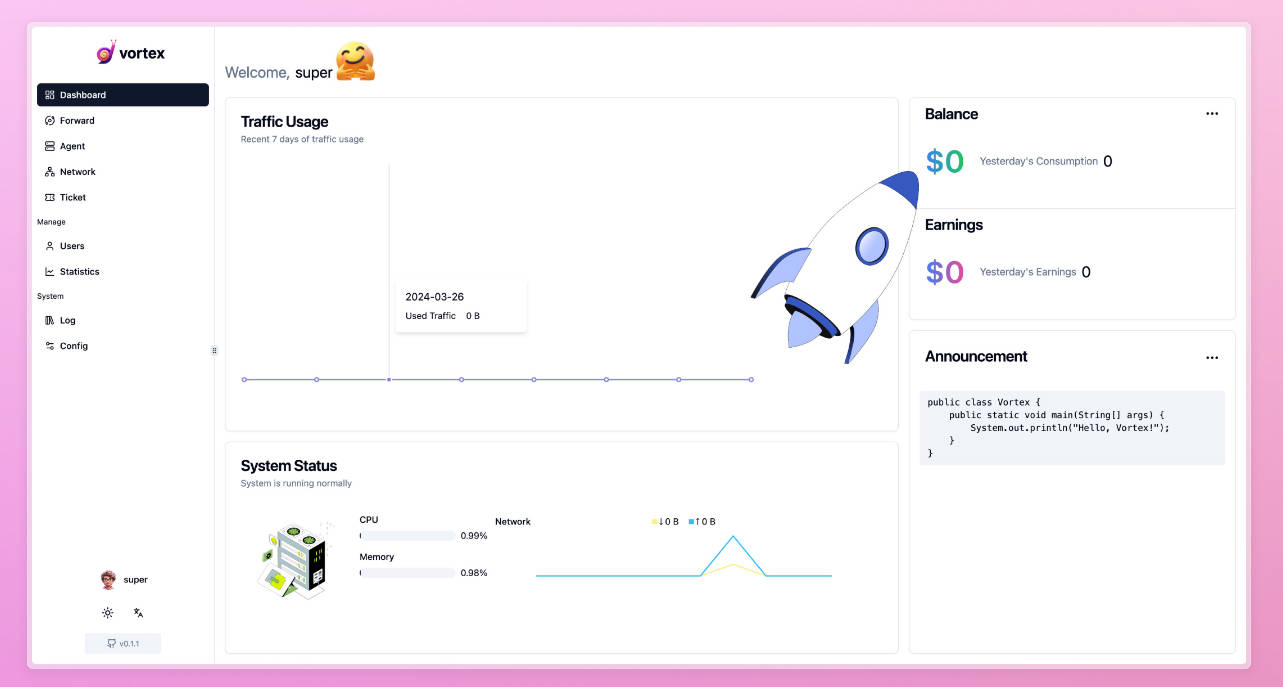
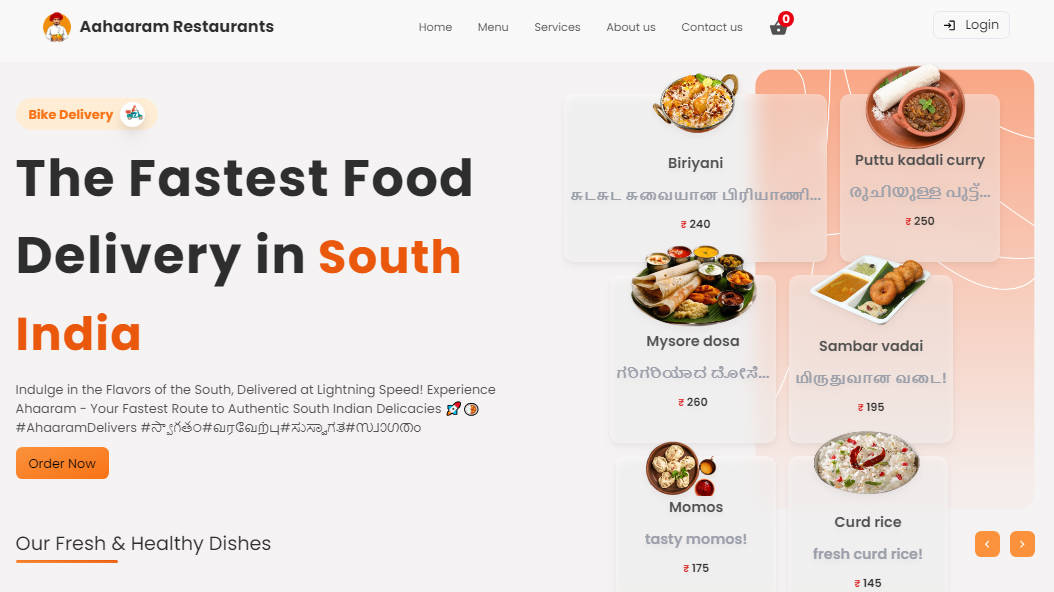
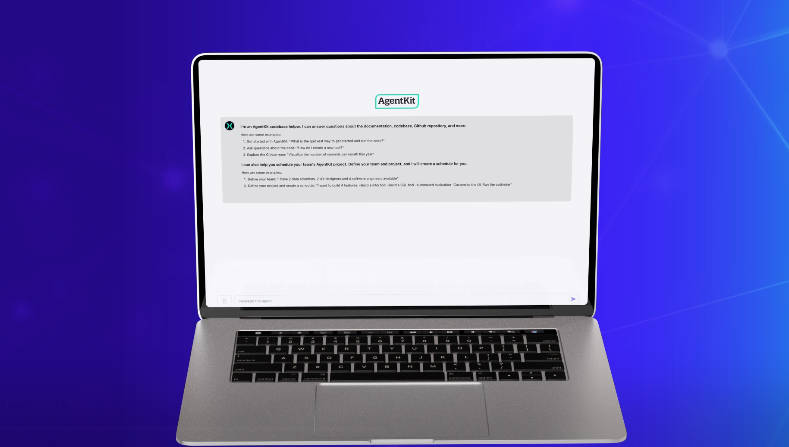
Snapshots


Documentation
This is an app bootstrapped according to the init.tips stack, also known as the T3-Stack.
Why are there .js files in here?
As per T3-Axiom #3, we take typesafety as a first class citizen. Unfortunately, not all frameworks and plugins support TypeScript which means some of the configuration files have to be .js files.
We try to emphasize that these files are javascript for a reason, by explicitly declaring its type (cjs or mjs) depending on what’s supported by the library it is used by. Also, all the js files in this project are still typechecked using a @ts-check comment at the top.
What’s next? How do I make an app with this?
We try to keep this project as simple as possible, so you can start with the most basic configuration and then move on to more advanced configuration.
If you are not familiar with the different technologies used in this project, please refer to the respective docs. If you still are in the wind, please join our Discord and ask for help.
- Next-Auth.js
- Prisma
- TailwindCSS
- tRPC (using @next version? see v10 docs here)
Also checkout these awesome tutorials on create-t3-app.
- Build a Blog With the T3 Stack – tRPC, TypeScript, Next.js, Prisma & Zod
- Build a Live Chat Application with the T3 Stack – TypeScript, Tailwind, tRPC
- Build a full stack app with create-t3-app
- A first look at create-t3-app
How do I deploy this?
Vercel
We recommend deploying to Vercel. It makes it super easy to deploy NextJs apps.
- Push your code to a GitHub repository.
- Go to Vercel and sign up with GitHub.
- Create a Project and import the repository you pushed your code to.
- Add your environment variables.
- Click Deploy
- Now whenever you push a change to your repository, Vercel will automatically redeploy your website!
Docker
You can also dockerize this stack and deploy a container.
Please note that Next.js requires a different process for buildtime (available in the frontend, prefixed by NEXT_PUBLIC) and runtime environment, server-side only, variables. In this demo we are using two variables, DATABASE_URL (used by the server) and NEXT_PUBLIC_CLIENTVAR (used by the client). Pay attention to their positions in the Dockerfile, command-line arguments, and docker-compose.yml.
-
In your next.config.mjs, add the
standaloneoutput-option to your config:export default defineNextConfig({ reactStrictMode: true, swcMinify: true, + output: "standalone", }); -
Remove the
env-import from next.config.mjs:- import { env } from "./src/env/server.mjs"; -
Create a
.dockerignorefile with the following contents:.dockerignore
.env
Dockerfile
.dockerignore
node_modules
npm-debug.log
README.md
.next
.git
-
Create a
Dockerfilewith the following contents:Dockerfile
########################
#         DEPS         #
########################

# Install dependencies only when needed
# TODO: re-evaluate if emulation is still necessary on arm64 after moving to node 18
FROM --platform=linux/amd64 node:16-alpine AS deps
# Check https://github.com/nodejs/docker-node/tree/b4117f9333da4138b03a546ec926ef50a31506c3#nodealpine to understand why libc6-compat might be needed.
RUN apk add --no-cache libc6-compat openssl
WORKDIR /app

# Install Prisma Client - remove if not using Prisma
COPY prisma ./

# Install dependencies based on the preferred package manager
COPY package.json yarn.lock* package-lock.json* pnpm-lock.yaml* ./
RUN \
  if [ -f yarn.lock ]; then yarn --frozen-lockfile; \
  elif [ -f package-lock.json ]; then npm ci; \
  elif [ -f pnpm-lock.yaml ]; then yarn global add pnpm && pnpm i; \
  else echo "Lockfile not found." && exit 1; \
  fi

########################
#        BUILDER       #
########################

# Rebuild the source code only when needed
# TODO: re-evaluate if emulation is still necessary on arm64 after moving to node 18
FROM --platform=linux/amd64 node:16-alpine AS builder

ARG DATABASE_URL
ARG NEXT_PUBLIC_CLIENTVAR

WORKDIR /app
COPY --from=deps /app/node_modules ./node_modules
COPY . .

# Next.js collects completely anonymous telemetry data about general usage.
# Learn more here: https://nextjs.org/telemetry
# Uncomment the following line in case you want to disable telemetry during the build.
# ENV NEXT_TELEMETRY_DISABLED 1

RUN \
  if [ -f yarn.lock ]; then yarn build; \
  elif [ -f package-lock.json ]; then npm run build; \
  elif [ -f pnpm-lock.yaml ]; then yarn global add pnpm && pnpm run build; \
  else echo "Lockfile not found." && exit 1; \
  fi

########################
#        RUNNER        #
########################

# Production image, copy all the files and run next
# TODO: re-evaluate if emulation is still necessary after moving to node 18
FROM --platform=linux/amd64 node:16-alpine AS runner
# WORKDIR /usr/app
WORKDIR /app

ENV NODE_ENV production
# Uncomment the following line in case you want to disable telemetry during runtime.
# ENV NEXT_TELEMETRY_DISABLED 1

RUN addgroup --system --gid 1001 nodejs
RUN adduser --system --uid 1001 nextjs

COPY --from=builder /app/next.config.mjs ./
COPY --from=builder /app/public ./public
COPY --from=builder /app/package.json ./package.json

# Automatically leverage output traces to reduce image size
# https://nextjs.org/docs/advanced-features/output-file-tracing
COPY --from=builder --chown=nextjs:nodejs /app/.next/standalone ./
COPY --from=builder --chown=nextjs:nodejs /app/.next/static ./.next/static

USER nextjs

EXPOSE 3000

ENV PORT 3000

CMD ["node", "server.js"]
-
To build and run this image locally, run:
docker build -t ct3a -e NEXT_PUBLIC_CLIENTVAR=clientvar .
docker run -p 3000:3000 -e DATABASE_URL="database_url_goes_here" ct3a
-
You can also use a PaaS such as Railway’s automated Dockerfile deployments to deploy your app.
Docker Compose
You can also use docker compose to build the image and run the container.
-
Follow steps 1-4 above
-
Create a
docker-compose.ymlfile with the following:docker-compose.yml
version: "3.9"
services:
  app:
    platform: "linux/amd64"
    build:
      context: .
      dockerfile: Dockerfile
      args:
        NEXT_PUBLIC_CLIENTVAR: "clientvar"
    working_dir: /app
    ports:
      - "3000:3000"
    image: t3-app
    environment:
      - DATABASE_URL=database_url_goes_here
-
Run this using
docker compose up.
Further reading
Here are some useful references you can further look into:
- Dockerfile reference
- Compose file version 3 reference
- Docker CLI reference
- Docker Compose CLI reference
Useful resources
Here are some resources that we commonly refer to: