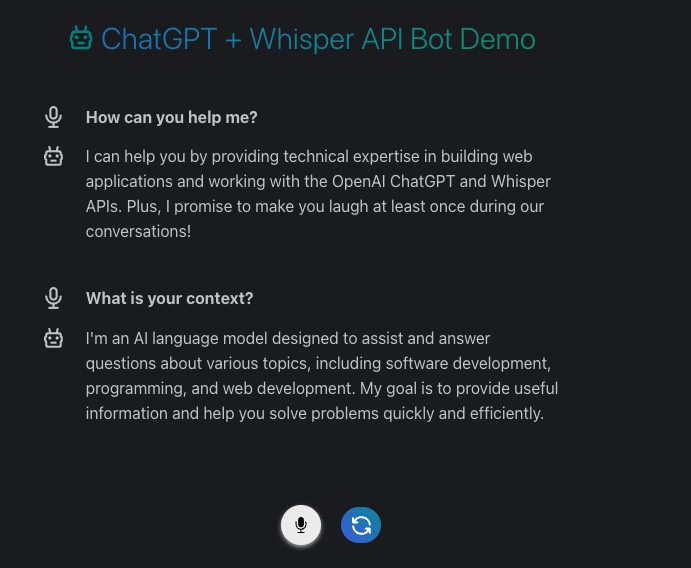
ChatGPT + Whisper API NextJS Demo
This project was created to play around with the Whisper and ChatGPT APIs from OpenAI.

Here’s what it does:
- Uses the microphone on your web device to interact with ChatGPT similar to Siri.
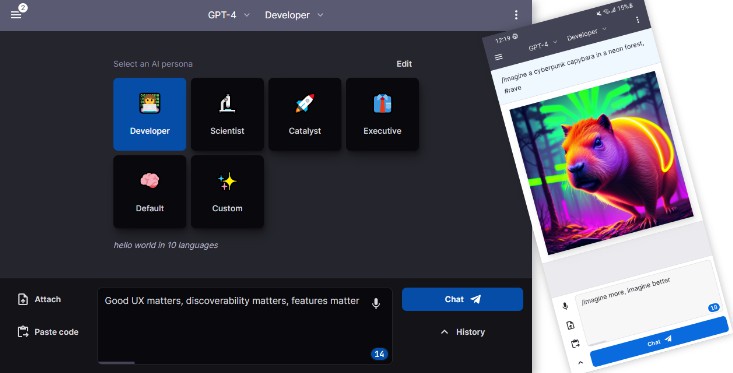
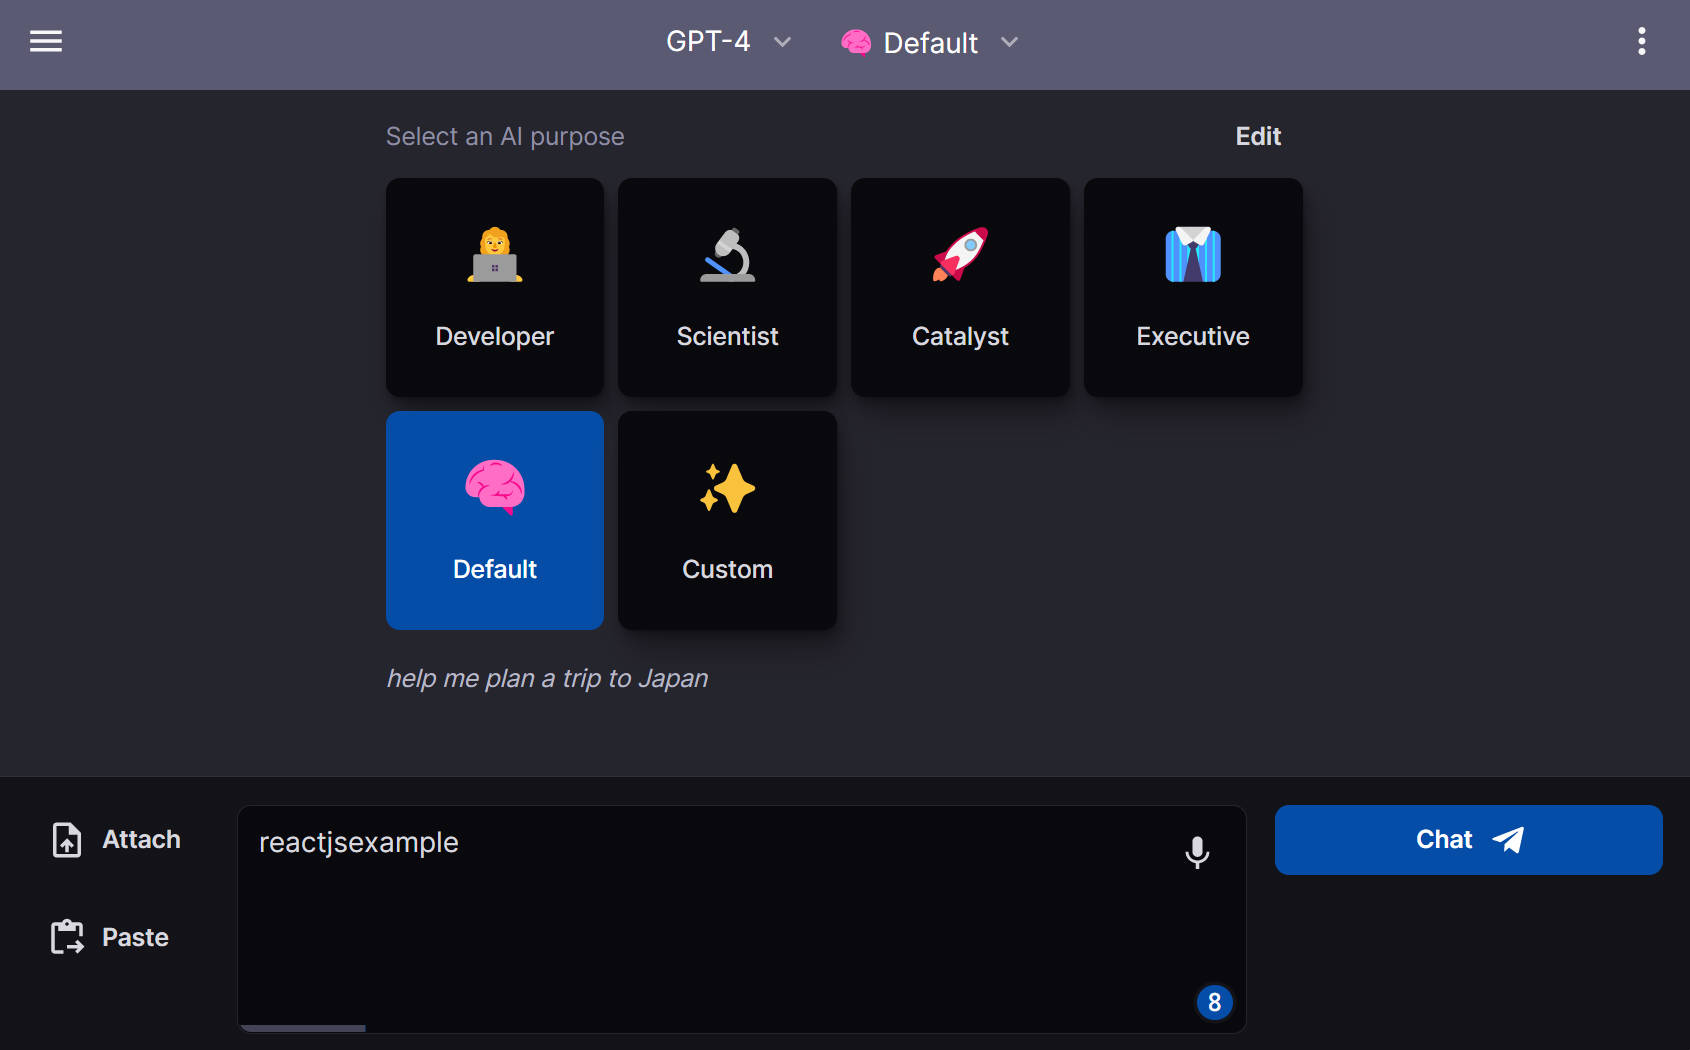
- Sets a default context for ChatGPT where you can configure its role, personality, and brevity of its responses.
- Just like ChatGPT, it remembers your conversation
- Button to reset the conversation.
What’s so cool about this?
- Talking is easier than typing and the Whisper API does a great job at translating speech to text.
- Refining the context of ChatGPT allows its responses to be extremely relevant to you.
- With the context pre-defined, you can save a lot of time interacting with ChatGPT.
Configuring ChatGPT Context
Open up pages/index.tsx and note the following areas that can be configured:
// roles
const botRolePairProgrammer =
  'You are an expert pair programmer helping build an AI bot application with the OpenAI ChatGPT and Whisper APIs. The software is a web application built with NextJS with serverless functions, React functional components using TypeScript.';
const nocontext = '';

// personalities
const quirky =
  'You are quirky with a sense of humor. You crack jokes frequently in your responses.';
const drugDealer =
  'You are a snarky black market drug dealer from the streets of Los Angeles. Sometimes you are rude and disrespectful. You often curse in your responses.';
const straightLaced =
  'You are a straight laced corporate executive and only provide concise and accurate information.';

// brevities
const briefBrevity = 'Your responses are always 1 to 2 sentences.';
const longBrevity = 'Your responses are always 3 to 4 sentences.';
const whimsicalBrevity = 'Your responses are always 5 to 6 sentences.';

// dials
const role = botRolePairProgrammer;
const personality = quirky;
const brevity = briefBrevity;

// FULL BOT CONTEXT
const botContext = `${role} ${personality} ${brevity}`;
Add your own roles to cater it to your needs.
ENV setup
To use the OpenAI API you must generate an OpenAI API key, create a file called .env.local at the root level of this project, and set the following environment variable: OPENAI_API_KEY={your OpenAI API key}
Deploying on Vercel
This project is setup to deploy on the free version of vercel, just clone and add it to your project and deploy it to production.
Special note: In order for this to deploy and work properly on Vercel, you must use Node 16.x for your serverless functions.
Boilerplate stuff:
This is a Next.js project bootstrapped with create-next-app.
Getting Started
First, run the development server:
npm run dev
# or
yarn dev
# or
pnpm dev
Open http://localhost:3000 with your browser to see the result.
You can start editing the page by modifying pages/index.tsx. The page auto-updates as you edit the file.
API routes can be accessed on http://localhost:3000/api/hello. This endpoint can be edited in pages/api/hello.ts.
The pages/api directory is mapped to /api/*. Files in this directory are treated as API routes instead of React pages.
This project uses next/font to automatically optimize and load Inter, a custom Google Font.
Learn More
To learn more about Next.js, take a look at the following resources:
- Next.js Documentation – learn about Next.js features and API.
- Learn Next.js – an interactive Next.js tutorial.
You can check out the Next.js GitHub repository – your feedback and contributions are welcome!
Deploy on Vercel
The easiest way to deploy your Next.js app is to use the Vercel Platform from the creators of Next.js.
Check out our Next.js deployment documentation for more details.