itsa-react-fileuploadbutton
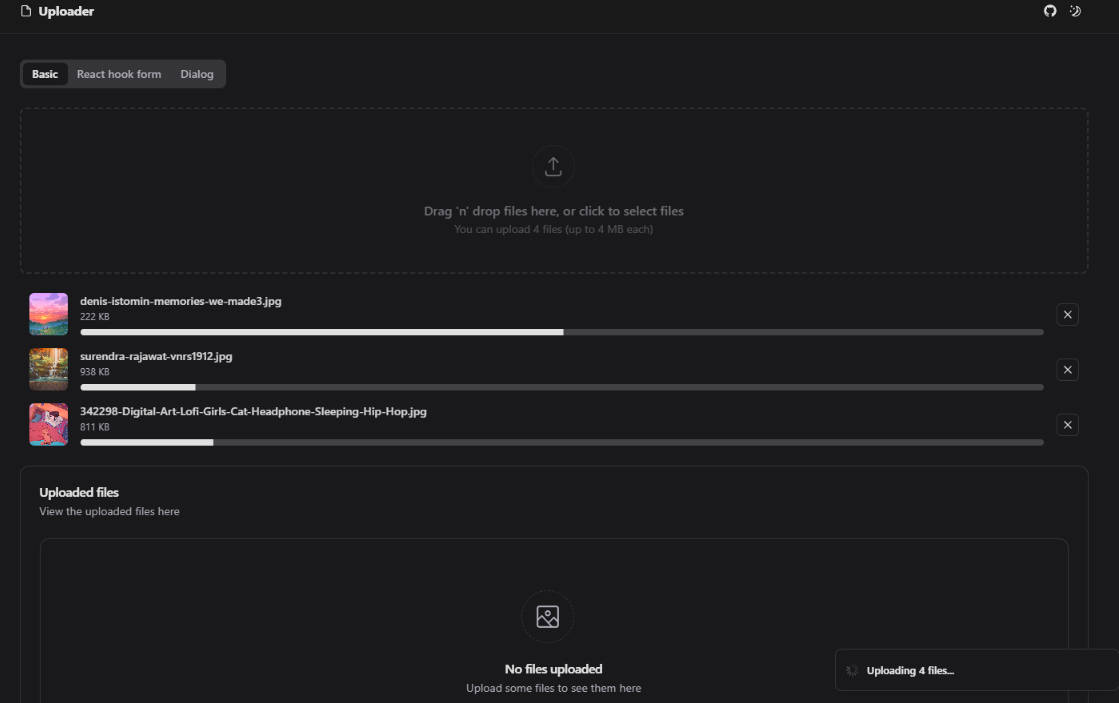
React-component: file-uploader, but exposed as a simple button without input-area and with extended features
It has the following features:
- Abortable
- CORS support
- IE8+ support
- Progress-status (IE10+)
- Ultrafast upload by splitting the file(s) in chunks
- Focussable
- Aria-support (automaticly)
Different modes
The uploadbutton uses XHR2 by default and falls back into using a form-submit mode (multipart/form-data).
You can force the form-submit mode, by setting the prop formSubmitMode true. This is NOT recomended:
Advantages formSubmitMode:
- Easy setup serverside (no file-chunks)
Disadvantages formSubmitMode:
- No file-chunks, therefore no highspeed upload
- No onProgress
- When CORS, the uploader is unable to detect reponse-errors, leading into the callback of onSuccess in case of a network-error.
Best usage is same-origin with formSubmitMode=false (which is the default).
How to use:
"use strict";
const React = require("react"),
ReactDOM = require("react-dom"),
FileUploadButton = require("./lib/component-styled.jsx");
const props = {
url: "http://yourdomain.com/procesimage",
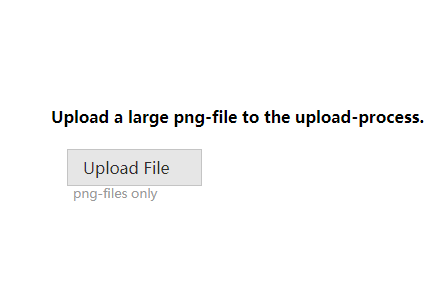
buttonText: "Upload File",
errorMsg: "you can only select a png-file",
helpText: "png-files only",
maxFileSize: 15*1024*1024, // 5mb
onFileChange: function(e) {
props.validated = (e.target.getFiles()[0].type==="image/png");
render();
// reset the error-message next to the fileupload-button:
propsMsg.msg = "";
renderMsg();
},
onError: function(err) {
propsMsg.msg = "Error: "+err.message;
renderMsg();
}
};
const propsMsg = {
msg: ""
};
const Msg = React.createClass({
render() {
return (
<div>{this.props.msg}</div>
);
}
});
var render = function() {
ReactDOM.render(
<FileUploadButton {...props} />,
document.getElementById("component-container1")
);
};
var renderMsg = function() {
ReactDOM.render(
<Msg {...propsMsg} />,
document.getElementById("message-container")
);
};
render();
renderMsg();
About the css
You need the right css in order to make use of itsa-react-fileuploadbutton. There are 2 options:
- You can use the css-files inside the
css-folder, AND use the css-files ofitsa-react-button/css - You can use:
Component = require("itsa-react-fileuploadbutton/lib/component-styled.jsx");and build your project withwebpack. This is needed, because you need the right plugin to handle a requirement of thescss-file.
Setting up the server
You need to set up the server right by using these modules. Therefore, you can use the module: itsa-fileuploadhandler
Example hapi-server:
'use strict';

// make sure the process its current directory equals the executable directory
// so we can start it up from any other directory:
process.chdir(__dirname);

var Hapi = require('hapi'),
    fileUploadHandler = require("itsa-fileuploadhandler"),
    maxFileSize = 5*1024*1024, // 5mb
    accessControlAllowOrigin = true,
    tempDir = "/tmp",
    fileUploadHandlerFns = fileUploadHandler.getHapiFns(tempDir, maxFileSize, accessControlAllowOrigin);

// setting up the server:
var server = new Hapi.Server();

var ROUTES = [
    {
        method: 'GET',
        path: '/procesimage',
        handler: fileUploadHandlerFns.generateClientId
    },

    {
        method: 'PUT',
        path: '/procesimage',
        handler: function (request, reply) {
            fileUploadHandlerFns.recieveFile(request, reply, null, function(fullFilename, originalFilename) {
                return new Promise(function(resolve) {
                    // move the file(s) here, and when ready, then resolve the promise
                    resolve();
                });
            });
        }
    },

    {
        method: 'POST',
        path: '/procesimage',
        config: {
              payload:{
                    maxBytes: 209715200,
                    output: 'stream',
                    parse: false
              },
              handler: function (request, reply) {
                fileUploadHandlerFns.recieveFormFiles(request, reply, null, function(files) {
                    return new Promise(function(resolve) {
                        // move the file(s) here, and when ready, then resolve the promise
                        resolve();
                    });
                });
            }
        }
    },

    {
        method: 'OPTIONS',
        path: '/procesimage',
        handler: fileUploadHandlerFns.responseOptions
    }
];

server.connection({
    host: 'localhost',
    port: 8002
});

// adding routes:
server.route(ROUTES);

// starting the server:
server.start(function(err) {
    if (err) {
        console.log(err);
        return;
    }
    var args = process.argv,
          environment = args[2] || 'production',
          message = 'Server running '+environment+' at port: '+ server.info.port;

    console.log(message);
});
IE<10
IE8 and IE8 don't support multiple file-uploads. Thus, when using multipleFiles: true, these browsers can only select one file at a time.
These browsers don't support a progess-status either: the this.props.onProgress won't be invoked on these browsers.
Special Note: X-Frame-Origin
If your app uses the http-header X-Frame-Origin (which it should!) then you need to test if file-uploading succeeds
with the property formSubmitMode :true.
Reason for this is, that older browsers (<IE10) are using this mode for uploading files. The X-Frame-Origin rules might prevent
this module from working right when you're uploading CORS: you may need to set these headers to accept a specific cross-domain you're uploading to.