gatsby-gitbook-starter
Kick off your project with this starter to create a powerful/flexible docs/tutorial web apps.
Motivation
We wanted to create a GraphQL tutorial series. The content would be written by developers for various languages/frameworks and what better than writing it in Markdown! And since this is a tutorial series we also needed rich embeds, syntax highlighting and more customisations.
We also wanted to serve these tutorials in sub paths of learn.hasura.io. To serve all these requirements, we decided to use Gatsby + MDX (Markdown + JSX) to extend markdown and used a neat consistent theme like the one at GitBook and deployed as docker containers.
? Features
- Write using Markdown / MDX
- GitBook style theme
- Syntax Highlighting using Prism [
Bonus: Code diff highlighting] - Search Integration with Algolia
- Progressive Web App, Works Offline
- Google Analytics Integration
- Automatically generated sidebar navigation, table of contents, previous/next
- Dark Mode toggle
- Edit on Github
- Fully customisable
- Rich embeds and live code editor using MDX
- Easy deployment: Deploy on Netlify / Now.sh / Docker
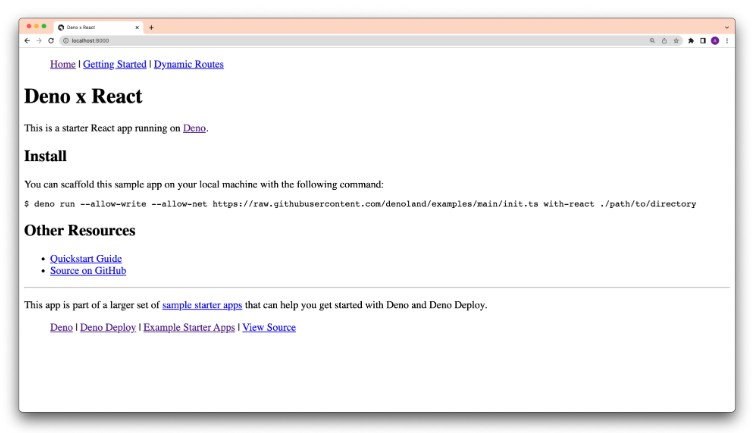
? Live Demo
Here’s a live demo
? Quickstart
Get started by running the following commands:
$ git clone [email protected]:hasura/gatsby-gitbook-starter.git
$ cd gatsby-gitbook-starter
$ npm install
$ npm start
Visit http://localhost:8000/ to view the app.
? Configure
Write markdown files in content folder.
Open config.js for templating variables. Broadly configuration is available for gatsby, header, sidebar and siteMetadata.
-
gatsbyconfig for global configuration likepathPrefix– Gatsby Path PrefixsiteUrl– Gatsby Site URLgaTrackingId– Google Analytics Tracking ID
-
headerconfig for site header configuration liketitle– The title that appears on the top leftgithubUrl– The Github URL for the docs websitehelpUrl– Help URL for pointing to resourcestweetText– Tweet textlinks– Links on the top rightsearch– Enable search and configure Algolia
-
sidebarconfig for navigation links configurationforcedNavOrderfor left sidebar navigation order. It should be in the format “/<filename>”frontLine– whether to show a front line at the beginning of a nested menu.(Collapsing capability would be turned of if this option is set to true)links– Links on the bottom left of the sidebarignoreIndex– Set this to true if the index.md file shouldn’t appear on the left sidebar navigation. Typically this can be used for landing pages.
-
siteMetadataconfig for website related configurationtitle– Title of the websitedescription– Description of the websiteogImage– Social Media share og:image tagdocsLocation– The Github URL for Edit on Github
-
For sub nesting in left sidebar, create a folder with the same name as the top level
.mdfilename and the sub navigation is auto-generated. The sub navigation is alphabetically ordered.
Algolia Configuration
To setup Algolia, go to config.js and update the search object to look like the one below:
	"search": {
		"enabled": true,
		"indexName": "MY_INDEX_NAME",
		"algoliaAppId": process.env.GATSBY_ALGOLIA_APP_ID,
		"algoliaSearchKey": process.env.GATSBY_ALGOLIA_SEARCH_KEY,
		"algoliaAdminKey": process.env.ALGOLIA_ADMIN_KEY
	},
Values for Algolia App ID, Search Key, and Admin Key can be obtained from Algolia Dashboard with the right set of permissions. Replace MY_INDEX_NAME with the Algolia Index name of your choice. To build the Algolia index, you need to run npm run build which will do a gatsby build along with content indexing in Algolia.
Progressive Web App, Offline
To enable PWA, go to config.js and update the pwa object to look like the one below:
   "pwa": {
        "enabled": false, // disabling this will also remove the existing service worker.
        "manifest": {
            "name": "Gatsby Gitbook Starter",
            "short_name": "GitbookStarter",
            "start_url": "/",
            "background_color": "#6b37bf",
            "theme_color": "#6b37bf",
            "display": "standalone",
            "crossOrigin": "use-credentials",
            icons: [
                {
                    src: "src/pwa-512.png",
                    sizes: `512x512`,
                    type: `image/png`,
                },
            ],
        },
    }
Live Code Editor
To render react components for live editing, add the react-live=true to the code section. For example:
<button>Edit my text</button>
In the above code, just add javascript react-live=true after the triple quote “` to start rendering react components that can be edited by users.
? SEO friendly
This is a static site and comes with all the SEO benefits. Configure meta tags like title and description for each markdown file using MDX Frontmatter
---
title: "Title of the page"
metaTitle: "Meta Title Tag for this page"
metaDescription: "Meta Description Tag for this page"
---
Canonical URLs are generated automatically.