Get ready for uploading file
Git clone this project and run npm run setup to install all needed package on both front and back side.
You can watch the workshop on this video https://drive.google.com/file/d/1ka409tnpqqtCJC_eOwzsek3PZIICqoO7/view?usp=sharing
Ok, let’s go on a back end upload
On this part, we will implement the back end code in order to upload a file.
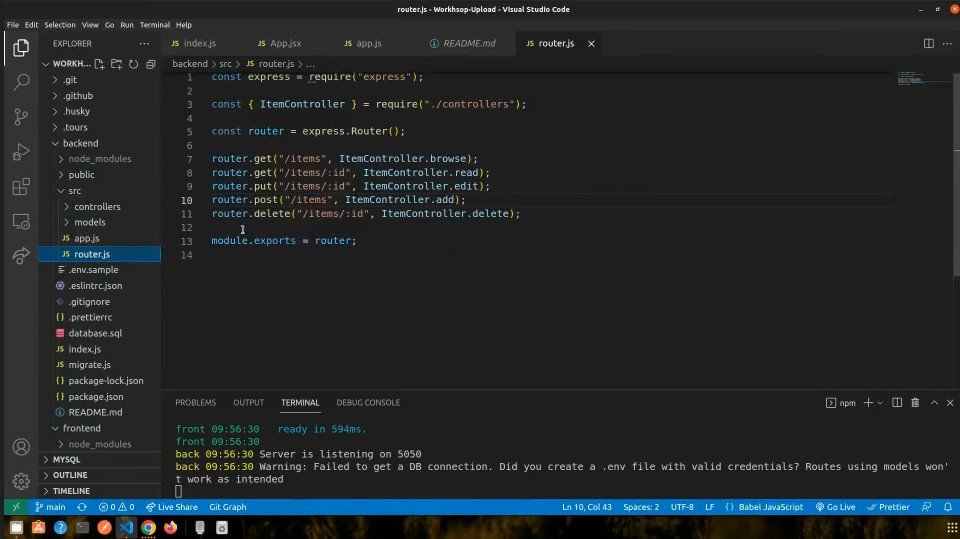
- / On the router.js file, just add a path on a
postto a UploadController.js with anupload()method, that we will create just after. Direct the path to/upload; - 2/ In this path, we will add a middleware wiht the multer package. For that, import the
multerpackage and initialize it withconst upload = multer({ dest: "./public/tmp/" });Then, add your middleware directly bteween your path and the call to the controllerupload.single("myfile") - 3/ Create your controller from the item model and delete everything related to route in it. (Static method)
- 4/ Create a static method called
upload. Once done, you can import thefslibrary; - 5/ Inside the method, we will use the fs library to rename the file and move it to the /public/images folder thaht you should create;
fs.rename(originalPath, newPath) - 6/ And use its callback function with
errparams to send a message back to the client If err => upload error If not => msg: complete path to the file
Finale Code
fs.rename(
  req.file.path,
  `./public/images/${req.file.originalname}`,
  (err) => {
    if (err) {
      console.log(err);
      res.status(400).send("Error while uploading");
    } else {
      res.status(203).json({
        msg: "Upload success",
        url: `http://localhost:5000/public/images/${req.file.originalname}`,
      });
    }
  }
You can now test it on Postman
Front end part
Now, let’s go on react !!!
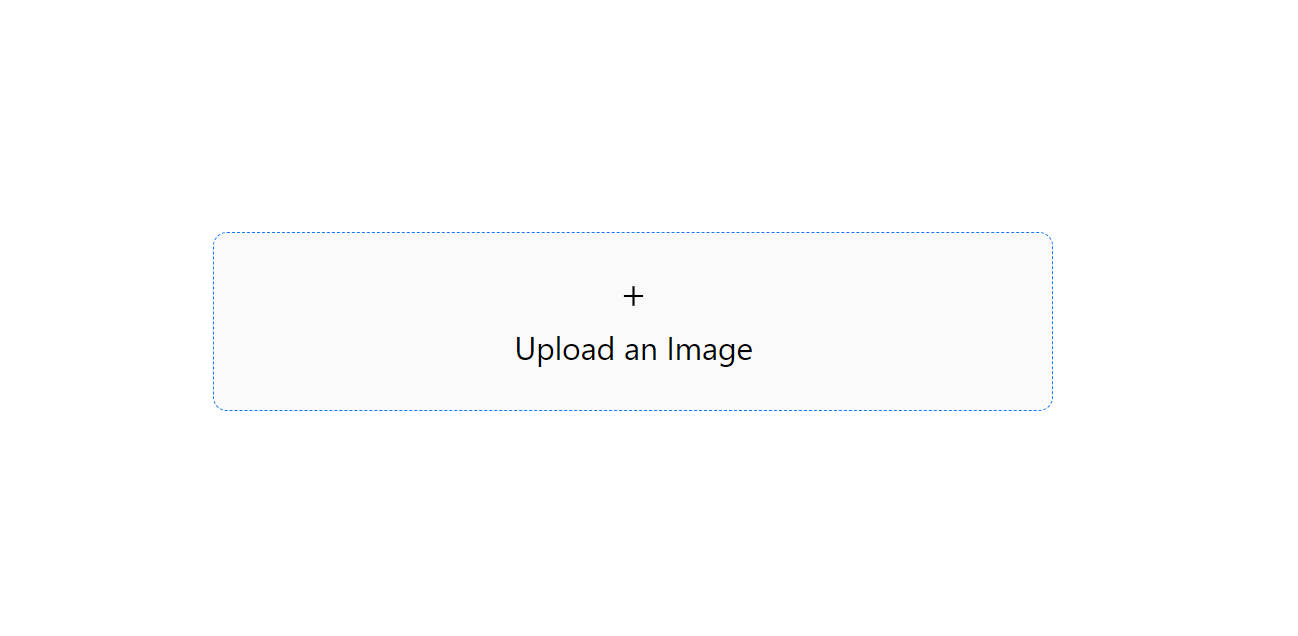
- 1/ On the
App.jsx, import thereact-hook-formpackage and initialize ituseForm(). And create in the return the form as below.
<form onSubmit={handleSubmit(onSubmit)}>
  <input {...register("file")} type="file" />
  <button type="submit">Submit</button>
</form>
- 2/ Create a submit fonction. This one will first create a
new FormData()and store it in aconst. It permit to construct key/value pari under the"mulitpart/form-data"encoding type (For upload); - 3/ This new variable will
appendthedata[0].fileon a “myfile” key. - 4/ Then use a
fetchcall to your back end url. As param Object add { method: ‘POST’ && body: <> }; - 5/ Just do a traditional
.then() .catch()
Your code should look like
const formData = new FormData();
formData.append("myfile", data.file[0]);

fetch("http://localhost:5000/upload", {
  method: "POST",
  body: formData,
})
  .then((res) => res.json())
  .catch((err) => console.log(err));
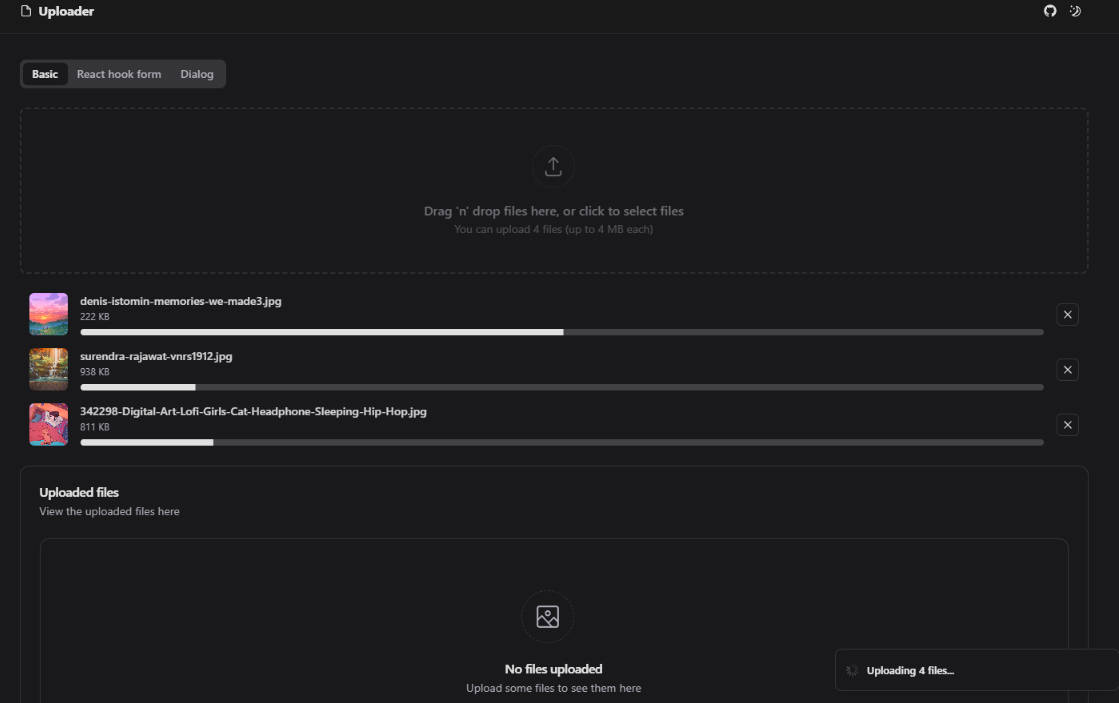
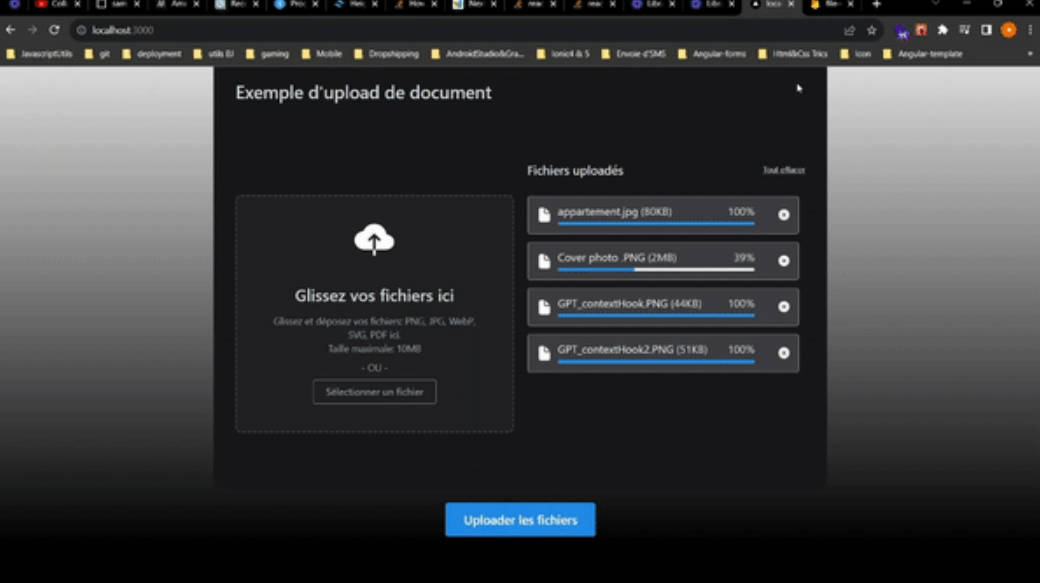
If all is correctly set, your file should be upload to the back end..
Now, display the image.
If you try to get the image, you see an error… We can’t access it now…
On the back end part
- 1/ On the app.js file in the src folder, we will modify the redirect route on ‘*’ in order to access our file.
app.get("*", (req, res) => {
  if (req.path.includes("public")) {
    const urlpath = req.path.split("/");
    res.sendFile(path.join(__dirname, "..", "public", urlpath[2], urlpath[3]));
  } else {
    res.sendFile(
      path.join(__dirname, "..", "..", "frontend", "dist", "index.html")
    );
  }
});
Test it, if your write your file url on a browser, you should get it
On the front end
- 2/ In your
App.jsxfile, create a state for an imageurl. - 3/ On the
.then()of yourfetch()after jsondecoding, set the image url. - 4/ Display it in the
returnstatement under your form.