Online Doctor Appointment
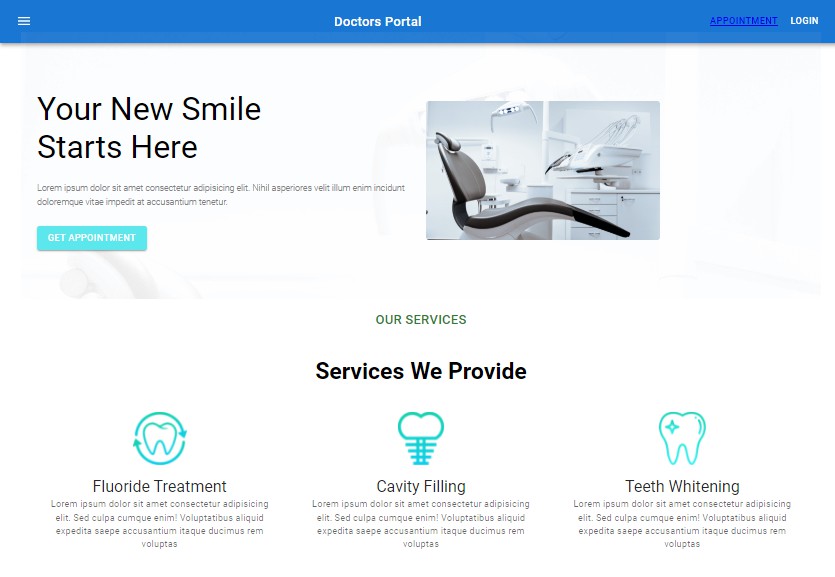
Patients can select a desired doctor appointment date through the online platform. This project is developed using the MERN stack technology, and I have implemented various functionalities to make it a professional website. Currently, I do not have much time, but in the future, I plan to add additional functionality in the admin panel. For now, the current state is sufficient.
##Setting up this MERN project on your local machine typically involves the following steps: ###The front-end and Express code are in the same directory, with the Express API located at ./api
- Clone or download the project source code to your local machine.
- Install dependencies. This can be done using a package manager such as npm (Node Package Manager) or yarn.
- Run the development server. This can be done using a command line tool such as the terminal, where you can run the command npm start or yarn start.
- Access the project in your web browser by navigating to
http://localhost:3000or another specified URL.
##To set up an Express API in the “./api” directory of a project, you can follow these steps:
- Install the required dependencies. You can do this by running npm install or yarn install in the terminal and including the express module as a dependency.
- Set up the server and configure middleware in a file such as index.js within the “./api” directory. You can do this by importing the express module and creating an instance of an express application, setting up routes for handling HTTP requests, and configuring middleware for handling requests and responses.
- Set up environment variables for the project. This can be done by creating a file such as .env in the root directory and specifying key-value pairs for any environment-specific variables, such as a port number or database credentials. For Example: create a file called .env and inside write.
MONGO=here will be your mongodb value
JWT= Here will be your jason web token (Generate random number for secured your api).
- Start the server by running a command such as node index.js or nodemon index.js in the terminal.
- Test the API by sending HTTP requests to the server using tools such as Postman or cURL.
Note: These are general instructions for setting up an Express API, and the specific implementation details may vary depending on your project’s requirements. Before starting, make sure to read the project’s documentation or readme file to obtain any specific instructions or requirements.
What Features Will You Find Here?
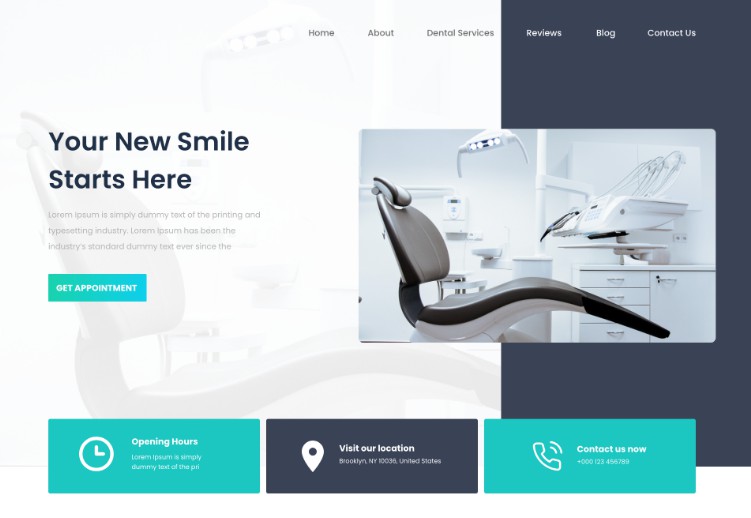
- Dynamic home page, serving as the landing page for all users.
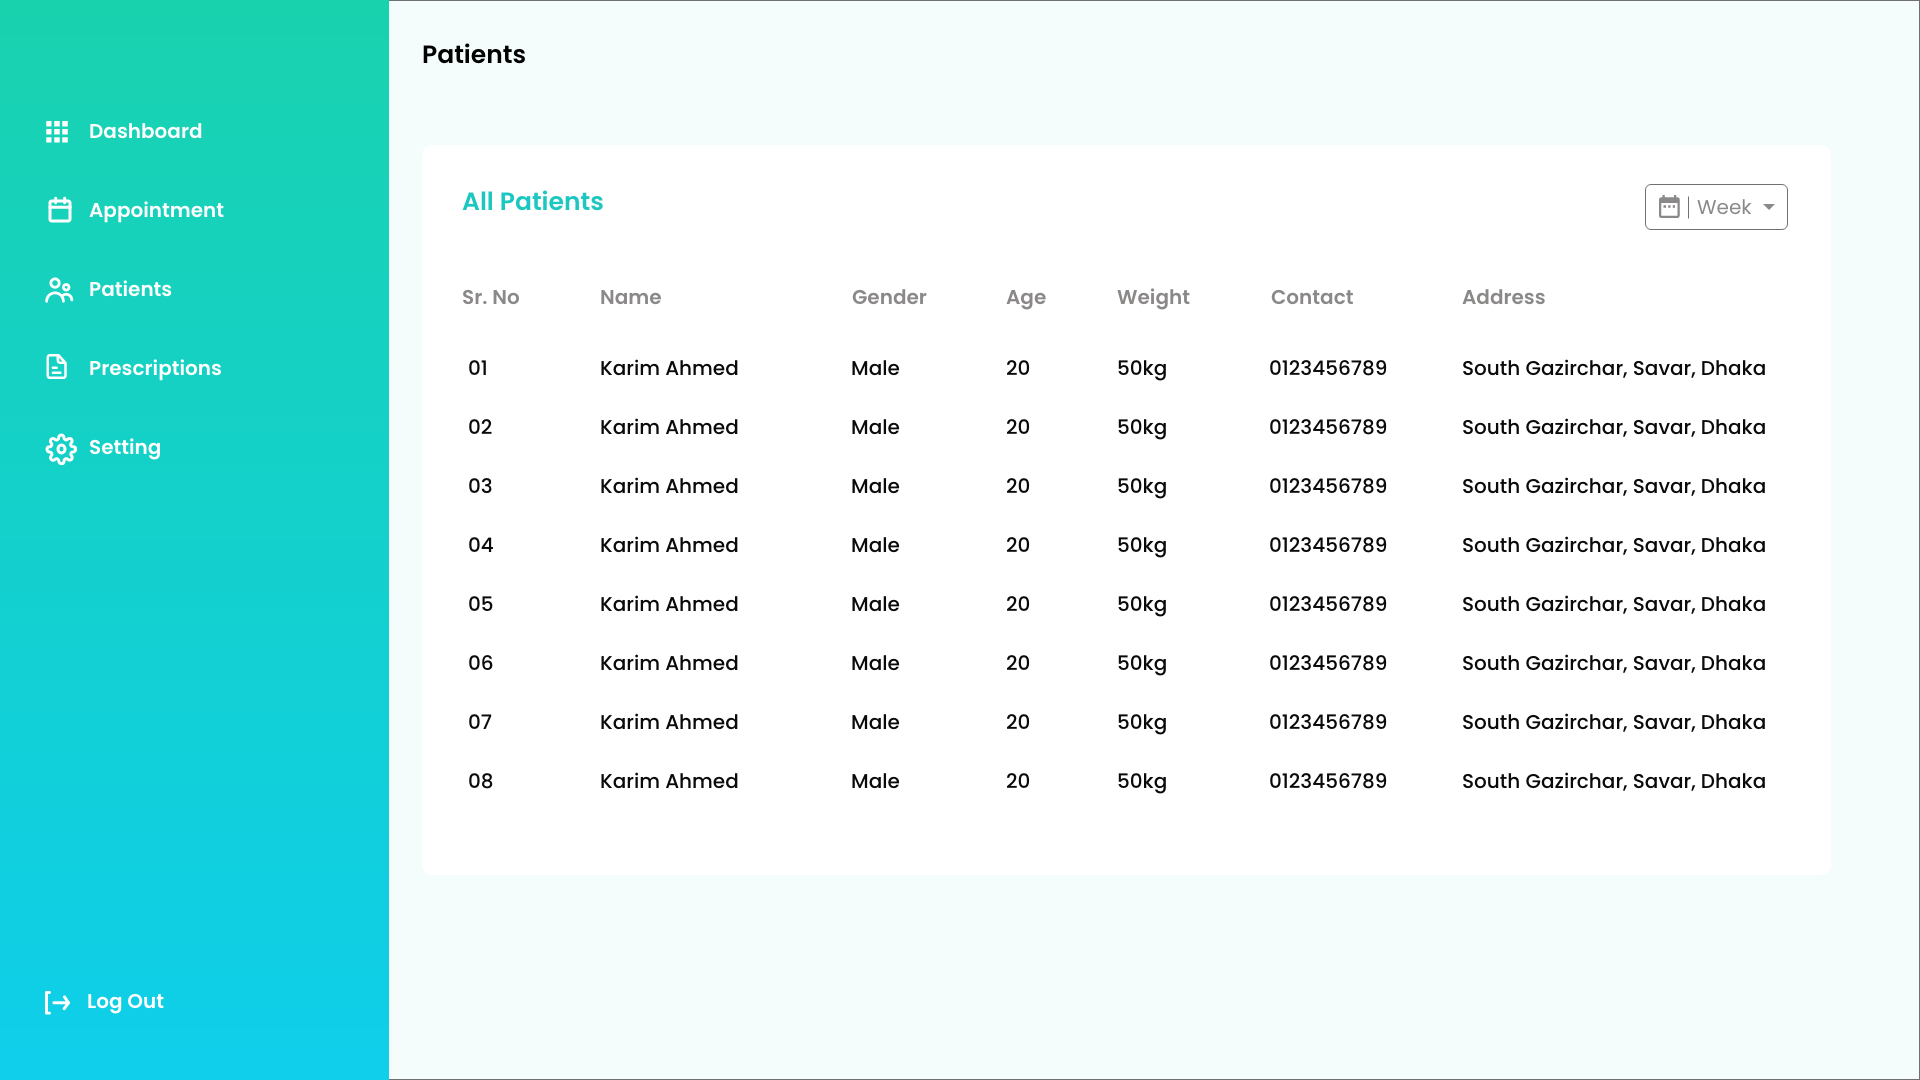
- Admin and user dashboards.
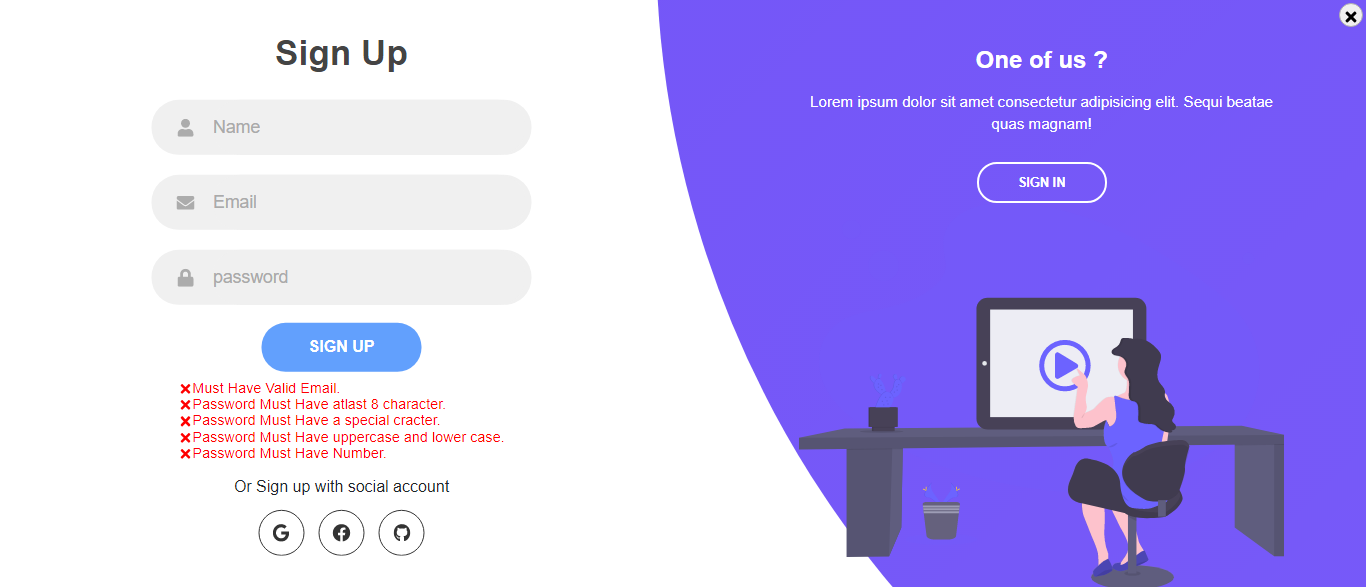
- User login page with professional handling of all kinds of validations.
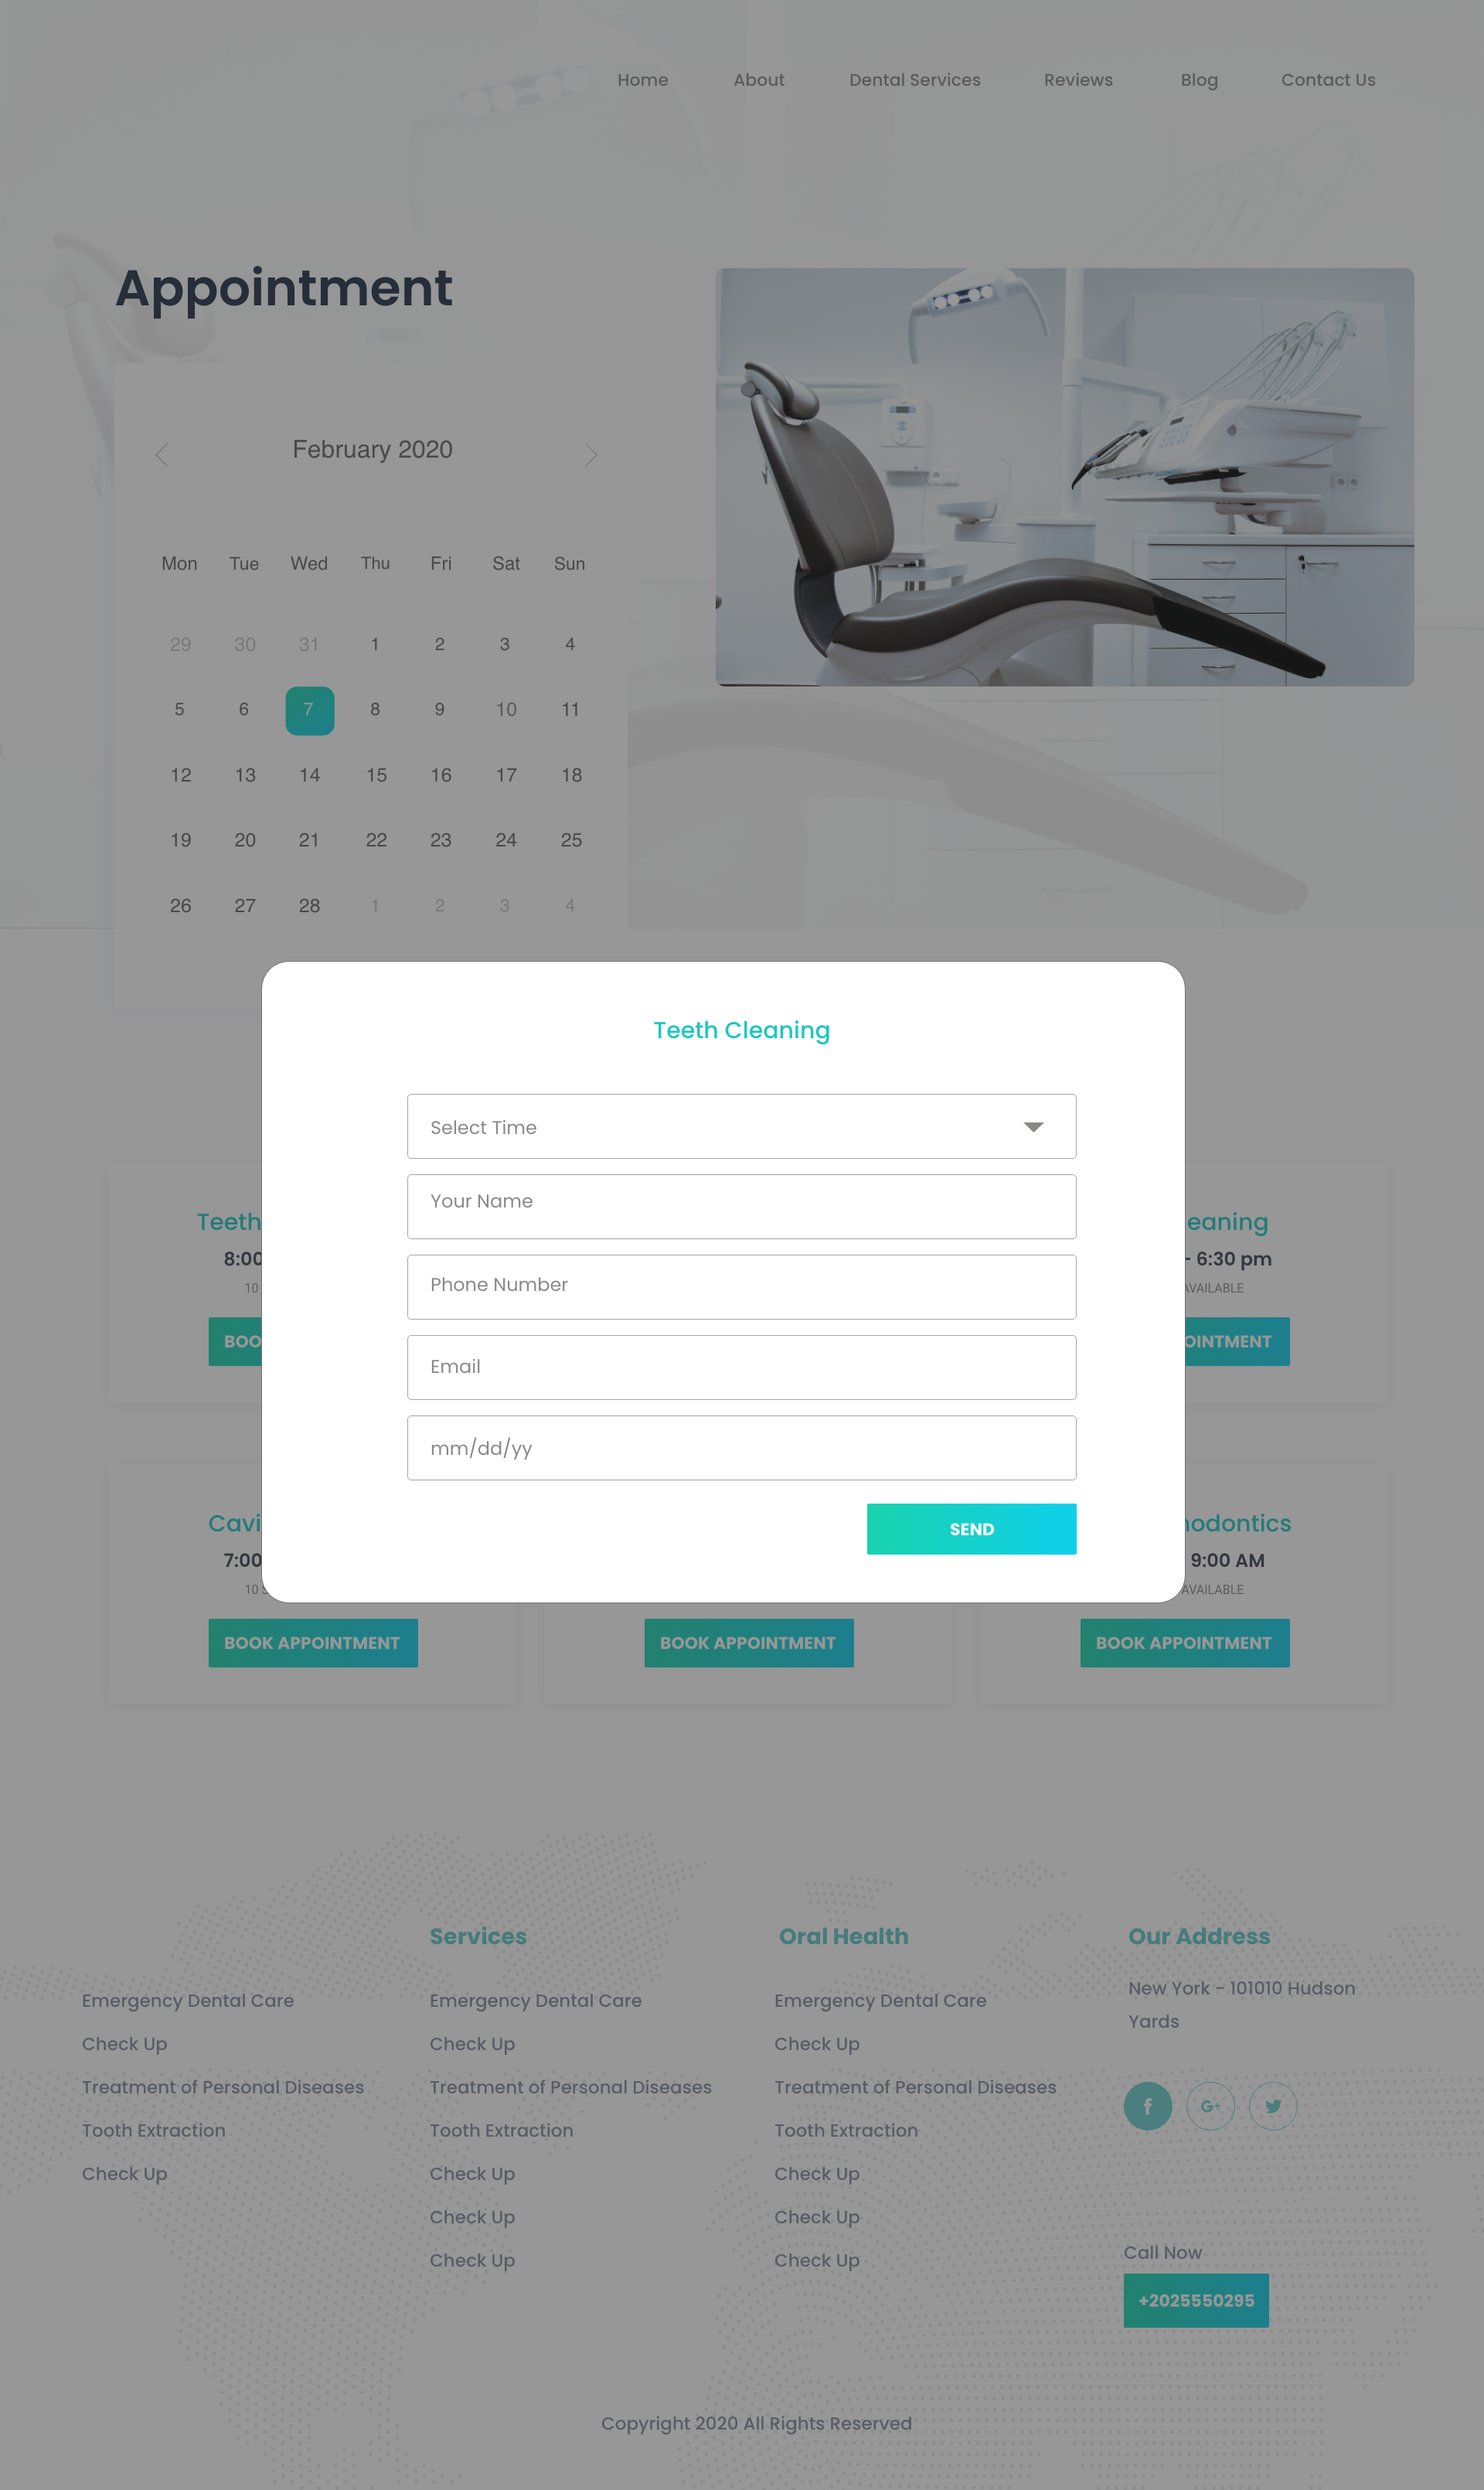
- Ability for a patient to select an appointment and view doctor information, as well as their own appointment information.
- Option to select a doctor and view appointment date.
- CRUD operations and additional features.
- Responsive design with a dynamic header and preloader.
**demo** : https://dental-doctor-ujjal.netlify.app/
**My Websit**e : https://ujjalzaman-b6c8a.web.app/
What Technology are Using In This Projects
Front End :
- React
- JavaScript(ES6)
- React-Bootstrap
- Html
- css5
- Meterail UI
- React Animation
- Preloader
- Alert
- Validation
Back-End:
- MongoDb
- Express
- Cors
- Body-Parse
- Nodemon
- ImageUploader
