Online Doctor Appointment
The Online Doctor Appointment System allows patients to select a desired doctor appointment date through the online platform. This project is developed using the MERN stack technology, incorporating various functionalities to create a professional website. The project features a dynamic home page, admin and user dashboards, user login page with professional handling of all kinds of validations, ability for a patient to select an appointment and view doctor information, as well as their own appointment information, option to select a doctor and view appointment date, CRUD operations and additional features. The website boasts a responsive design with a dynamic header and preloader.
Setting up this MERN project on your local machine typically involves the following steps:
The front-end and Express code are in the same directory, with the Express API located at ./api
- Clone or download the project source code to your local machine.
- Install dependencies. This can be done using a package manager such as npm (Node Package Manager) or yarn.
- Run the development server. This can be done using a command line tool such as the terminal, where you can run the command npm start or yarn start.
- Access the project in your web browser by navigating to
http://localhost:3000or another specified URL.
To set up an Express API in the “./api” directory of a project, you can follow these steps:
- Install the required dependencies by running npm install or yarn install in the terminal and including the express module as a dependency.
- Set up the server and configure middleware in a file such as index.js within the “./api” directory. Import the express module and create an instance of an express application, set up routes for handling HTTP requests, and configure middleware for handling requests and responses.
- Set up environment variables for the project by creating a file such as .env in the root directory and specifying key-value pairs for any environment-specific variables, such as a port number or database credentials.
- Start the server by running a command such as node index.js or nodemon index.js in the terminal.
- Test the API by sending HTTP requests to the server using tools such as Postman or cURL.
MONGO=here will be your mongodb value
JWT= Here will be your jason web token (Generate random number for secured your api).
- Start the server by running a command such as node index.js or nodemon index.js in the terminal.
- Test the API by sending HTTP requests to the server using tools such as Postman or cURL.
Note: Please note that these are general instructions for setting up an Express API, and the specific implementation details may vary depending on your project’s requirements. Before starting, make sure to read the project’s documentation or readme file to obtain any specific instructions or requirements.
What Features Will You Find Here?
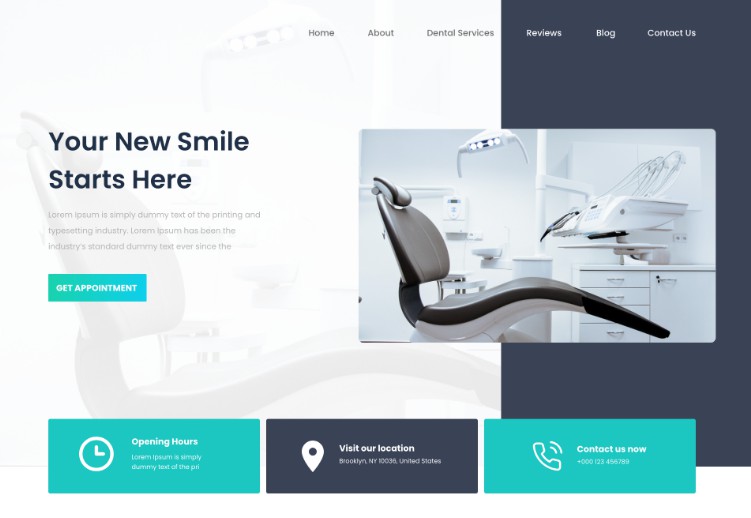
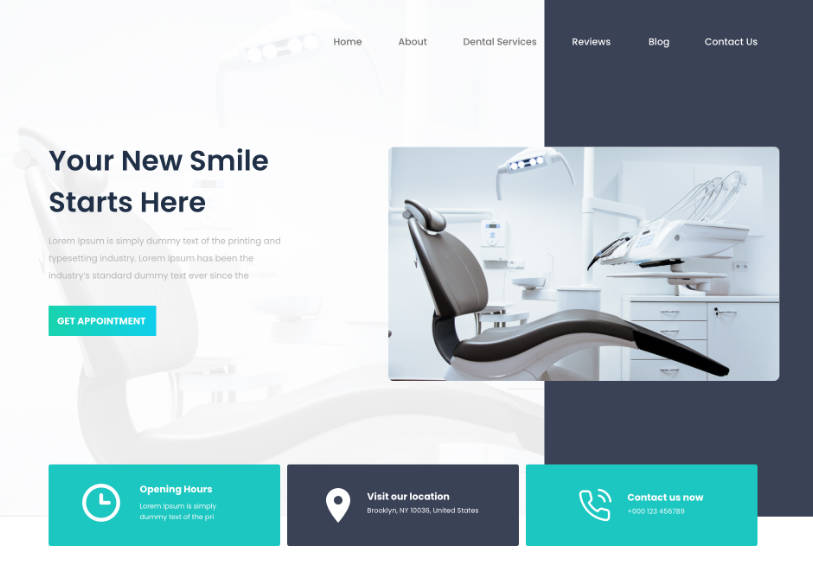
- Dynamic home page, serving as the landing page for all users.
- Admin and user dashboards.
- User login page with professional handling of all kinds of validations.
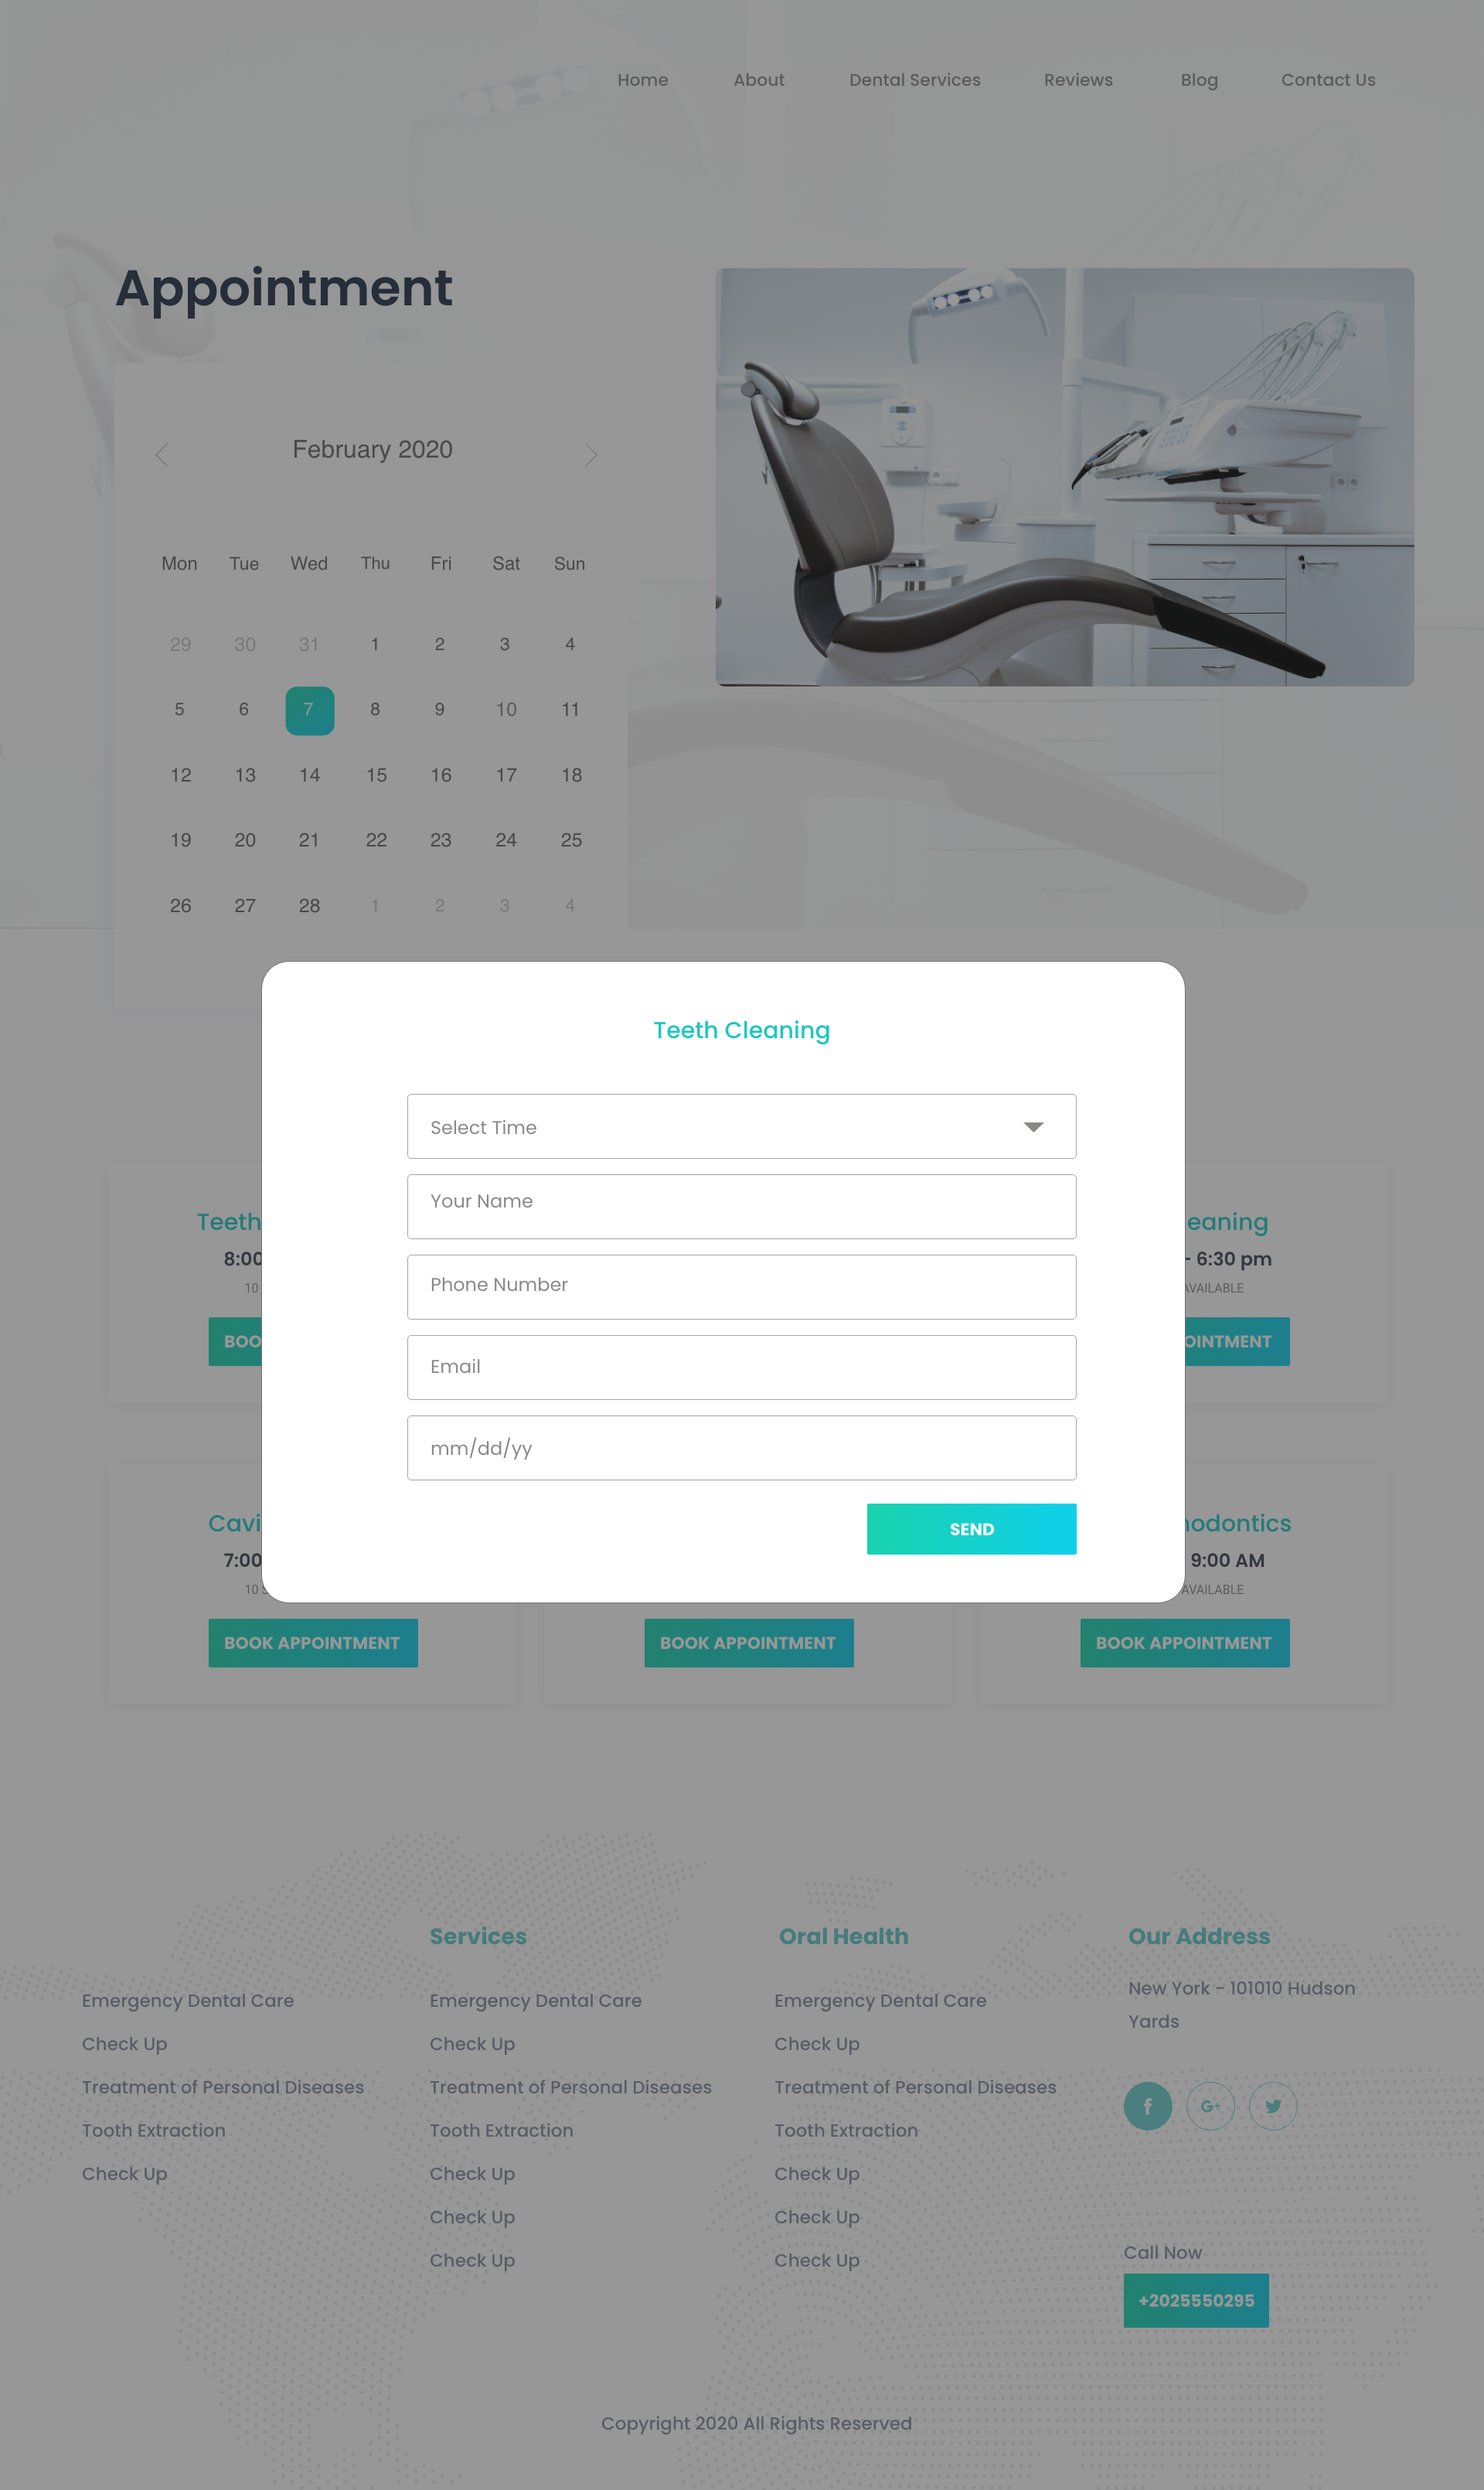
- Ability for a patient to select an appointment and view doctor information, as well as their own appointment information.
- Option to select a doctor and view appointment date.
- CRUD operations and additional features.
- Responsive design with a dynamic header and preloader.
**demo** : https://dental-doctor-ujjal.netlify.app/
**My Websit**e : https://ujjalzaman-b6c8a.web.app/
What Technology are Using In This Projects
Front End :
- React
- JavaScript(ES6)
- React-Bootstrap
- Html
- css5
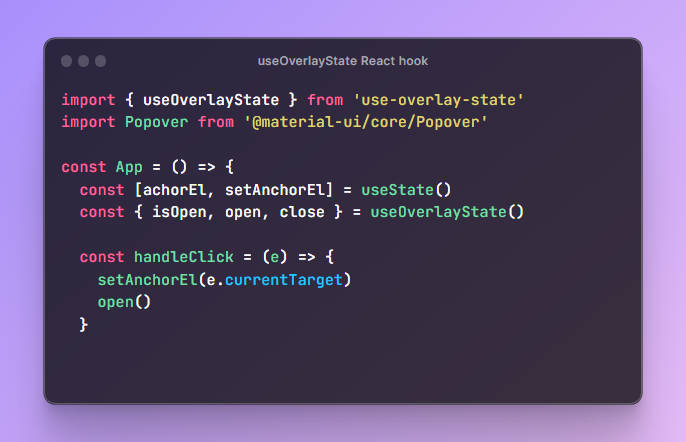
- Meterail UI
- React Animation
- Preloader
- Alert
- Validation
Back-End:
- MongoDb
- Express
- Cors
- Body-Parse
- Nodemon
- ImageUploader
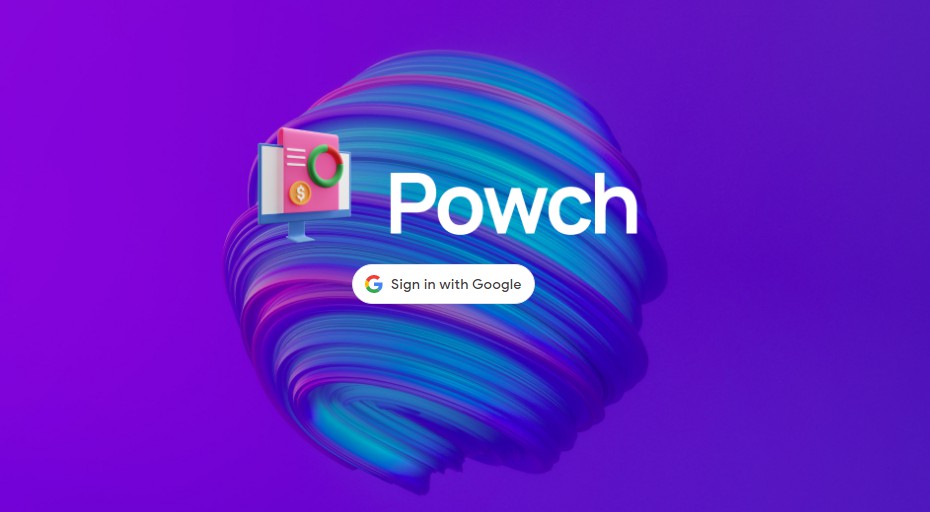
Sign In Page (In this component Especial for me becaouse i have did everthing functionaliy via vanila Javascript and Make this strong Pass and Validation )

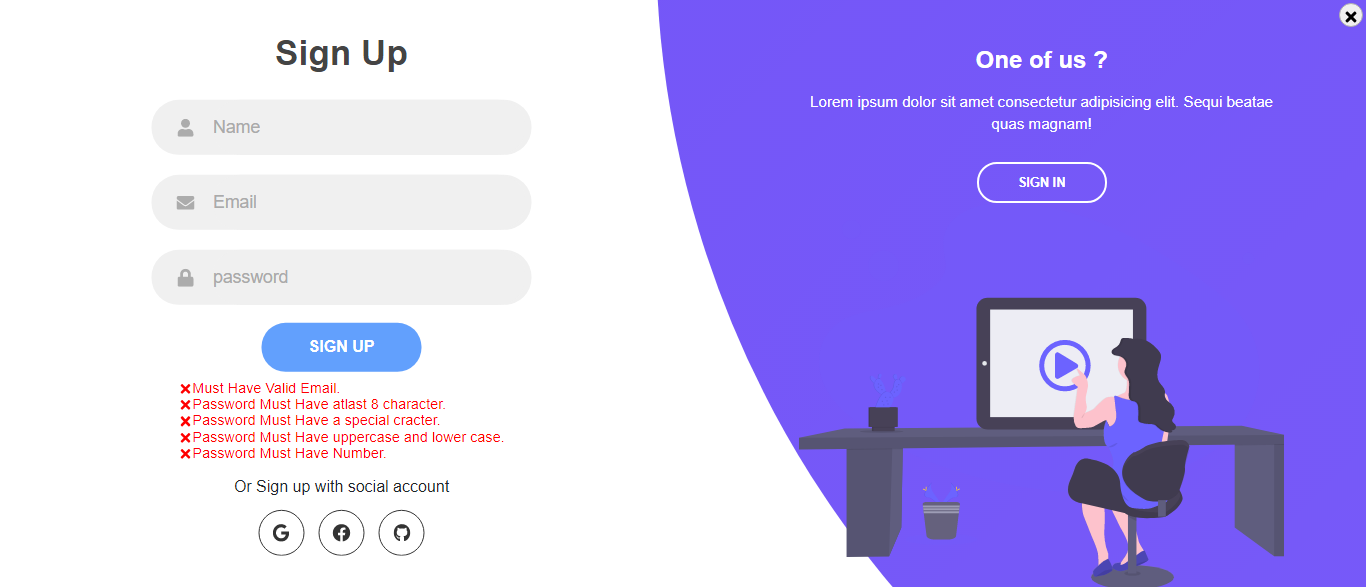
Sign Up (In this component Especial for me becaouse i have did everthing functionaliy via vanila Javascript and Make this strong Pass and Validation )
Landing Page

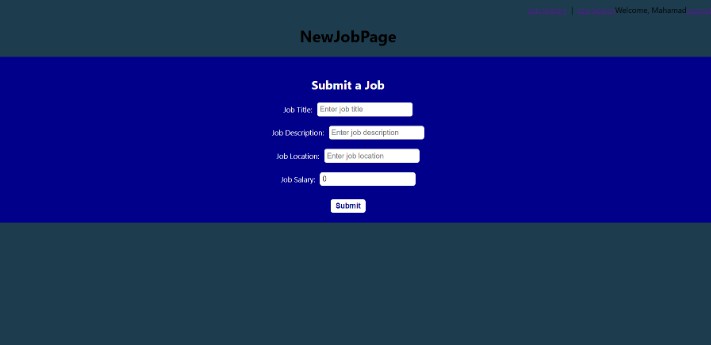
User Have to Logged in and Add his Appointment
Get AppointMenet

Appointment

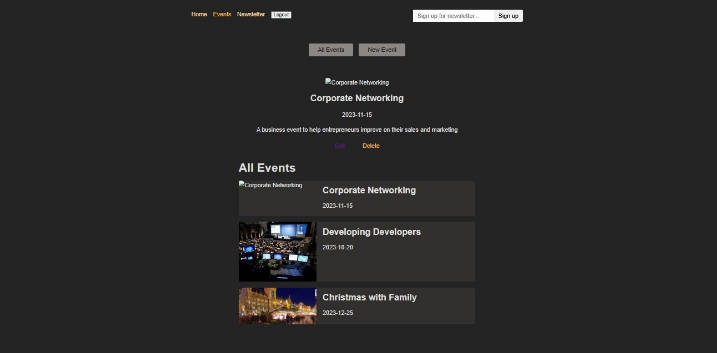
Daashboard (as i have left few functionality here for admin only )

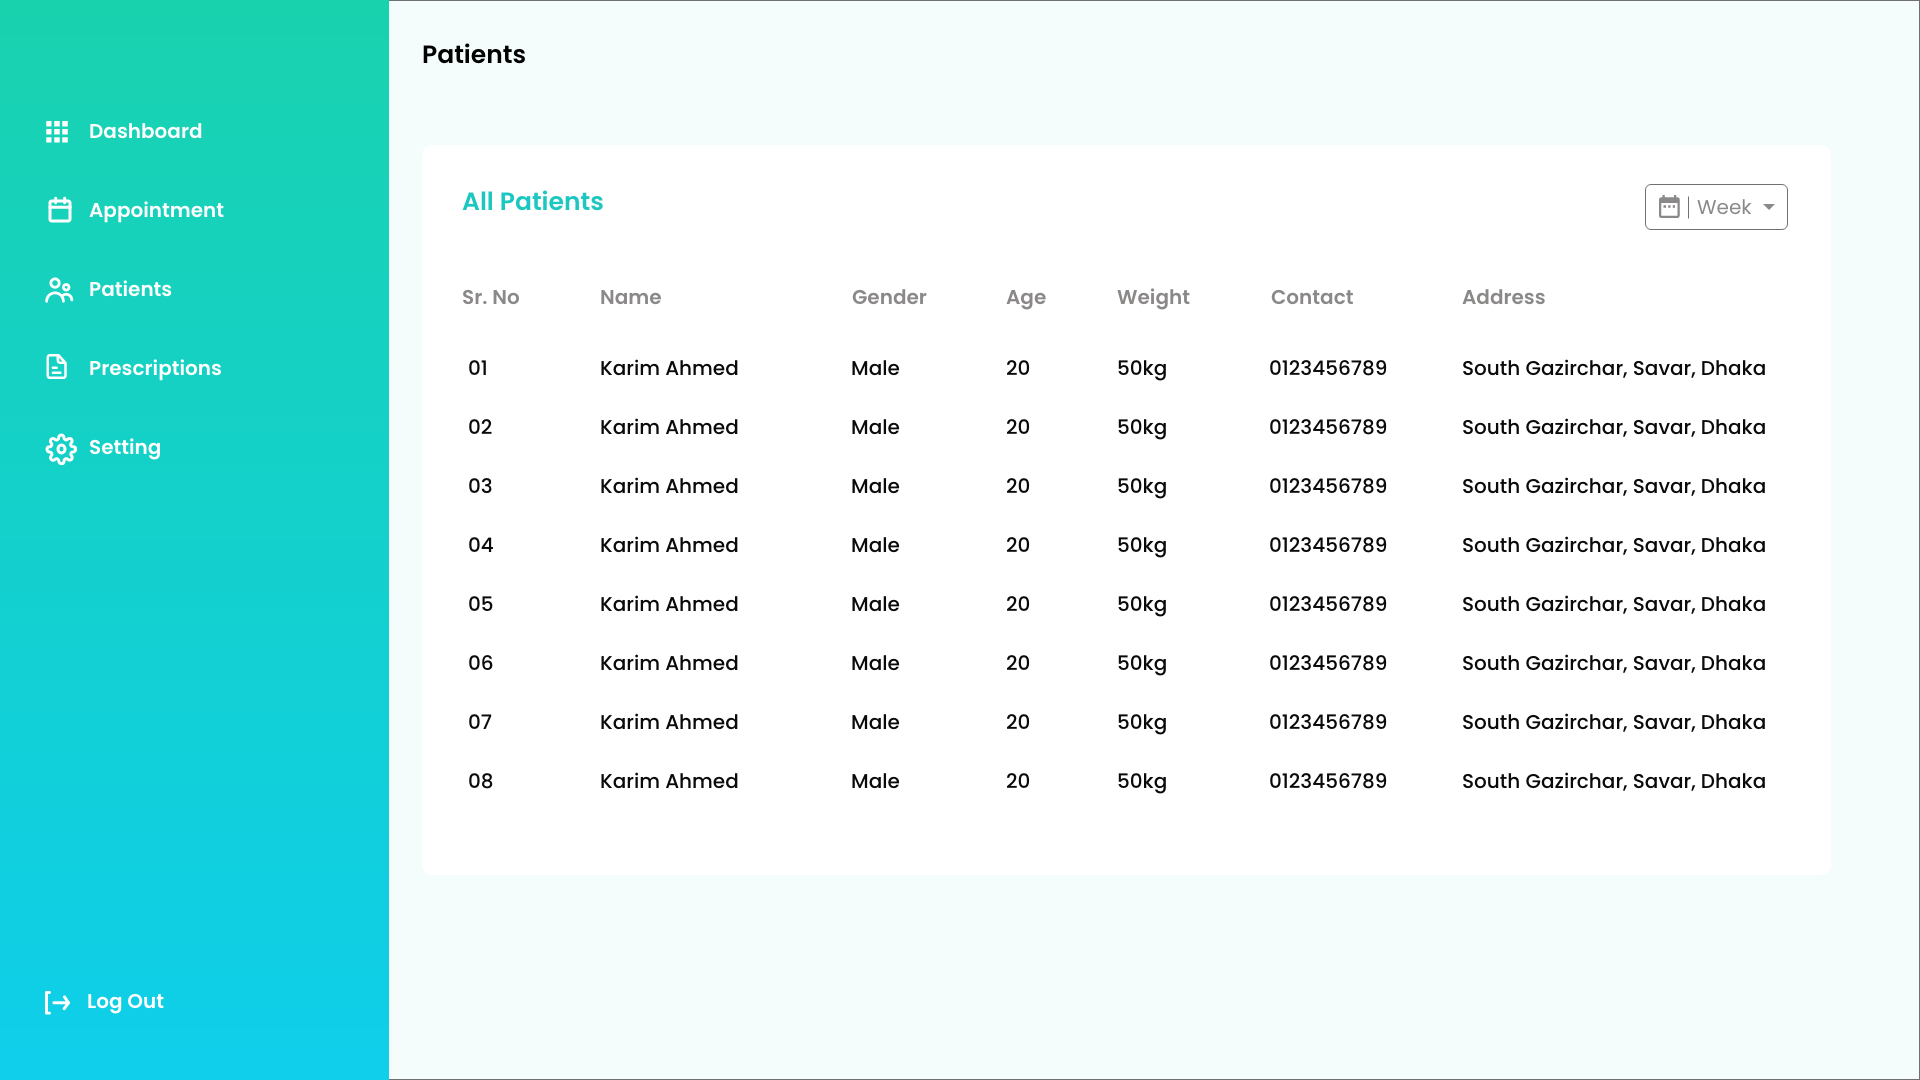
All Patient List (this feature only visible for doctor’s and admin )
Contributing:
-
Fork the repository by clicking the “Fork” button on the top right corner of the project’s GitHub page. This will create a copy of the project in your own GitHub account.
-
Clone the forked repository to your local machine by running the command
git clone https://github.com/your-username/online-doctor-appointment.gitin your terminal.
3.Install the project’s dependencies by running npm install or yarn install in the project’s root directory.
Create a new branch for your changes by running the command git checkout -b branch-name, where branch-name is a descriptive name for your branch.
Make your desired changes to the code.
4.Test your changes locally by running npm start or yarn start and accessing the project in your web browser at http://localhost:3000 or another specified URL.
5. Add and commit your changes to your local repository by running the command git add . followed by git commit -m "Your commit message here"
-
Push your changes to your forked repository by running the command
git push origin branch-name -
Create a pull request (PR) by navigating to your forked repository on GitHub and clicking the “New pull request” button. Make sure that the base branch is set to the original project’s branch that you want to contribute to, and the head branch is set to your forked repository’s branch that contains your changes.
8.Write a descriptive title and message for your pull request, explaining the changes you made and why they should be merged. Wait for the project’s maintainers to review your pull request and provide feedback. You may be asked to make further changes or address any issues before your changes are merged.
9.Once your pull request is approved and merged, your changes will become part of the project. Congratulations, you have successfully contributed to the project!
Thank you for considering this project. If you have any questions, please do not hesitate to contact me.