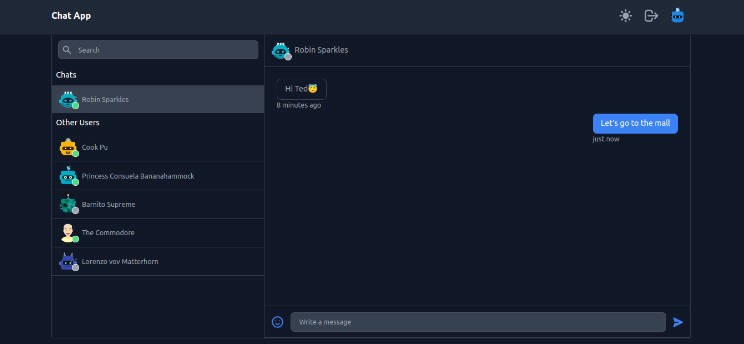
Let’s Chat
A real-time chat application. Another fun side project ?

GIFs are attached at the end.
Technologies Used
- React and TailwindCSS for the frontend
- Firebase for authentication
- Node/Express for creating API endpoints
- MongoDB for storing chat room members and their messages
- Socket.io for making the app real-time
Basic Features
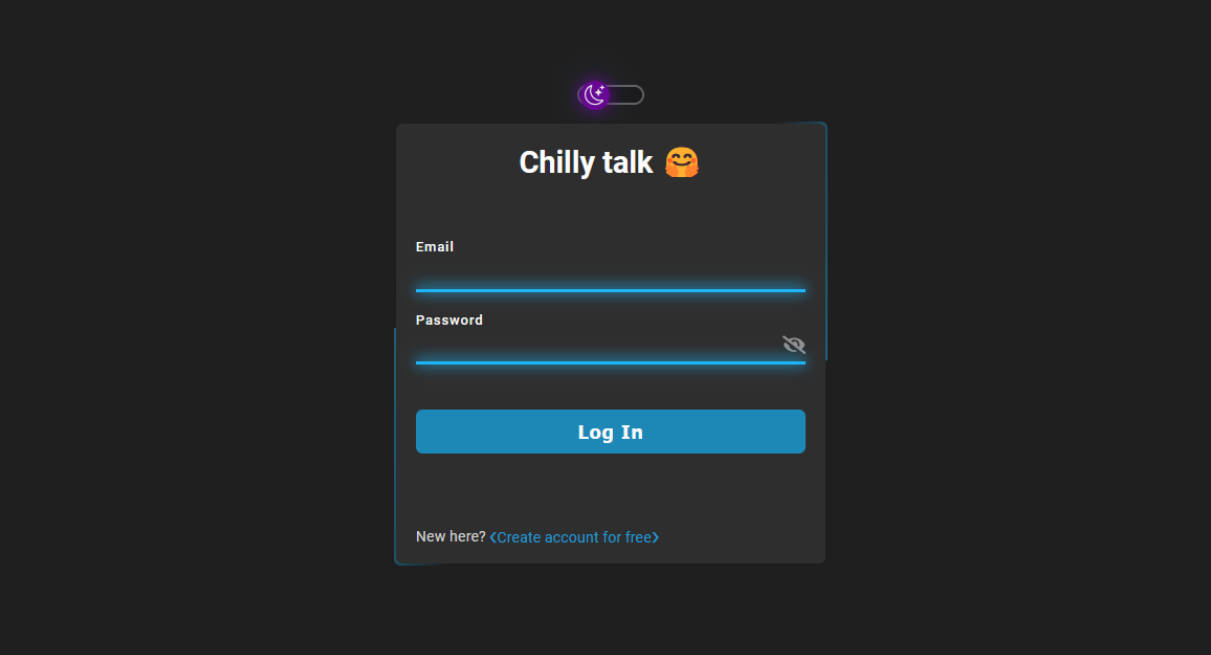
- Users can register/login via email and password.
- Profile page where users can update their avatar and display name.
- Generate random avatars using DiceBear API
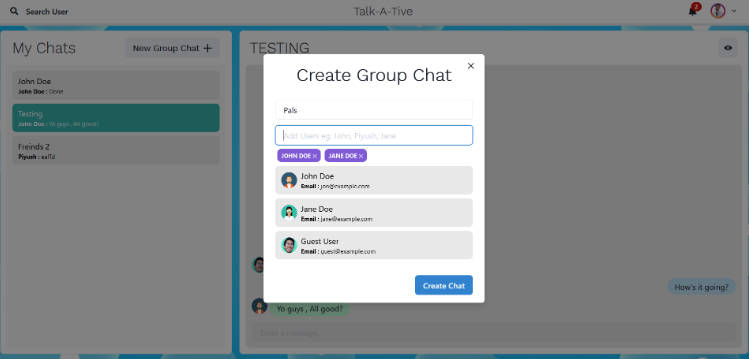
- Users can create a room to chat with others.
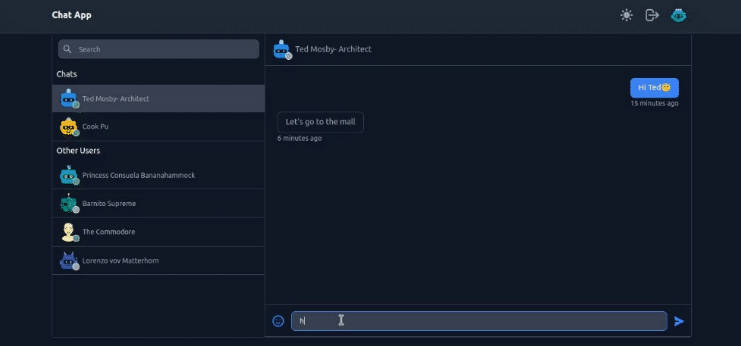
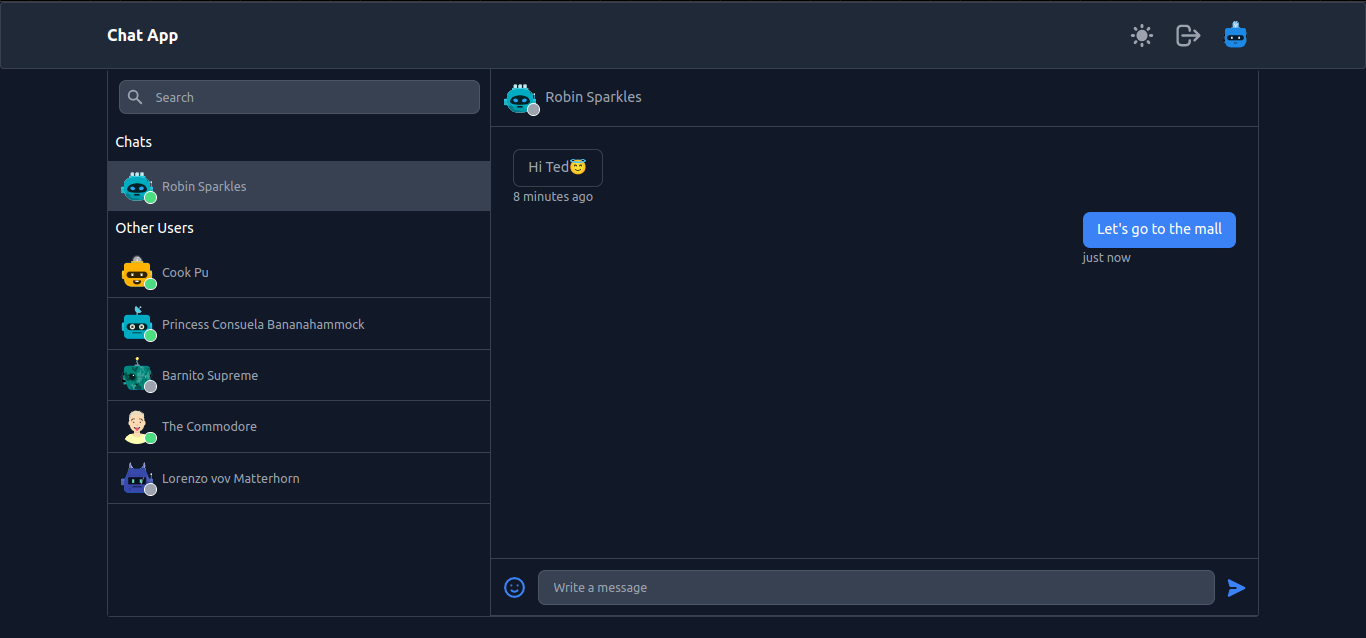
- Users can see online status.
- Search functionality.
- Chatting is real-time.
- Emoji picker is also integrated.
- Dark mode can be enabled.
Getting Started
To run this project locally, follow these steps:
- Clone the repository.
- Install the dependencies:
- Navigate to the
frontenddirectory and runnpm install. - Navigate to the
serverdirectory and runnpm install.
- Navigate to the
- Set up Firebase:
- Go to the Firebase Console.
- Create a new project or select an existing one.
- Go to the project settings or service accounts section.
- Click on “Generate new private key” or a similar option.
- Save the downloaded JSON file as
serviceAccountKey.json. - Place the downloaded
serviceAccountKey.jsonfile in theserver/configdirectory.
- Set up Environment Variables:
- In the
frontenddirectory, create a new file named.envbased on the.env.examplefile. - Update the values of the environment variables in the
.envfile with your Firebase configuration details. - In the root directory, create a new file named
.envbased on the.env.examplefile. - Update the values of the environment variables in the
.envfile according to your preferences. For example, set thePORTvariable to specify the desired port for the server and setMONGO_URIto your MongoDB connection URI.
- In the
- Run the server:
- Navigate to the
serverdirectory and runnpm run start.
- Navigate to the
- Run the client:
- Navigate to the
frontenddirectory and runnpm start.
- Navigate to the
- The application will be accessible at
http://localhost:3000.
Please make sure to keep the serviceAccountKey.json file and sensitive information secure and not commit them to version control.
GIFs