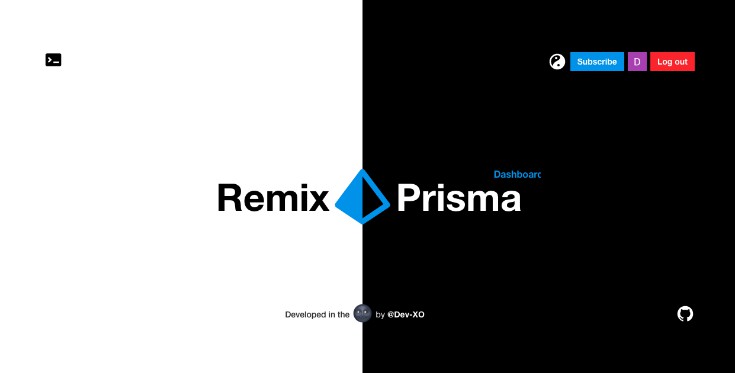

Remix Next Level – Boilerplate
Remix.run starter KIT for any kind of modern Web App.
Includes Authentication | Theme Customization | Fully integrated Stripe Subscription.
Important: As @kentcdodds suggested, this Boilerplate is moving to Remix Stacks.
Features
- Remix Full Stack web framework that lets you focus on the User Interface. Simply lovely.
- React Coolest JavaScript library for building User Interfaces.
- TypeScript JavaScript with syntax for types.
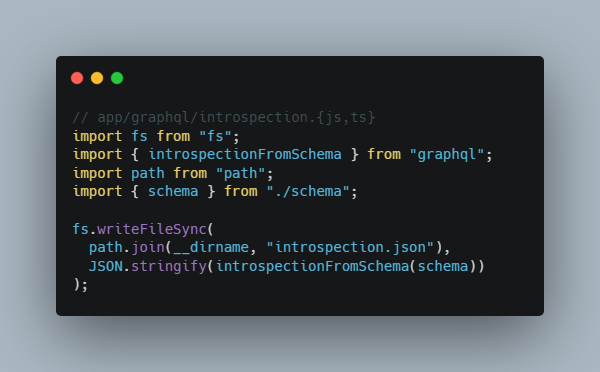
- Prisma Next-Generation Node.js and TypeScript ORM.
- MongoDB Atlas Cloud-hosted MongoDB service on AWS, Azure and Google Cloud.
- Stripe Payments infrastructure for the internet.
- Remix-Auth Authentication – Includes Google Strategy.
- Remix-Themes Theme Customization – Includes Light & Dark based on CSS variables.
Pending for Implementation.
- Remix-Image – Soon. –
- Testing – Soon. –
- Deployment – Working on It. –
- Remix Stacks – Working on It. –
Additional Notes.
-
Database: MongoDB Atlas has been the main choice here. Feel free to swap to the database you like.
Keep in mind that if you want to go for another database, it should be an allowed Prisma Client.
-
Authentication: A few more Authentication Strategies will be implemented.
Getting Started
Installation
- Clone the repository.
git clone https://github.com/dev-xo/Remix-Next-Level-Boilerplate.git
- Install NPM packages.
npm install
- Run the App in Development mode.
npm run dev
Setting up Environment Variables
Before we’ve getting up and running, you will need to create an .env file inside the root of the project. Fill it up with the required variables i’ve set in .env-example file.
-
Setup Database: Sign into your MongoDB Atlas account and get the credentials provided in:
Connect your applicationsection. -
Setup Authentication: Google Strategy.
- Go to Google Cloud and create a New Project.
- Go to Menu > API & Services > Credentials.
- Click on
CREATE CREDENTIALSand select OAuth client ID. - Set the name of your OAuth Client and fill the bellow inputs.
- On Authorized JavaScript origins input, paste the following url:
http://localhost:3000 - On Authorized redirect URIs input, paste the following url:
http://localhost:3000/api/auth/google/callback - Save and Done! Check the Official Google Auth Docs for a detailed explanation.
-
Setup Stripe: Sign in into your Stripe account and create a new
Product. Get thePRICE_ID,STRIPE_SECRET_KEYandSTRIPE_PUBLIC_KEYthat it’s provided after its creation.
Usage
The Boilerplate can be used as a common App. Code that should not be deleted is marked as @protected Boilerplate Required code.
Usually your starter point will be routes/__index folder.
Stripe: In Development Mode.
For the correct Stripe functionality we’ll have to keep Stripe Webhook endpoints running on the background. Open a new console tab and paste the following code:
stripe listen --forward-to localhost:3000/api/subscription/webhook
This will manage and handle Stripe subscriptions, customers and any other event sent by Stripe.
License
Distributed under the MIT License. Check LICENSE file for a detailed explanation.
Contact
Twitter: @DanielKanem | Email: [email protected]