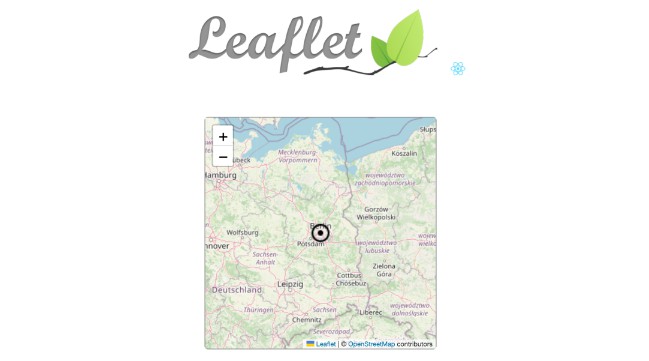
Setting up a basic leaflets.js map in React
View Project
This demo project has been built with Create-React-App environment. To view it in browser
- Fork and clone the repo
- Run
npm installfrom project root directory - Run
npm startfrom project root directory

Leaflet Setup
To create a leaflet map in your own project:
-
Install leaflet and react-leaflet with
npm install react-leaflet leaflet. -
Import core components with
import { MapContainer, TileLayer, Marker, Popup } from 'react-leaflet'andimport { Icon } from 'leaflet'(see code in Map.js component). -
Add leaflet stylesheet to the component with
import 'leaflet/dist/leaflet.css'(see code in Map.js component and leaflet.js docs). -
Add
.leaflet-containerclass to css with map dimensions (other properties are optional). Note that the class does not have to be added anywhere in the Map component itself (see code in index.css).
.leaflet-container {
  width: 350px;
  height: 350px;
}
- Add
MapContainercomponent inside adivwithid="map"(see code in Map.js component and react leaflet docs).
<div className="map" id="map" >
<MapContainer center={position} zoom={6} scrollWheelZoom={true}>
<TileLayer
attribution='© <a href="https://www.openstreetmap.org/copyright">OpenStreetMap</a> contributors'
url="https://{s}.tile.openstreetmap.org/{z}/{x}/{y}.png"
/>
<Marker position={position}>
<Popup>
???
</Popup>
</Marker>
</MapContainer>
<div/>
Note, I have defined the position as a variable inside the Map component but outside the return statement.
const position = [52.51, 13.38]
Optional
- Create a custom marker by defining a new instance of
Iconoutside thereturnstatement. Note, there are additional properties that can be defined for the icon (see code in Map.js component)
const customIcon = new Icon({
    iconUrl: "/icons8-select-24.png",
    iconSize: [33, 33]
  })
and add icon property to Marker component (see code in Map.js component).
<Marker position={position} icon={customIcon}>
- Add custom tiles by updating
attributionandurlproperties inTileLayercomponent (see code in Map.js component).
- You can find some tile options from leaflet extras. To update your project with one of the options simply copy attribution and url. For example, to include the Stadia.AlidadeSmoothDark map:
<TileLayer
attribution='© <a href="https://stadiamaps.com/">Stadia Maps</a>, © <a href="https://openmaptiles.org/">OpenMapTiles</a> © <a href="http://openstreetmap.org">OpenStreetMap</a> contributors'
url='https://tiles.stadiamaps.com/tiles/alidade_smooth_dark/{z}/{x}/{y}{r}.png'
/>
to learn about tiles with some entertainment value ??