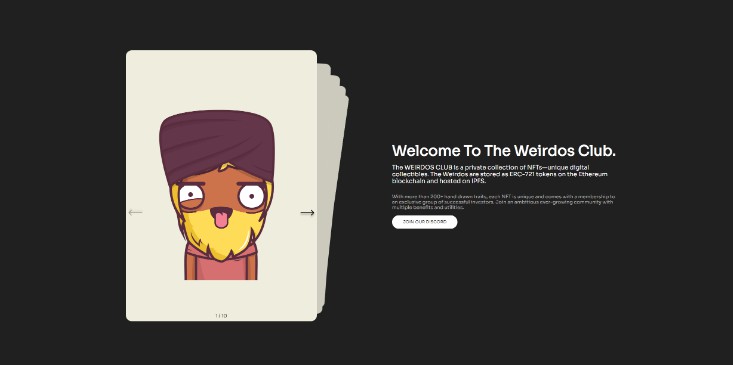
Wobble Drug NFT Mint Website
UP-TO-DATE with latest Metaplex improvements
All Candy Machine V2 functionalities are implemented, auto detected and maintained up-to-date :
- Public mint (with countdown when date in future)
- Civic support (gatekeeper)
- Whitelist
- Presale true/false
- End date / end number (endSettings)
- SPL-token to mint
- Latest MCC updates from Metaplex
- Multiple mint

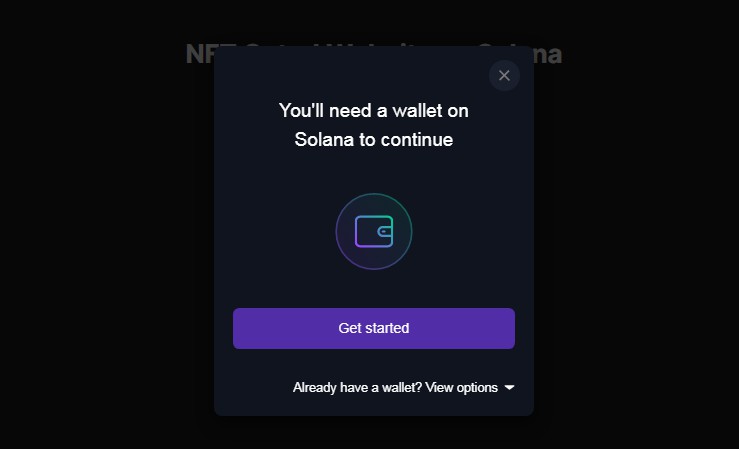
Supported Wallets

For instructions on how to set up a V2 candy machine, please refer to Metaplex’s documentation here
To thank me with a small SOL tip :]
2Uz4LPmj8JJQgMSUwK6RT2ZzcQRrJh2mbYF3iiZfedre
Getting Set Up
Prerequisites
REQUIRE NODEJS VERSION <= 16 (version 17 not supported).
-
Download a Code Editor such as Visual Studio Code.
-
Ensure you have both
nodejsandyarninstalled.nodejsrecommended version is 16. -
Follow the instructions here to install the Solana Command Line Toolkit.
-
Follow the instructions here to install the Metaplex Command Line Utility.
- Installing the Command Line Package is currently an advanced task that will be simplified eventually.
Installation
1. Fork the project & clone it. Example:
git clone https://github.com/supercoolx/wobble-drug-mint.git
2. Define your environment variables (.env file)
Rename the .env.example file at the root directory to .env and update the following variables in the .env file:
REACT_APP_CANDY_MACHINE_ID=__PLACEHOLDER__
set PLACEHOLDER with the candy machine pubkey you get once you upload & create your candy machine in Metaplex project. You can find back the value from the .cache/temp.json file of your Metaplex project. This file is created when you run the ts-node candy-machine-v2-cli.ts upload ... command.
REACT_APP_SOLANA_NETWORK=devnet
This identifies the Solana network you want to connect to. Options are devnet, testnet, and mainnet-beta.
REACT_APP_SOLANA_RPC_HOST=https://api.devnet.solana.com
This identifies the RPC server your web app will access the Solana network through.
If you are using a custom SPL Token to MINT, you have two additional environment parameters to set :
REACT_APP_SPL_TOKEN_TO_MINT_NAME=
Spl-token name to display next the price.
REACT_APP_SPL_TOKEN_TO_MINT_DECIMALS=9
Spl-token decimals were defined during its creation with –decimals parameter. If you didn’t use that parameter, then by default your SPL Token got 9 decimals.
More info about it there : https://spl.solana.com/token
3. Build the project and test. Go to the root project directory and type the commands :
To install dependencies :
yarn install
To test the app locally in the development mode (localhost:3000) :
yarn start
To build the production package (generated in build folder of the project) :
yarn build
Available Commands Recap :
yarn start
Runs the app in the development mode. Open http://localhost:3000 to view it in the browser.
The page will reload if you make edits. You will also see any lint errors in the console.
yarn build
Builds the app for production to the build folder.
It correctly bundles React in production mode and optimizes the build for the best performance.
The build is minified and the filenames include the hashes. Your app is ready to be deployed!
Need Help ?
You can ask for help in Telegram : https://t.me/fatal_furi