TABLE OF CONTENT
- Pre-requisites
- Get Started
- Available Scripts
- Deploy
- Folder Architecture
- Notes
Pre-requisites
Get Started
- Install NodeJS. Use a node version manager such as nvm. Currently this repo targets Node 12
- Install yarn.
- Run
yarnto install dependencies
Available Scripts
In the project directory, you can run:
yarn dev
Runs the app in the development mode.
Open http://localhost:3000 to view it in the browser.
The page will reload if you make edits.
You will also see any lint errors in the console.
yarn test
Launches the test runner
yarn build
Builds the app for production to the build folder.
It correctly bundles React in production mode and optimizes the build for the best performance.
The build is minified and ready to be deployed!
yarn start
Starts the node server from the build output
Deploy
- Any pushed branch with /features/** will be deployed to the DEV environment
- Any push to master will be deployed to the UAT environment
- Any pushed branch with /releases/** will be deployed to Production.
Folder Architecture
- public: static assets
- src: The app
- artifacts: Smart Contract ABI’s
- components: React components
- layout: Core UI layout that each page uses (Header, Meta)
- pages: Each file/folder adds a new page to the app
- styles: Global styles. Ask yourself why am I putting a style here before doing so. It will be rendered on EVERY page throughout the site. Variables go here.
- consts: constant static variables
- contexts: A gathering place for all contexts used within app
- hooks: Reusable React custom hooks
- svg: svg icons. Self explanatory
- utils: utility functions that can be reused (formatters, validators, calculations, etc)
- types: all interfaces and types use throughout multiple components are kept here
Notes
-
This is a Next.js project bootstrapped with
create-next-app. -
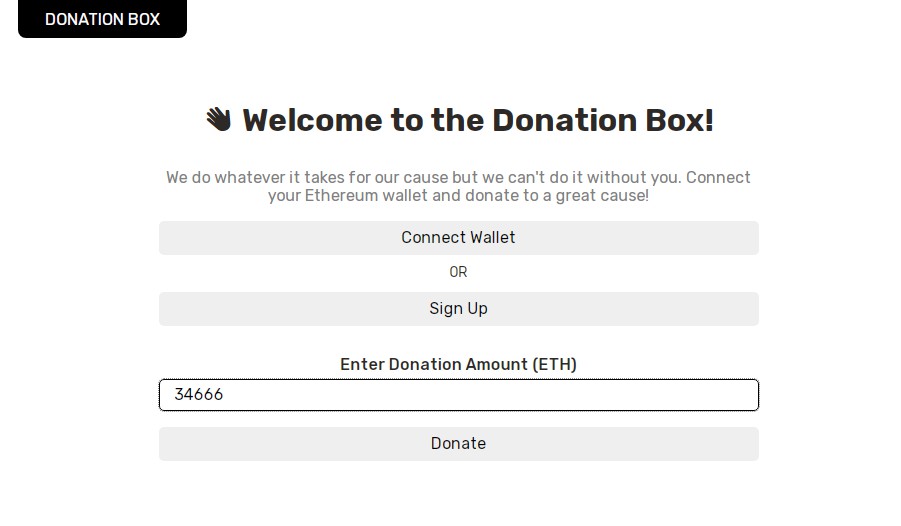
This project demonstrates a basic Hardhat use case for a Donation Box.
-
To add a new route, add a file or folder to
/src/pages/. More information on dynamic routing here -
Try to use CSS modules for styling. Add a file like this component.module.scss next to the component where you’ll use the styles.
-
Add global SCSS variables in
/src/styles/variables.scss. If there are any global styles, add them tosrc/pages/_app.tsx(please limit these as they’ll be added to EVERY page) -
Sometimes when you install a 3rd party dependency, you’ll need to install the types for typescript
yarn add -D @types/[dependency]


