Project Description
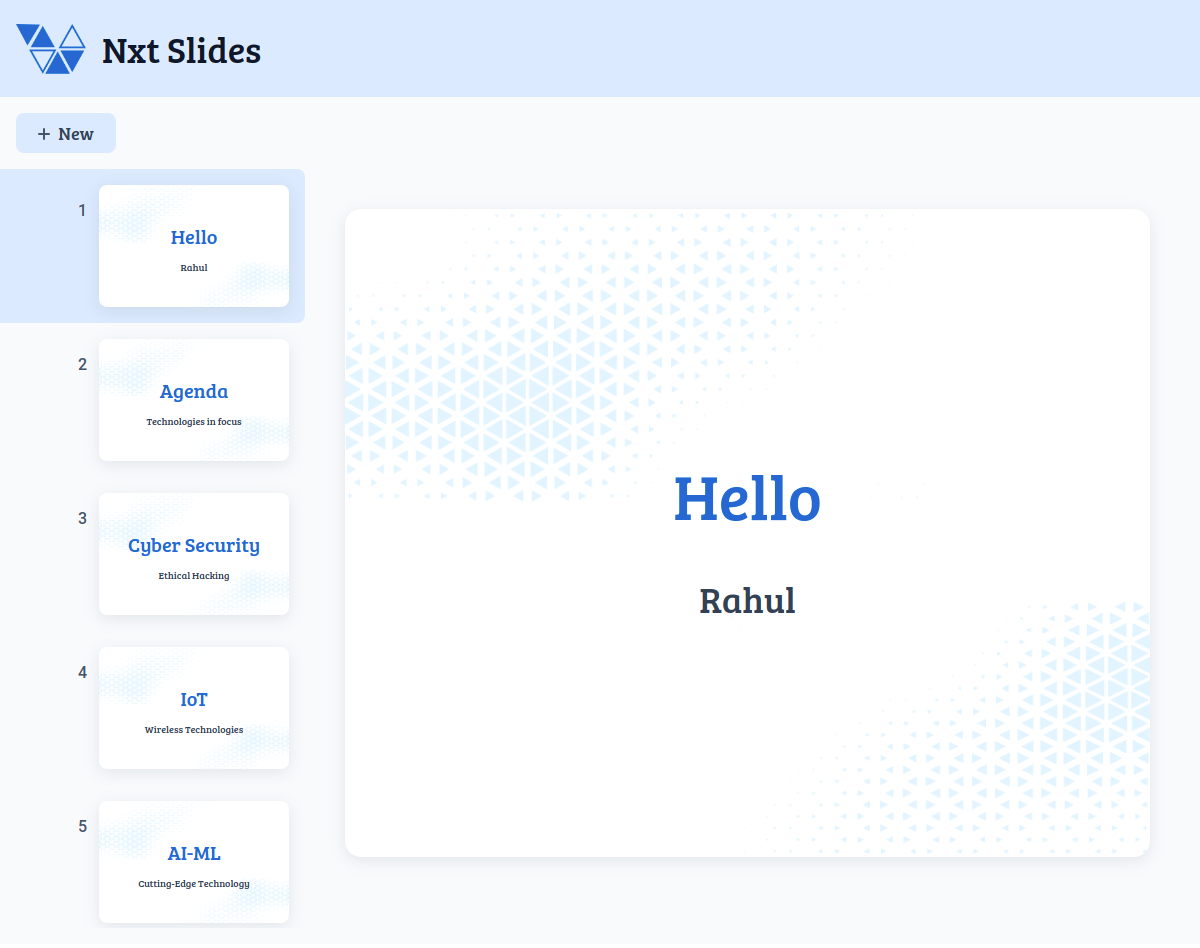
In this project, you are going to build a Nxt Slides Application.
User stories
-
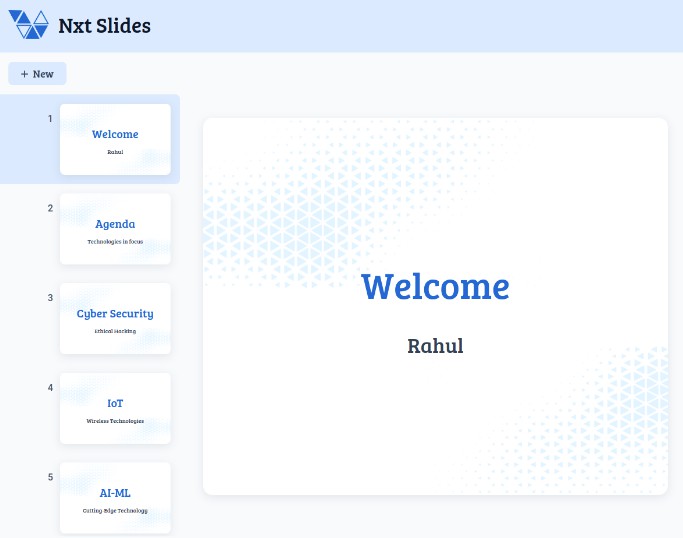
Users using this application should be able to see the slide tabs in the slide tabs panel.
-
Initially, users should be able to see,
-
The first slide tab as an active slide tab.
-
The active slide tab in the current slide.
-
-
Users should be able to click,
-
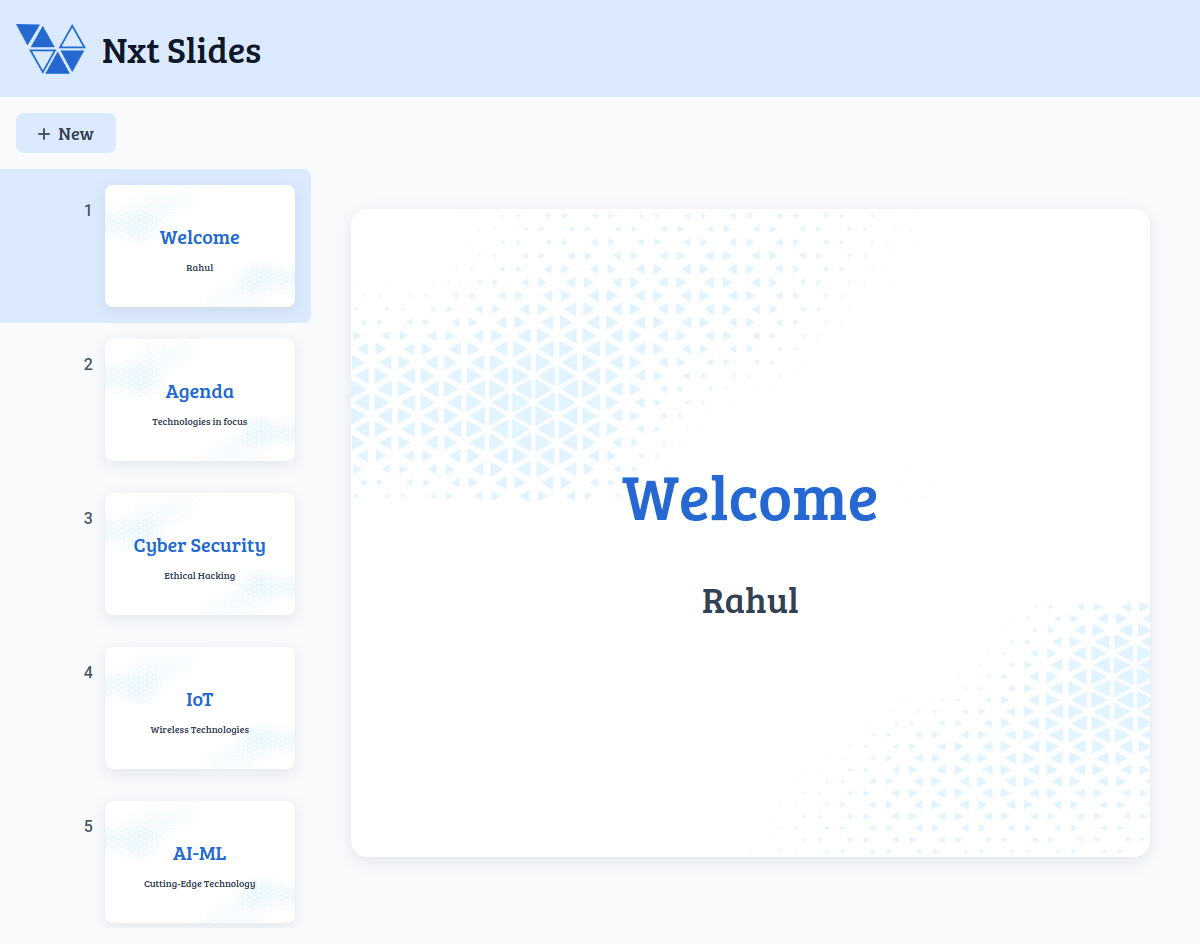
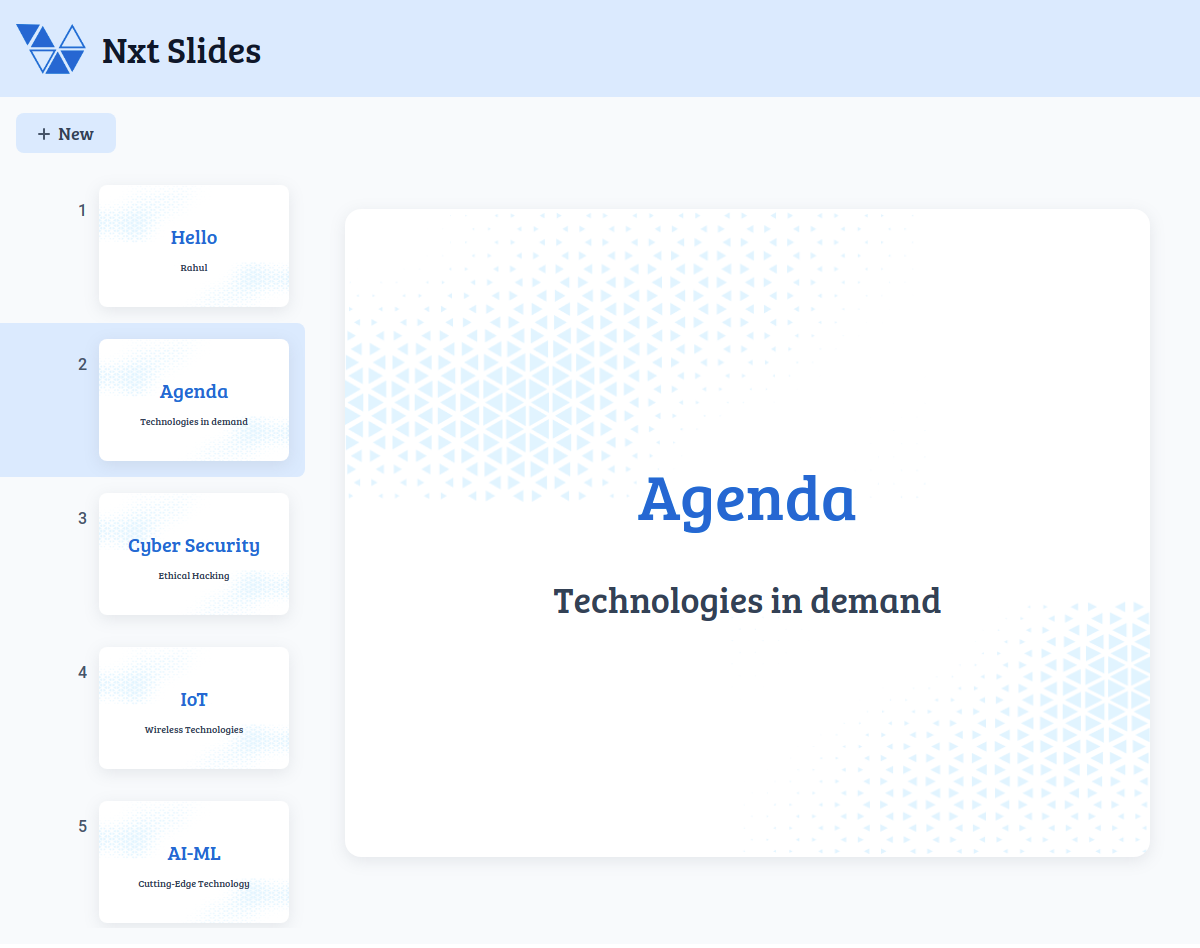
The Slide tabs in the slide tabs panel. When clicked,
- The clicked slide tab should be displayed as an active slide tab.
- The clicked slide tab should be displayed in the current slide.
-
The Heading and Description texts in the current slide. When they are clicked, then the corresponding Heading and Description texts should be able to update.
- When the Heading and Description texts in the current slide are updated, then the updated texts should also be displayed in the slide tab item in the slide tabs panel.
- For Reference (Updated Heading View, Updated Description View)
-
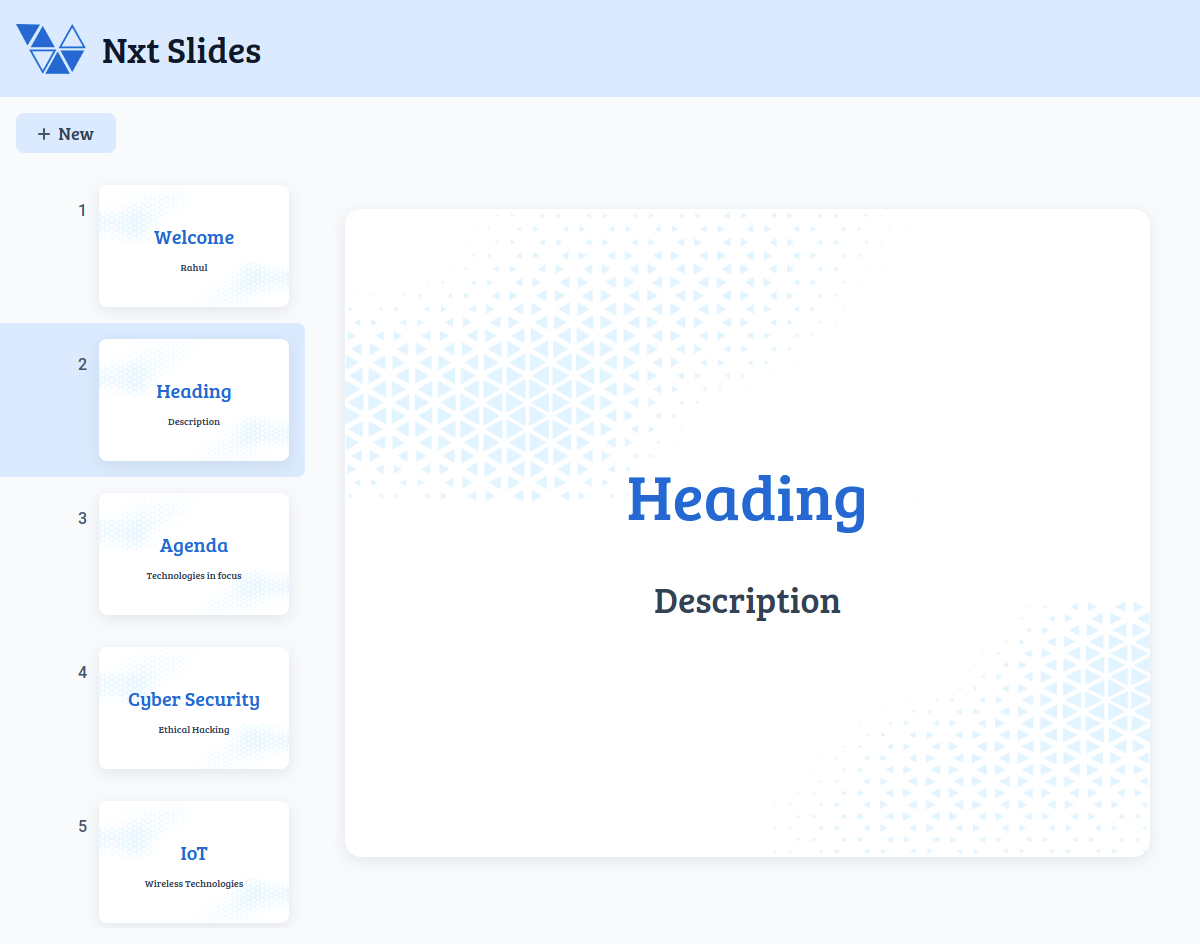
The New button on the page, When clicked,
- A new slide tab should be added to the slide tabs panel.
HeadingandDescriptionshould be the texts for Heading and Description.- The new slide tab should be added after the active slide tab.
- The new slide tab should be displayed as an active slide tab.
- The new slide tab should be displayed in the current slide.
-
Project set-up instructions
To start the development process, follow the below steps
- Download Node on your local system – Windows OS, Linux/Mac OS
- Download the zip file.
- Unzip the zip file on your local machine.
- Run the command “npm install” in the terminal to install all the necessary dependencies.
- Run the command “npm start” in the terminal to start the development server.
- The app can be viewed in the browser by using the LOCAL URL http://localhost:3000/.
- You can start the development process by going through the README in the given file.
- Don’t use any third-party packages.
Important Note
Click to view
The following instructions are required for the tests to pass
- Use normal HTML elements to style the React Components. Usage of styled-components (CSS in JS) to style React components is not supported. Test cases won’t be passed if styled components are used.
- Every slide tab item should be displayed as a list item in the slide tabs panel and should contain the testid with value as
slideTab{slideNumber}, hereslideNumberis the sequence order of the slide tab. - Refer to the below Example for the usage of
testidin the HTML elements.- Example:
<div testid="slide" className="slide-item"/>.
- Example:
- The Nxt Slides logo image in Navbar should contain alt text as
nxt slides logo. - The New plus icon image inside the New button should contain alt text as
new plus icon. - Responsiveness is not required.
- Routes should not be used
Resources
Image URLs
- https://assets.ccbp.in/frontend/react-js/nxt-slides/nxt-slides-logo.png alt should be nxt slides logo
- https://assets.ccbp.in/frontend/react-js/nxt-slides/nxt-slides-plus-icon.png alt should be new plus icon
- https://assets.ccbp.in/frontend/react-js/nxt-slides/nxt-slides-bg.png slide background image
Colors
Background Colors:
Hex: #ffffff
Hex: #f8fafc
Text Colors:
Hex: #dbeafe
Hex: #0f172a
Hex: #334155
Hex: #475569
Hex: #0967d2
Font-families
- Bree Serif
- Roboto
Things to Keep in Mind
- All components you implement should go in the
src/componentsdirectory.- Do not remove the pre-filled code
Project submission instructions:
Project Submission should contain:
- GitHub repository link to your code.
- A video link. video should contain a code walkthrough and explain your application.
- Make at least a 5-minute video explaining your code and the features that you have implemented.
- Upload the recorded video to your YouTube account.
- Refer to this video to get a better understanding of uploading videos to your YouTube account.
- Follow the below points
- Standard naming conventions
- The code must be easily understandable
- The code must be readable
# NXT-slides # NXT-SLIDES

