Let’em Cook
Let’em Cook is a full-stack recipe sharing application that enables users to share their favorite recipes, browse others’ recipes, create meal plans, and generate grocery lists. Built with TypeScript and Refine framework, Let’em Cook is a great example of a modern, performant, and scalable MERN stack application.
You can visit the deployed version of Let’em Cook at https://letem-cook.netlify.app. Please note that the backend of the application is hosted on render.com’s free tier, which shuts down when not in use. As a result, the application might take a few minutes to activate if it hasn’t been used in a while.
Features
Let’em Cook offers a variety of features, including:
- Responsive design: The app is optimized for different screen sizes, so it can be used on both desktop and mobile devices.
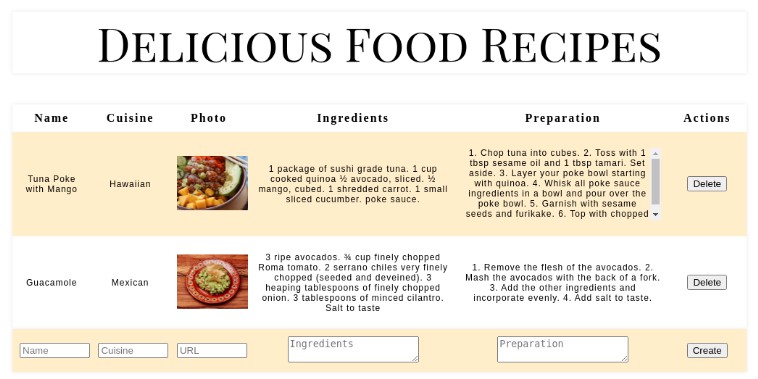
- Recipe sharing: Users can create, read, update, and delete their own recipes, as well as view and save recipes created by other users.
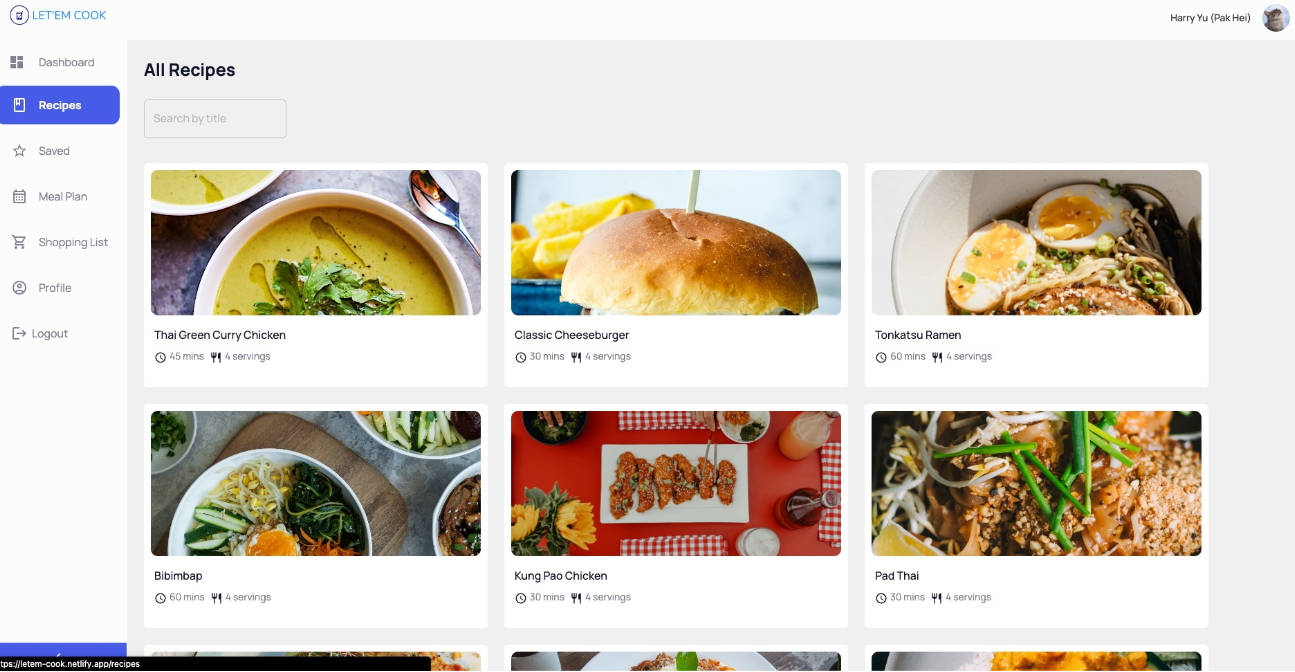
- Browse all recipes: Users can browse all recipes in the database, and filter and paginate the results.
- Save recipes: Users can save recipes for future reference, and easily access them from their profile page.
- Meal plan: Users can create a meal plan by adding recipes from their saved recipes, and view their plan on a calendar.
- Shopping list: Users can generate a grocery list based on their meal plan, to help them plan their shopping more efficiently.
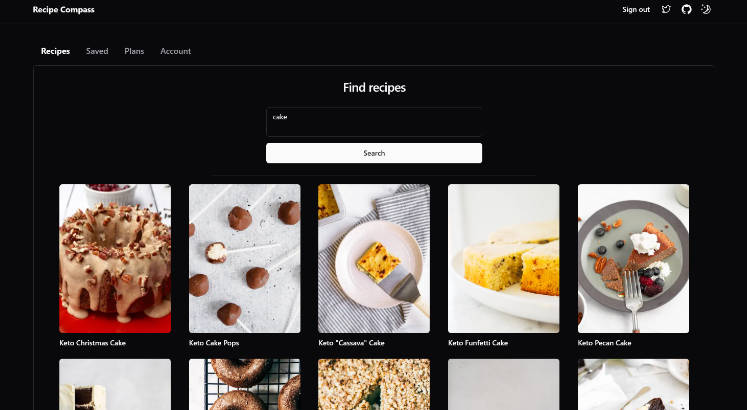
Screenshots
Here are a few screenshots of the Let’em Cook app in action:
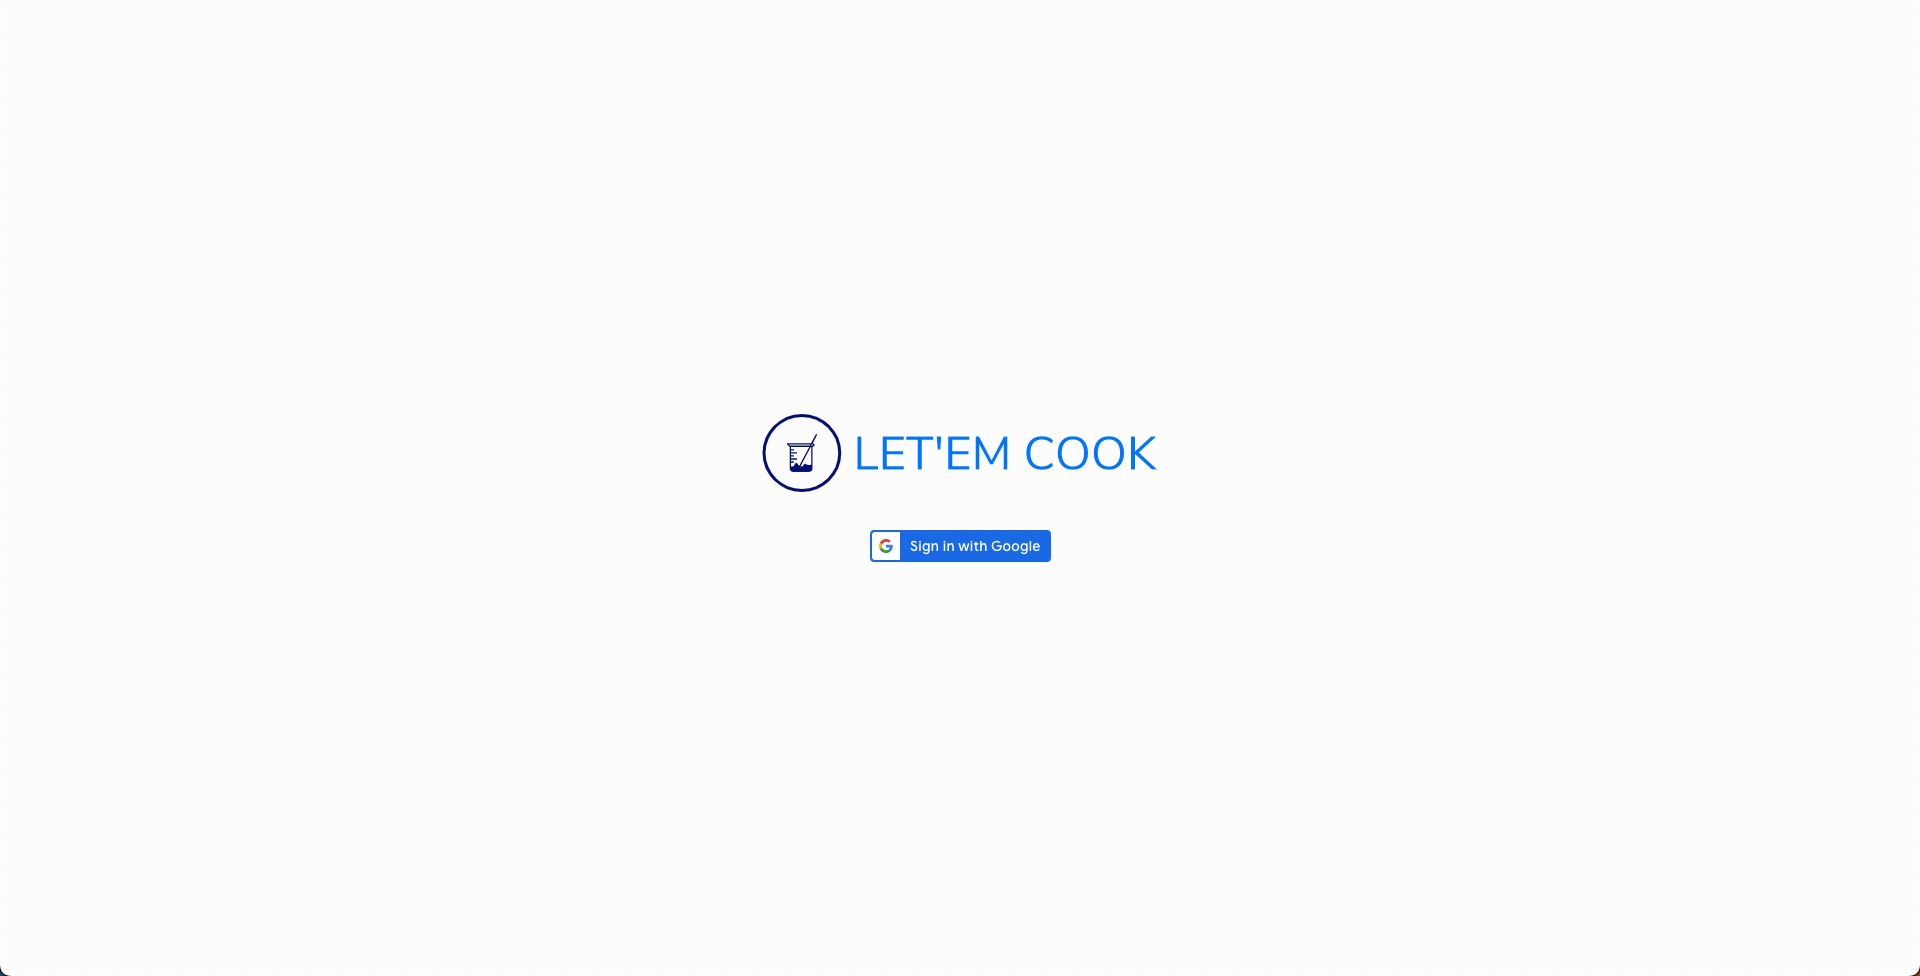
Login page
All recipes page

Recipe details page

Saved recipes page

Meal plan page

Shopping list page

Profile page

Technologies Used
Let’em Cook leverages a number of technologies to create a seamless user experience. Some of the primary tools and technologies used include:
Frontend
- TypeScript – a strongly typed programming language that builds on JavaScript by adding optional static types.
- React – a popular JavaScript library for building user interfaces.
- Refine – a powerful headless web-app framework for building scalable, flexible, and easy-to-maintain applications.
- Material UI – a popular UI framework for React-based applications that offers a variety of customizable components.
- React Query – a library that provides tools for fetching, caching, and updating asynchronous data in React-based applications.
- React Hook Form – a library for managing form inputs in React-based applications.
- Google Auth – a secure and easy-to-use authentication and authorization service for web applications.
- Netlify – a cloud-based platform that provides a variety of services for building, deploying, and managing web applications.
Backend
- Node.js – a popular runtime environment for building server-side applications in JavaScript.
- Express – a lightweight and flexible web application framework for Node.js.
- MongoDB – a popular NoSQL database used for building scalable and flexible applications.
- Mongoose – a powerful object modeling library for MongoDB in Node.js.
- Cors – a mechanism that allows restricted resources on a web page to be requested from another domain outside the domain from which the first resource was served.
- Cloudinary – a cloud-based image and video management service that offers a variety of features, including storage, manipulation, optimization, and delivery.
- Render – a cloud platform for building and hosting modern applications.
Getting Started
If you want to run it on your local machine, please follow the steps below.
Prerequisites
Installation
-
Clone the repository
git clone https://github.com/HarryYu02/Recipe-App.git -
Install frontend dependencies
cd frontendnpm install -
Install backend dependencies
cd ../backendnpm install -
Set up environment variables
-
Create a
.envfile in the backend directory with the following variables:MONGODB_URI=<your-mongodb-uri>CLOUDINARY_CLOUD_NAME=<your-cloudinary-cloud-name>CLOUDINARY_API_KEY=<your-cloudinary-api-key>CLOUDINARY_API_SECRET=<your-cloudinary-api-secret>PORT=8080<or-port-of-your-choice> -
Create a
.env.localfile in the frontend directory with the following variables:REACT_APP_GOOGLE_CLIENT_ID=<your-google-client-id>
-
-
Change the base url in /client/src/App.tsx
- Search and modify all instances of https://letem-cook-backend.onrender.com to your localhost, for example, http://localhost:8080
-
Start the backend server
cd servernpm run start -
Start the frontend server
cd ../clientnpm run dev -
Open http://localhost:3000 in your browser to see the app
License
Distributed under the MIT License. See LICENSE for more information.
Contact
- Email: [email protected]
- GitHub: https://github.com/HarryYu02