Crayon
⭐ Crayon is under development! ⭐ The following descriptions can be modified and it is unstable to use now.
A powerful blog generator
- Simple and Light
- Responsive design
- Comments system using utterances
- Code highlighter using react-syntax-highlighter
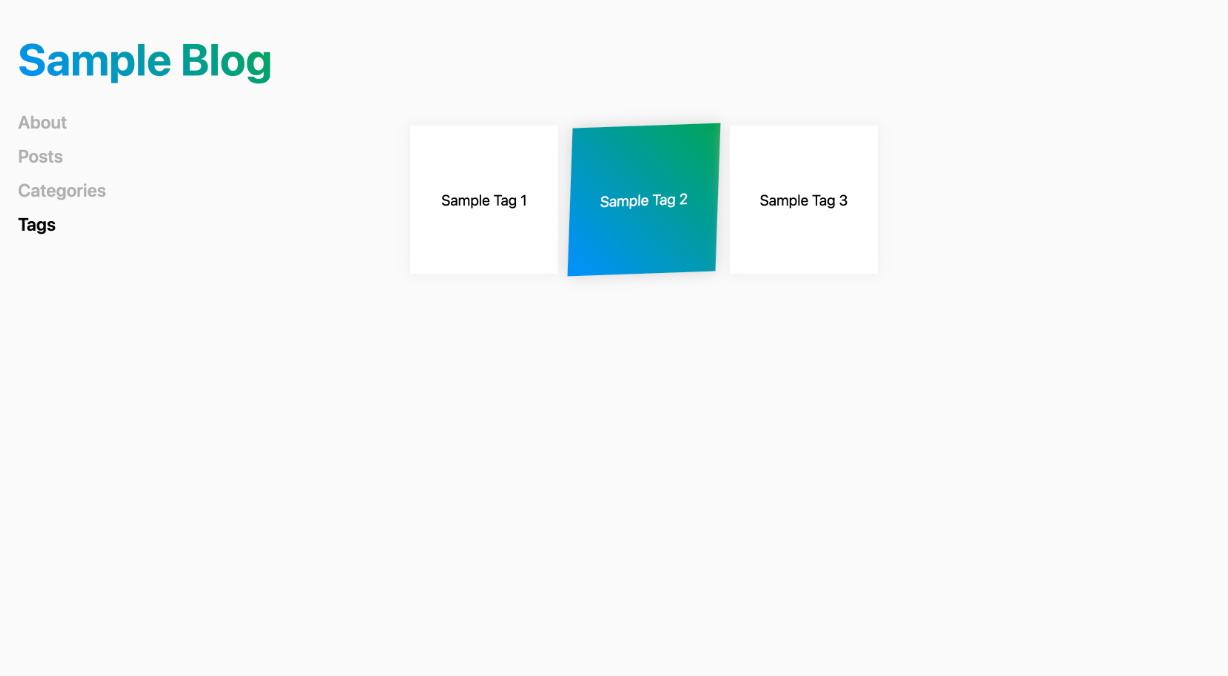
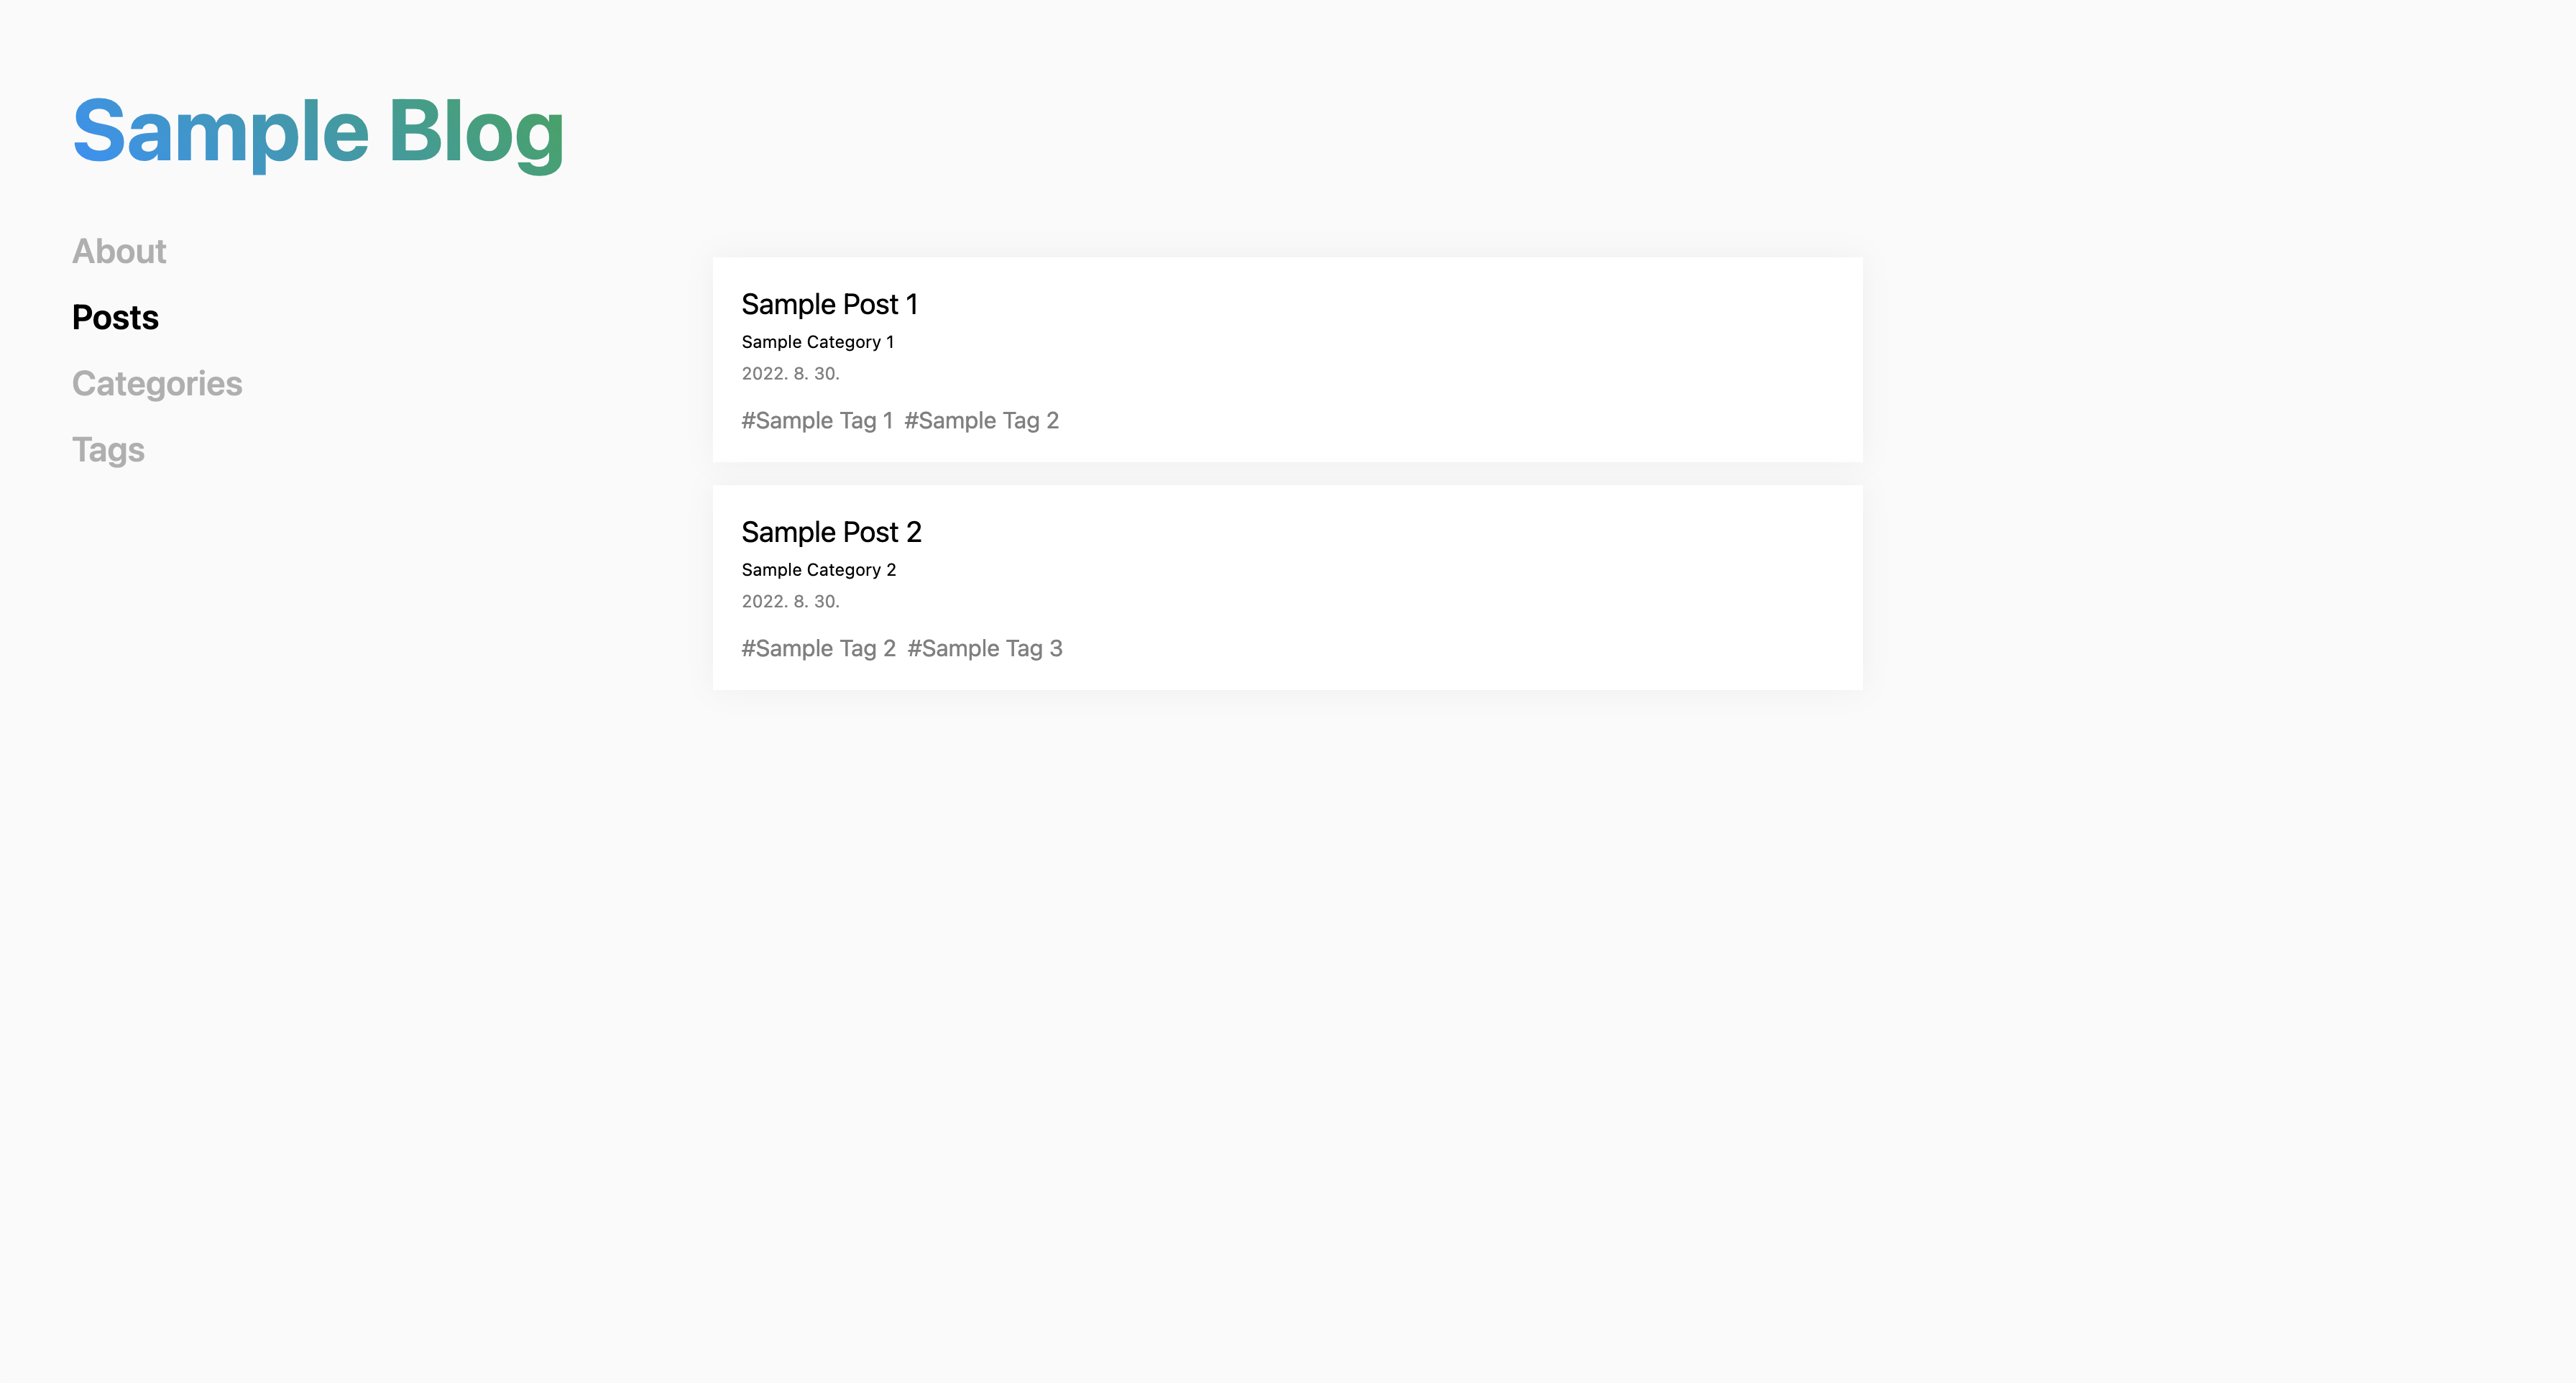
- Classification using categories and tags
- Sharing posts with read-only mode


How to initialize
Using forking
-
Fork this repository to your project.
-
Install dependencies.
yarn -
Run crayon.
yarn dev -
Now you are ready to make your own blog using crayon!
Using npx
- WIP
How to config
- You ONLY need to modify
/data/configsfolder on root for your blog configuration.
ㄴ site.json
ㄴ post.json (auto-generated)
- After running your first crayon blog on local, there will be two json files.
site.json
- You can set following variables as your site configuration.
name: Blog nameurl: Blog domain where your blog will be deployedport: Local port number where your blog will be run on servercommentRepo: (Optional) Repository for managing posts` comments
post.json
- You don’t need to modify this file.
- It will be generated automatically when your blog is built or started.
How to post
- You ONLY need to modify
/data/postsfolder on root for blog posting.
_about
  ㄴ /content.md

foo-post
  ㄴ /content.md
  ㄴ /apple.png
  ㄴ /banana.png
  ㄴ /...

bar-post
  ㄴ /content.md
  ㄴ /...

...
- Each post needs one folder with a unique id (folder name).
- Its content can be written in markdown and it should be named as
content.md. - Images for a post should be located in its post folder, or you can use external image links!
How to deploy
- A blog genereated by crayon can not deployed as static files.
- WIP
Ideas & Bugs
- WIP