Notion Blog with Next.js 13

? Introduction
This is a blog template that uses Notion as CMS.
Upload posts in Notion, share them through your blog!
This project uses App Router that is now stable in Next.js 13.4.
? Demo
Check out the demo site HERE
? Features
- Notion images are cached in CDN (saved in Supabase Storage)
- Sync Notion, blog and image storage with a single click
- Search posts by name
- Filter posts by categories
- Related posts
- Dark mode
- Responsive design
- Sitemap
? Major Dependencies
Packages
- react-notion-x: Renderer for notion pages
- notion-client: Unofficial Notion API which is much faster than official Notion API
Services
? Getting Started
-
Duplicate this notion blog template to your notion workspace. (Make your notion page public.)

-
Visit your notion page with browser.
-
Check your database id in the url. (needed as an environment variable)

-
Check your auth token in the cookie. (needed as an environment variable)

-
Make a new Supabase project and check your database url.

-
Make a new public bucket. (Remember your bucket name.)

-
Check your Supabase url and api key.

-
Visit QStash console and get your QStash token.

-
Now you can run on local or deploy to Vercel with environment variables listed below.
-
After deploying to Vercel, replace link in
Syncbutton with your Vercel url and secret. (secret is set as environment variableAPI_SECRET_KEY)


**Slug should be unique because it’s used as url of the post page**
Environment Variables
NOTION_DATABASE_ID: getting started step 3
NOTION_AUTH_TOKEN: getting started step 4
DATABASE_URL: getting started step 5
SUPABASE_URL: getting started step 7
SUPABASE_KEY: getting started step 7
API_SECRET_KEY: any random string
SUPABASE_BUCKET: getting started step 6
SUPABASE_FOLDER: any name you want
QSTASH_TOKEN: getting stated step 8
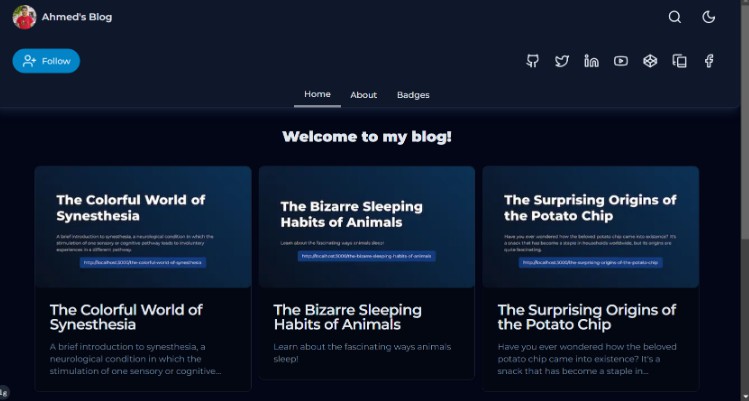
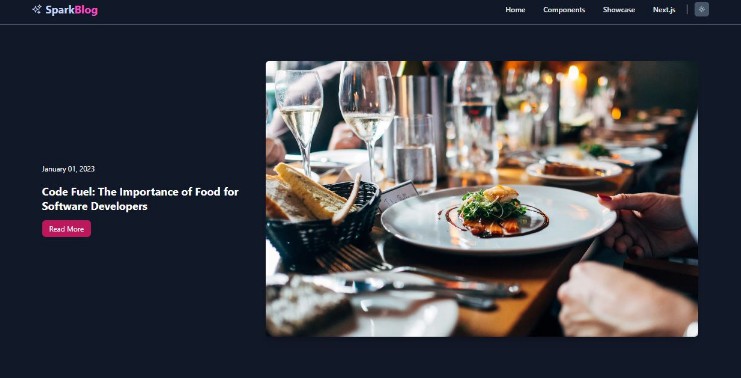
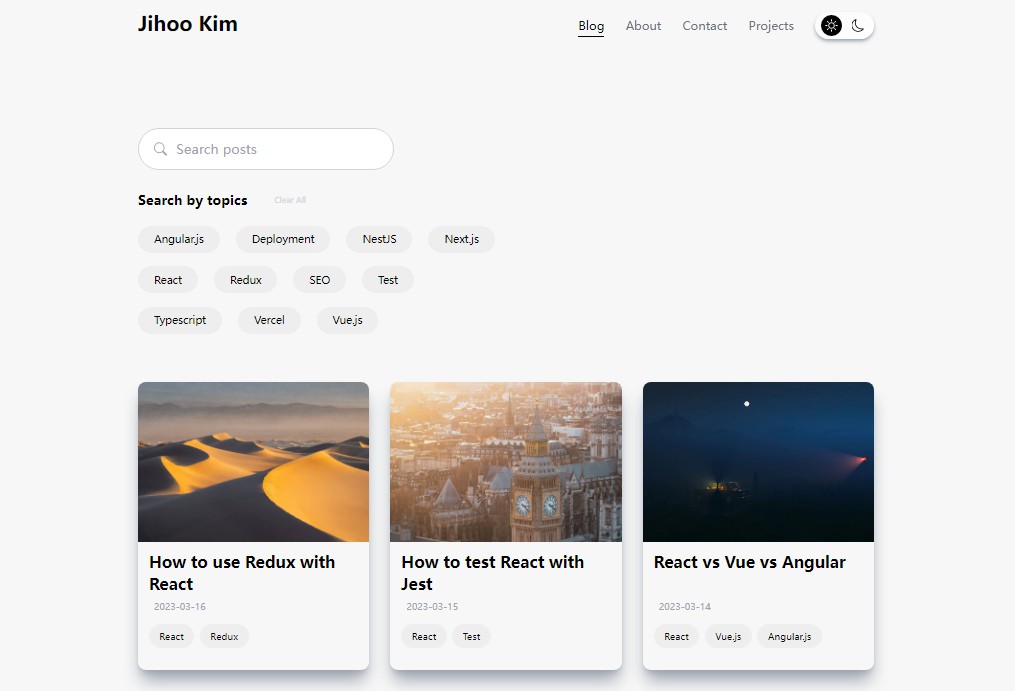
Screenshots
Desktop


Tablet


Mobile


? Explanations
How to sync Notion with blog?
In build time, all posts are synced automatically.
When you want to sync after deploying, just click Sync button in Notion! (May take few seconds after you get response.)

Why need storage for Notion images?
All Notion images have an expiration time. So if you don’t store them in a storage, you’ll need to revalidate the page every certain amount of time or make the page SSR. In addition, assets in Supabase Storage are cached on a CDN, so faster image loading.
What is QStash?
QStash is like a glue for serverless functions. We can split one big serverless function into smaller pieces and connect them through QStash messages. Read this for more information
Why need QStash?
To sync, I follow these steps sequentially.
- Compare all post data fetched from notion api with the post data in the DB to identify posts with changes.
- Identify images in notion that have changes compared to the DB and synchronize them with Supabase Storage (upload or update or delete) and update DB.
- Revalidate the pages of the posts changed.
If there are many posts changed, there is a high probability that the above process will hit Vercel’s timeout if executed in one serverless function. (in Vercel’s Hobby plan, the timeout for serverless function is 10 seconds).
So I’ve split the process into four api routes.
/api/sync/api/sync-images/api/sync-posts/api/revalidate
Each api route finishes its process and calls the next api route through QStash.
QStash also enables retrying the revalidation of a page after few seconds if it receives ‘too many request’ from notion api.
? TODO
- Light mode for code block