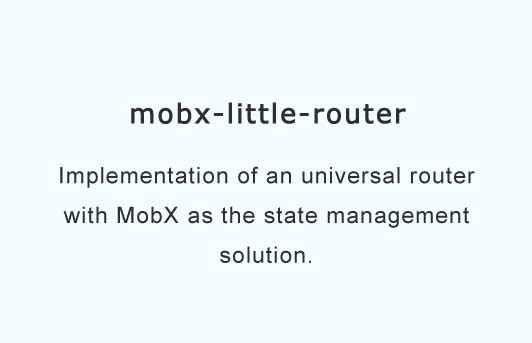
MobX Little Router
A view-agnostic router that uses MobX to manage its internal state. Built to handle the complex requirements of modern-day, universal web applications.
Implementation of an universal router with MobX as the state management solution.
Why?
Our development team use MobX as the state management library for most of our applications.
Routing has become increasingly complex in recent times, and we believe that routing libraries should be updated to reflect this reality. We've tried several existing routers in the React + MobX ecosystem, but none has met our requirements or functioned exactly the way we want it to. And so we built our own router.
Here are what you get from mobx-little-router out of the box.
- Static type support for Flow.
- State management and change detection that lives completely within MobX. This means you have a single source of truth and a single place to change all data in your application.
- Support for dynamically loaded routes on both client and server environments. This is key for building modern-day progressive web apps.
- Middleware layer that provides extensibility to the router.
- Server-side rendering support (SSR) and integration with express server.
- View-agnostic routing capabilities. This means adapters other than React can be created by hooking into the router state.
Quick start
If you are using React, then you'll need to install three modules.
npm i --save [email protected] mobx-little-router mobx-little-router-react

# Or with yarn
yarn add [email protected]
yarn add mobx-little-router
yarn add mobx-little-router-react
Note: history is a third-party peer dependency of the Router. It abstracts away history management
between different JavaScript environments. Learn more here.
Then you can create a Hello World app as follows.
import React from 'react'
import ReactDOM from 'react-dom'
import { createBrowserHistory } from 'history'
import { install, Outlet, RouterProvider } from 'mobx-little-router-react'

const Home = () => <h1>Hello, World!</h1>

const router = install({
  history: createBrowserHistory(),
  routes: [
   { path: '', component: Home }
  ]
})

router.start(() => {
  // The <Outlet/> element outputs the matched route.
  ReactDOM.render(
    <RouterProvider router={router}>
      <Outlet />
    </RouterProvider>,
    document.getElementById('root')
  )
})
For a more comprehensive React example, you can explore the client
and server examples.
UMD build
You can play around with the UMD version of the router by including three scripts:
- https://unpkg.com/[email protected]/umd/history.js
- https://unpkg.com/[email protected]/lib/mobx.umd.js
- https://unpkg.com/mobx-little-router@latest/umd/mobx-little-router.js
e.g.
HTML:
<!DOCTYPE html>
<html>
<head>
  <meta charset="utf-8">
  <meta name="viewport" content="width=device-width">
  <title>JS Bin</title>
  <script src="https://unpkg.com/[email protected]/umd/history.js"></script>
  <script src="https://unpkg.com/[email protected]/lib/mobx.umd.js"></script>
  <script src="https://unpkg.com/mobx-little-router@canary/umd/mobx-little-router.js"></script>
</head>
<body>
</body>
</html>
JS:
let h = History.createMemoryHistory({
  initialEntries: ['/a']
})

let router = mobxLittleRouter.install({
  history: h,
  routes: [
    { path: 'a' },
    { path: 'b' },
    { path: 'c' }
  ]
})

mobx.autorun(() => {
  console.log(`pathname is ${router.location.pathname}`)
})

router.start(() =>
  router.push('/b').then(() =>
    router.push('/c')
  )
)
Output:
"pathname is undefined"
"pathname is /a/"
"pathname is /b/"
"pathname is /c/"
Running examples
Install modules by running yarn, then run yarn start and follow the prompts.