react-overdrive
Super easy magic-move transitions for React apps.
Demos


Install
$ npm install react-overdrive --save
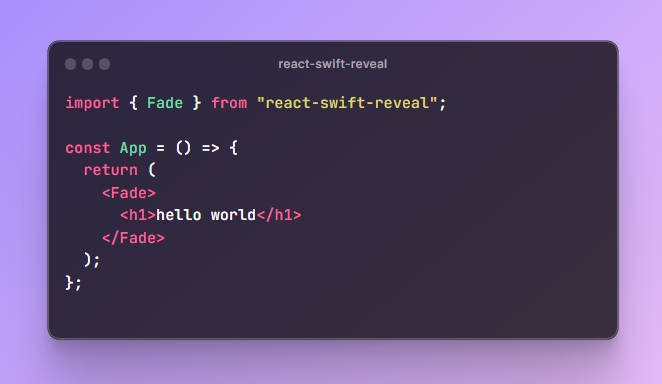
Usage
Example with routing
Wrap any element (not just images) in a <Overdrive id=""></Overdrive> component. Add the same id to create a transition between the elements.
On page1.js:
import Overdrive from 'react-overdrive'

const pageA = (props) => (
  <div>
    <h1>Page A</h1>
    <Overdrive id="bender-to-big-fry">
      <img src="bender.png" width="100" height="100"/>
    </Overdrive>
  </div>
);
On page2.js:
import Overdrive from 'react-overdrive'

const pageB = (props) => (
  <div>
    <h1>Page B</h1>
    <Overdrive id="bender-to-big-fry">
      <img src="fry.png" width="300" height="300"/>
    </Overdrive>
  </div>
);
Now route between the pages.
Example without routing
On page.js:
import Overdrive from 'react-overdrive'

const page = (props) => (
  <div>
    {props.loading && <Overdrive id="content"><Loader/></Overdrive>}
    {!props.loading && <Overdrive id="content"><Content/></Overdrive>}
  </div>
);
API
| Prop | Description | Default Value |
|---|---|---|
| id | Required. A unique string to identify the component. | |
| element | Wrapping element type. | 'div' |
| duration | Animation duration (in milliseconds). | 200 |
| animationDelay | Add delay of calculating the mounted component position. Setting to 1 usually helps avoiding issues with window scrolling. |
null |
| onAnimationEnd | Event dispatched when the animation has finished. | null |
How does it work?
A transition is made when an <Overdrive id="example"/> component is unmounted and another <Overdrive id="example"/> is mounted not later than 100ms.
The transition is made by cloning the unmounted and mounted components, adding them with absolute position and CSS transformed from the source to the target position.