Course Platform

? I go over the details of why and how I built this demo during my talk, presented at Next.js conf 2021.
⚠️ This repo + README are a work in progress. I plan to maintain this example and add more features over time. If you see any room for improvement, feel free to submit a PR ?
Live demo: https://epic-course-platform.vercel.app/
Tech Stack
Course Platform template built using the following tools:
- Next.js (fullstack React framework)
- next-mdx-remote (Add support for MDX when using Next.js)
- next-auth (authentication for Next.js apps)
- Prisma (Next-gen ORM for Node.js & TypeScript)
- PlanetScale (Serverless MySQL Database)
- TailwindCSS (Styling)
- Vercel (Deployment)
- SendGrid (Sending emails)
- TypeScript
Why this stack
This stack is awesome for the following reasons:
- Make fewer errors when using TypeScript and you also get zer-cost type-safe database access when using Prisma
- All tools offer fantastic developer experience
- All of the tools have great developer communities
- All of these tools allow you to easily scale (Vercel + PlanetScale)
Setting up the project
To set up the project locally, run the following commands:
git clone https://github.com/m-abdelwahab/course-platform.git

cd course-platform

npm install

npm run dev
This will install the project and start a local development server at localhost:3000.
❗️ Make sure your rename the
.env.exampleto.env
Setting up the database
To set up a database on PlanetScale, check out this detailed guide, which goes over how to work with PlanetScale and Prisma.
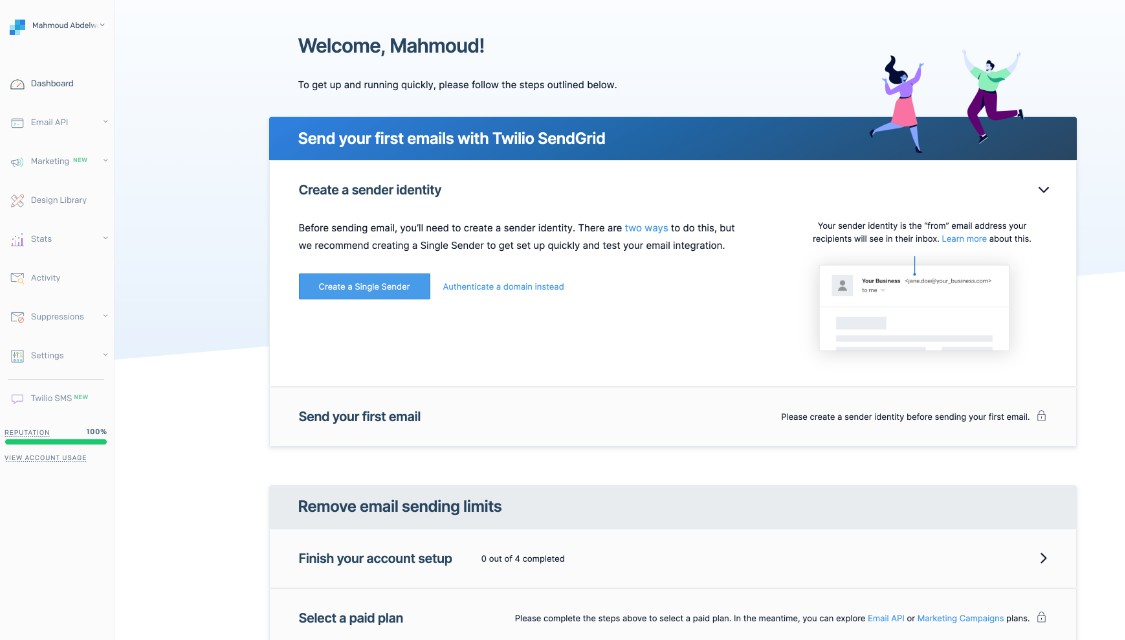
Setting up an email sending service
I’m using SendGrid. Hee’s what you need to do to get started:
First, create an account and setup a sender email for testing your integration.

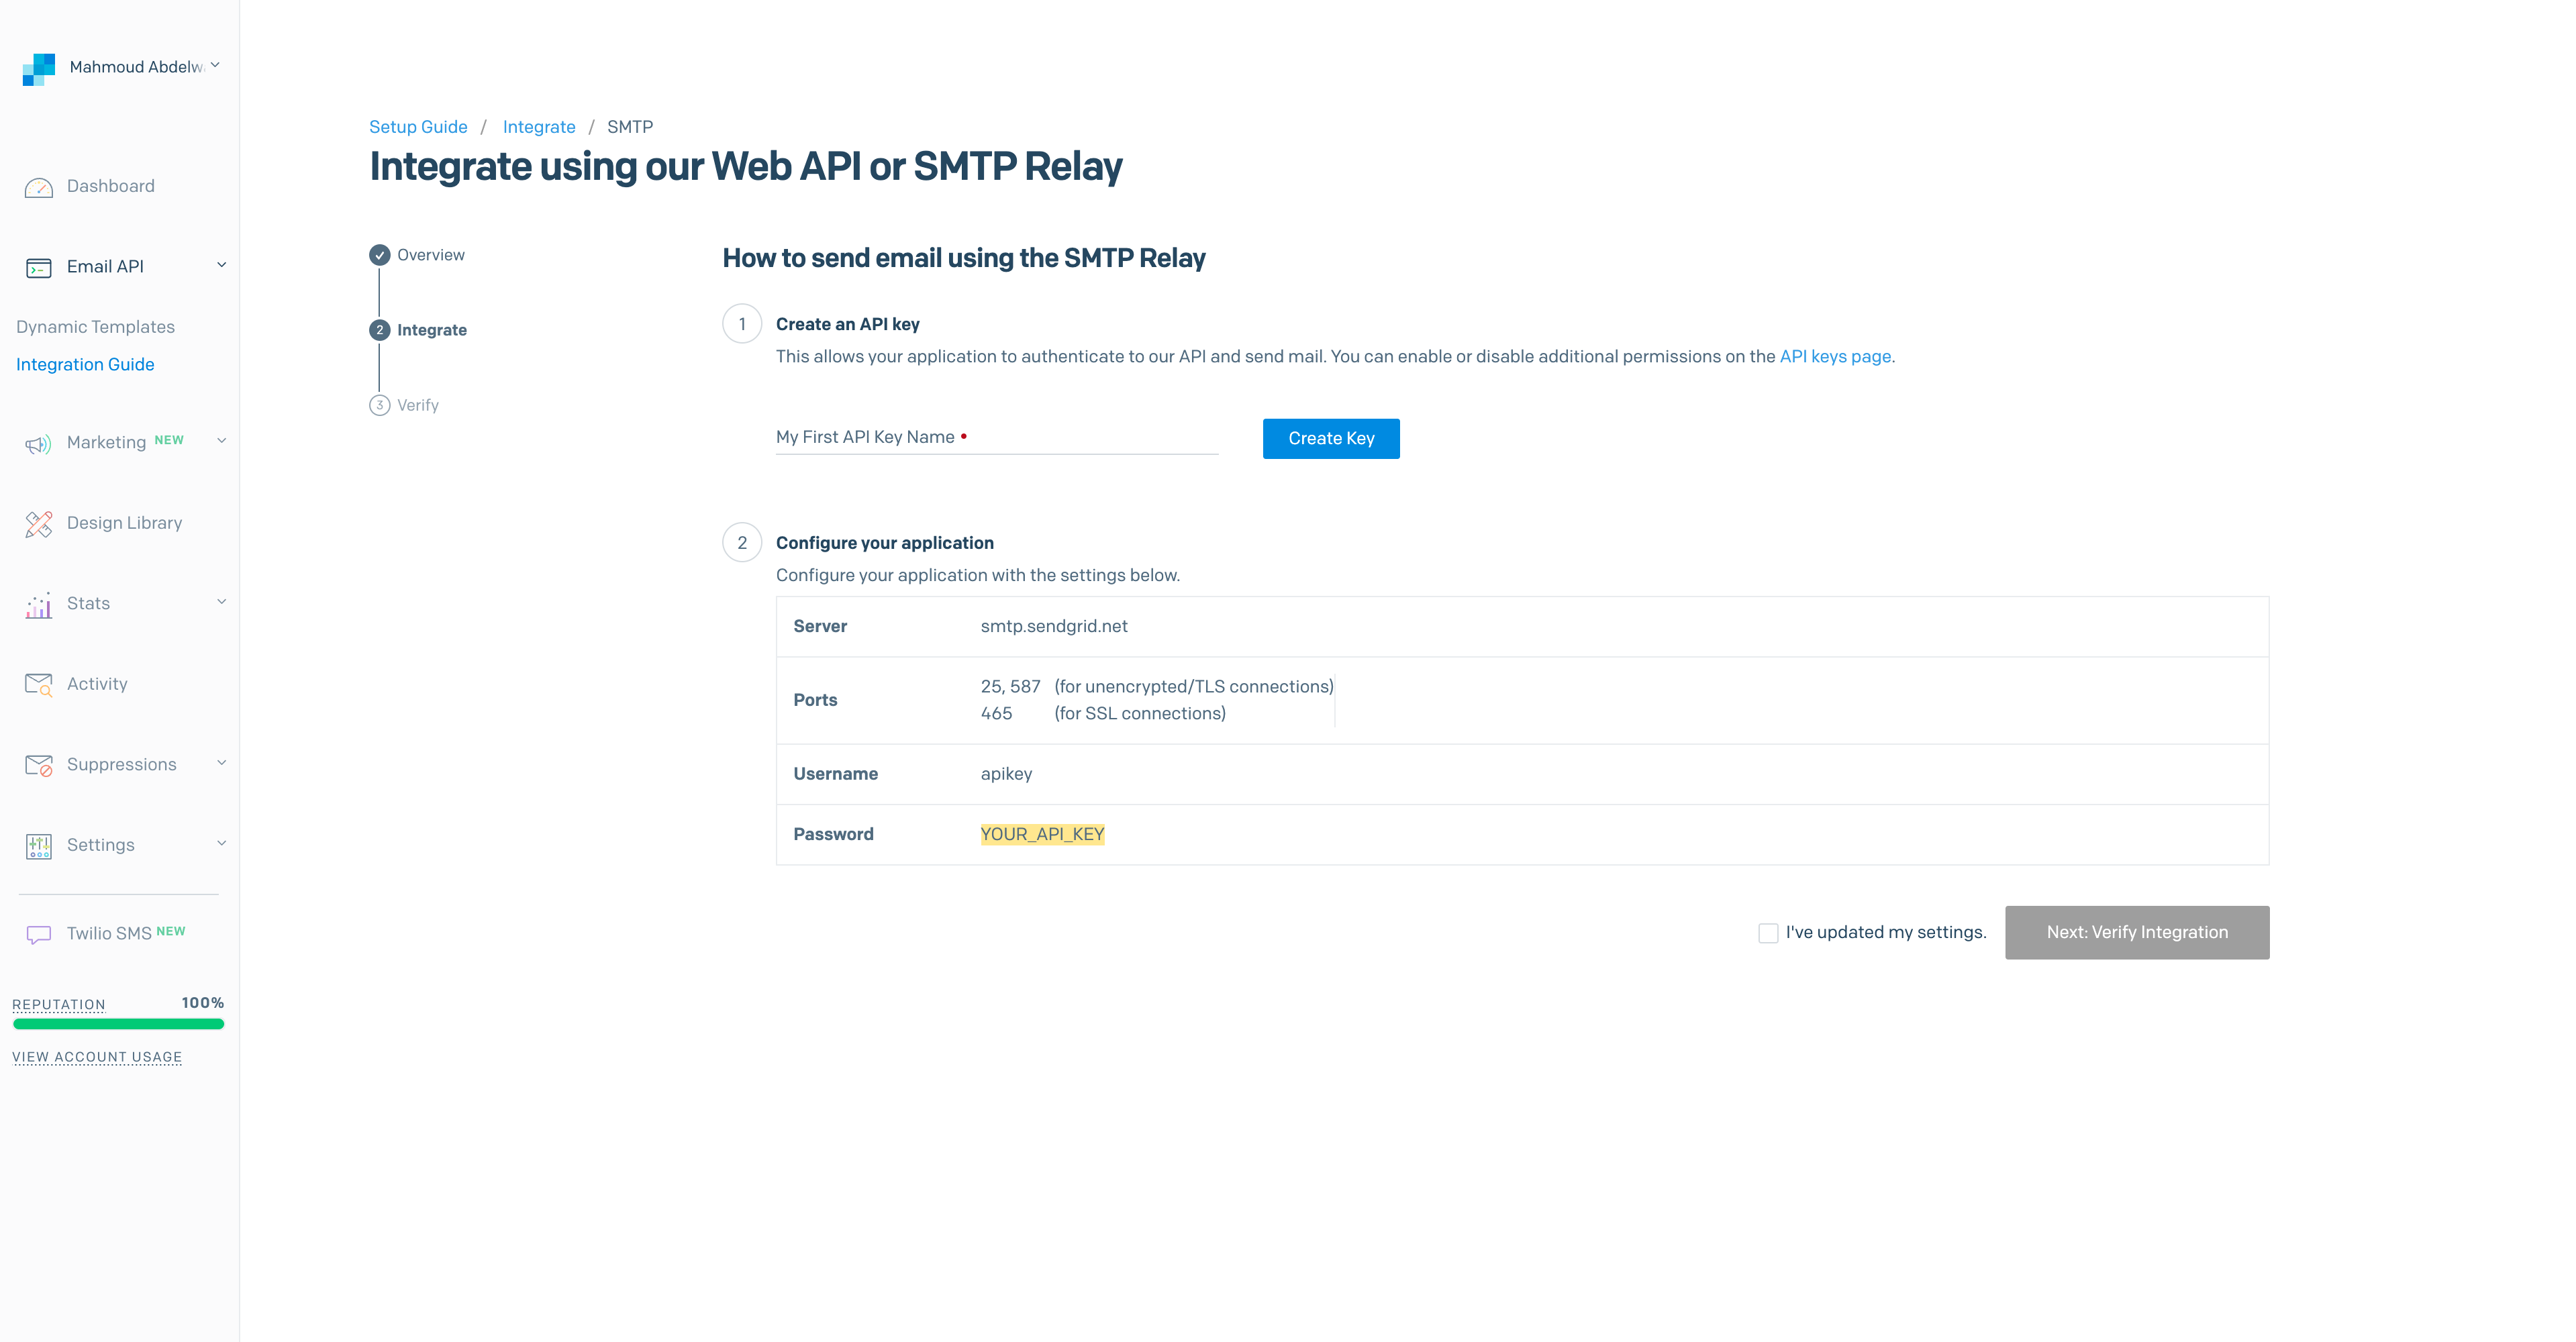
After that, go to the Integration Guide in the Email API dropdown on the left sidebar. Next, pick SMTP relay

Finally, create an API key and add the following variables to your .env file
EMAIL_SERVER_USER= 'apikey'
EMAIL_SERVER_PASSWORD= 'YOUR_PASSWORD'
EMAIL_SERVER_HOST= 'smtp.sendgrid.net'
EMAIL_SERVER_PORT= '587'
EMAIL_FROM = '[email protected]'
Setting up Stripe Checkout
Creating an account at stripe.com and login into your dashboard. Next, go to the products tab and add a product
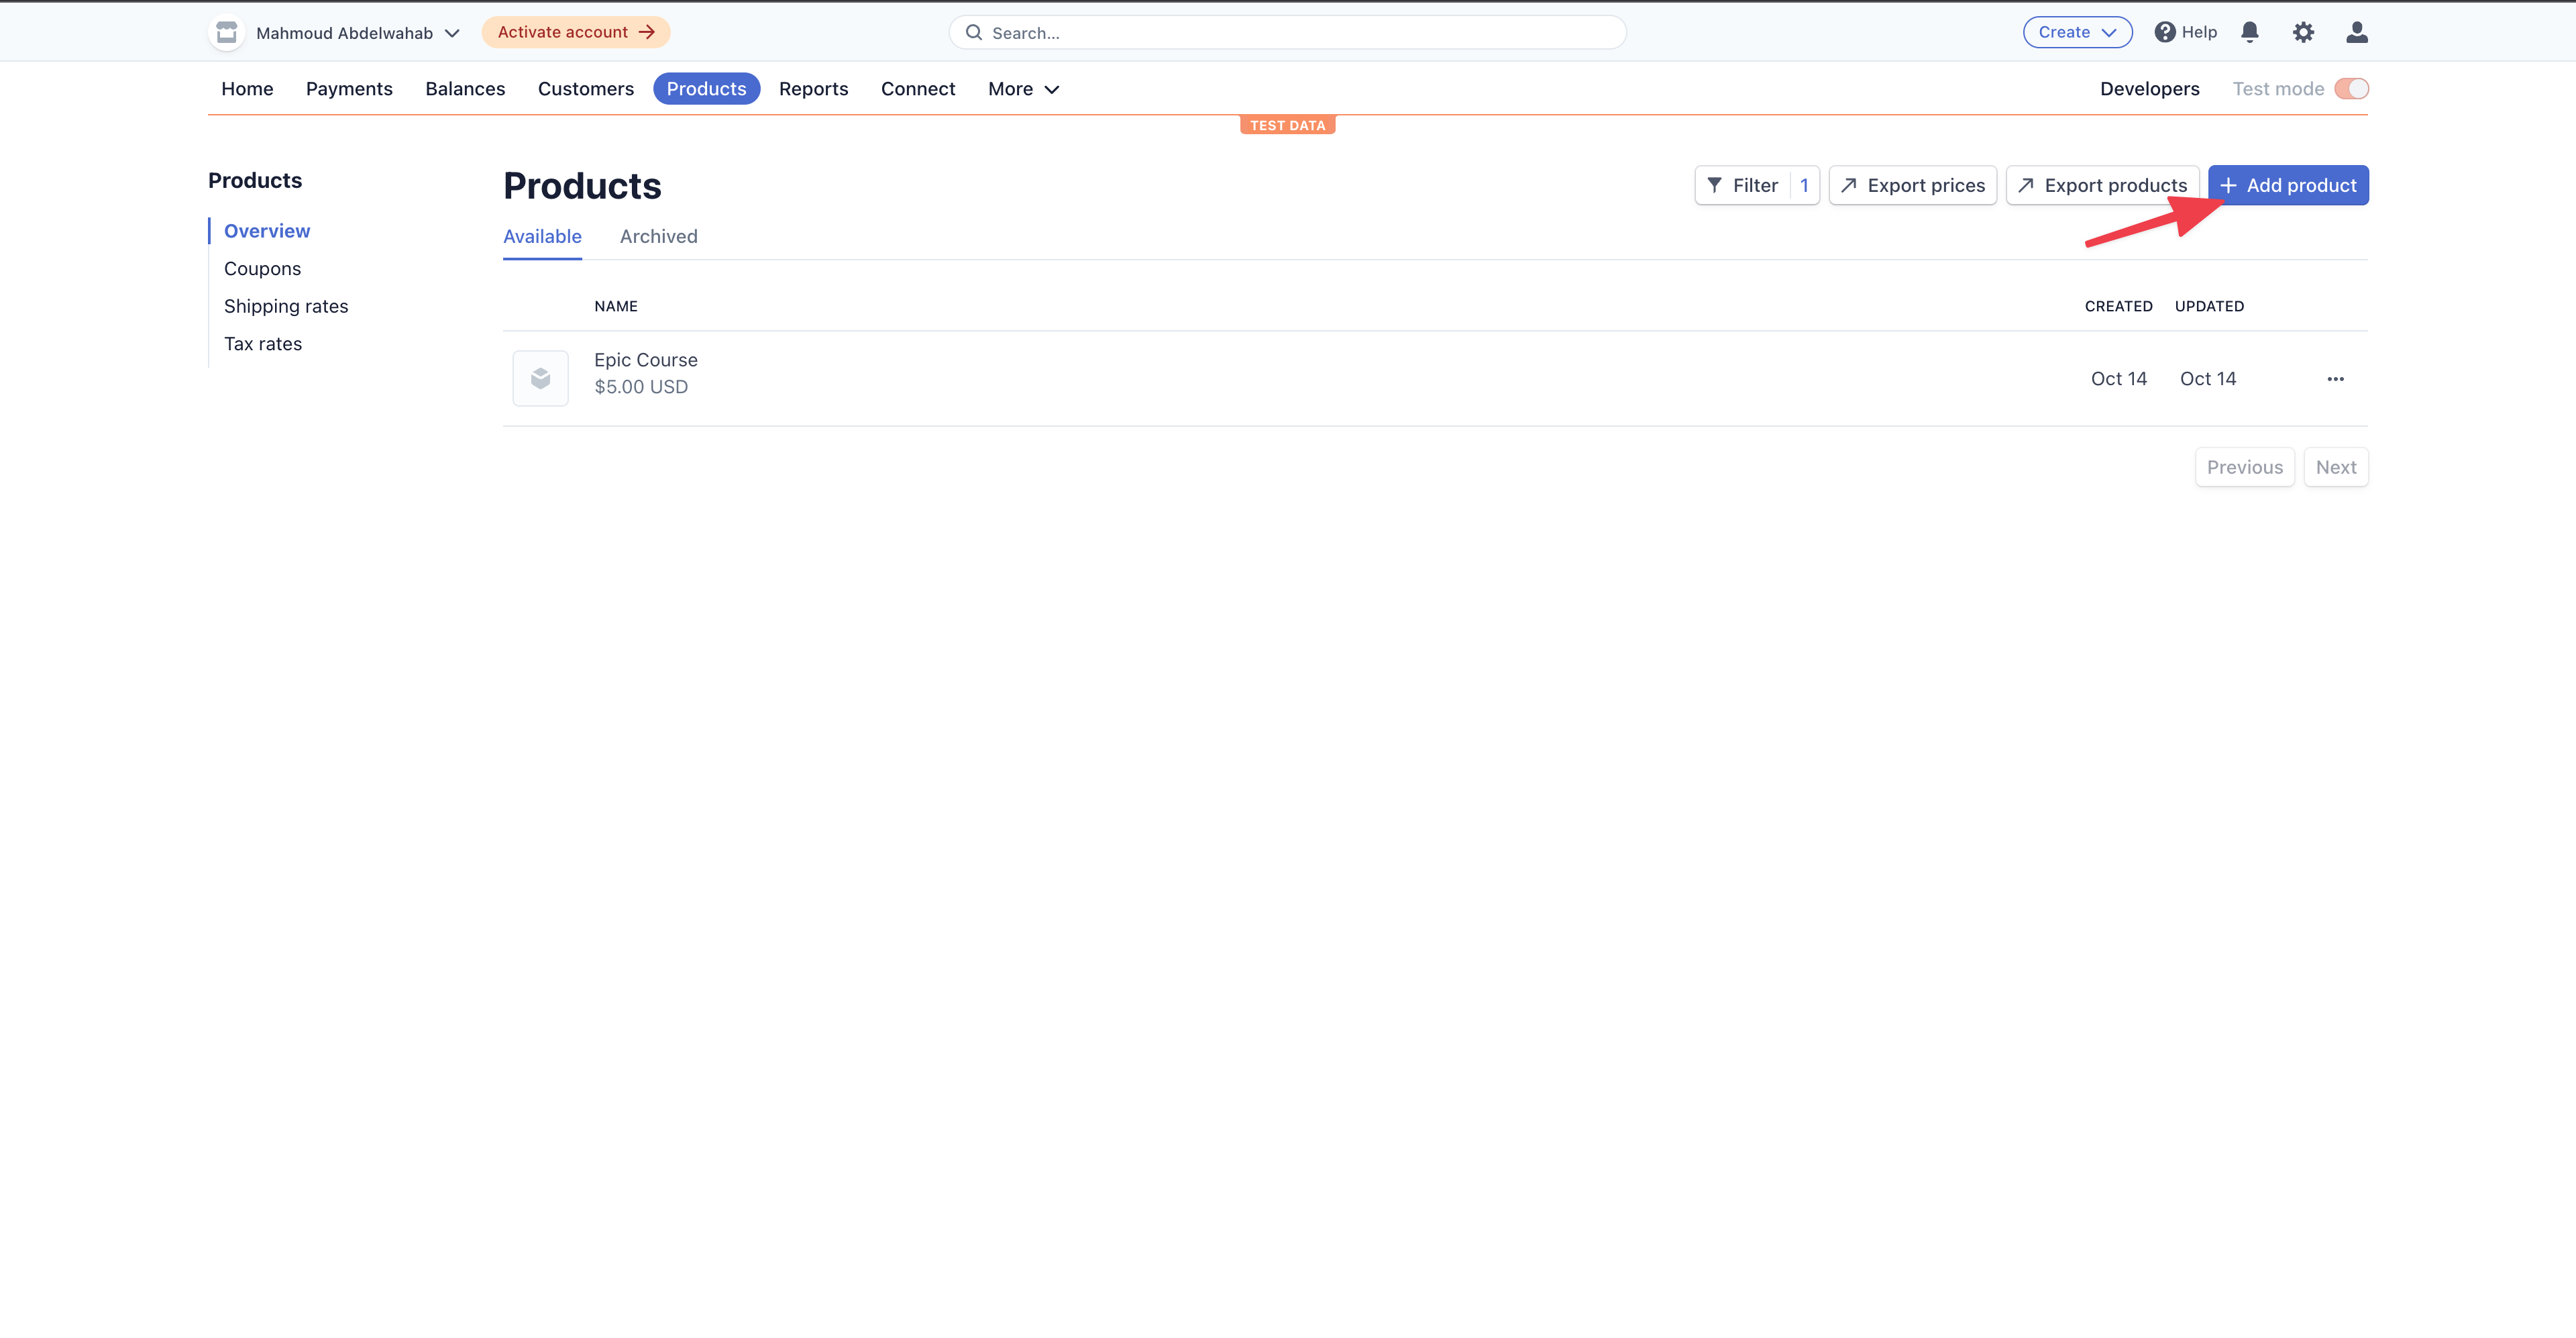
After that, go to the product details page by clicking on the product from the product list and grab the API ID from the pricing section and include it in the /api/checkout file

Finally, to add support for webhooks, go to the “Developers tab” and click “add endpoint”.
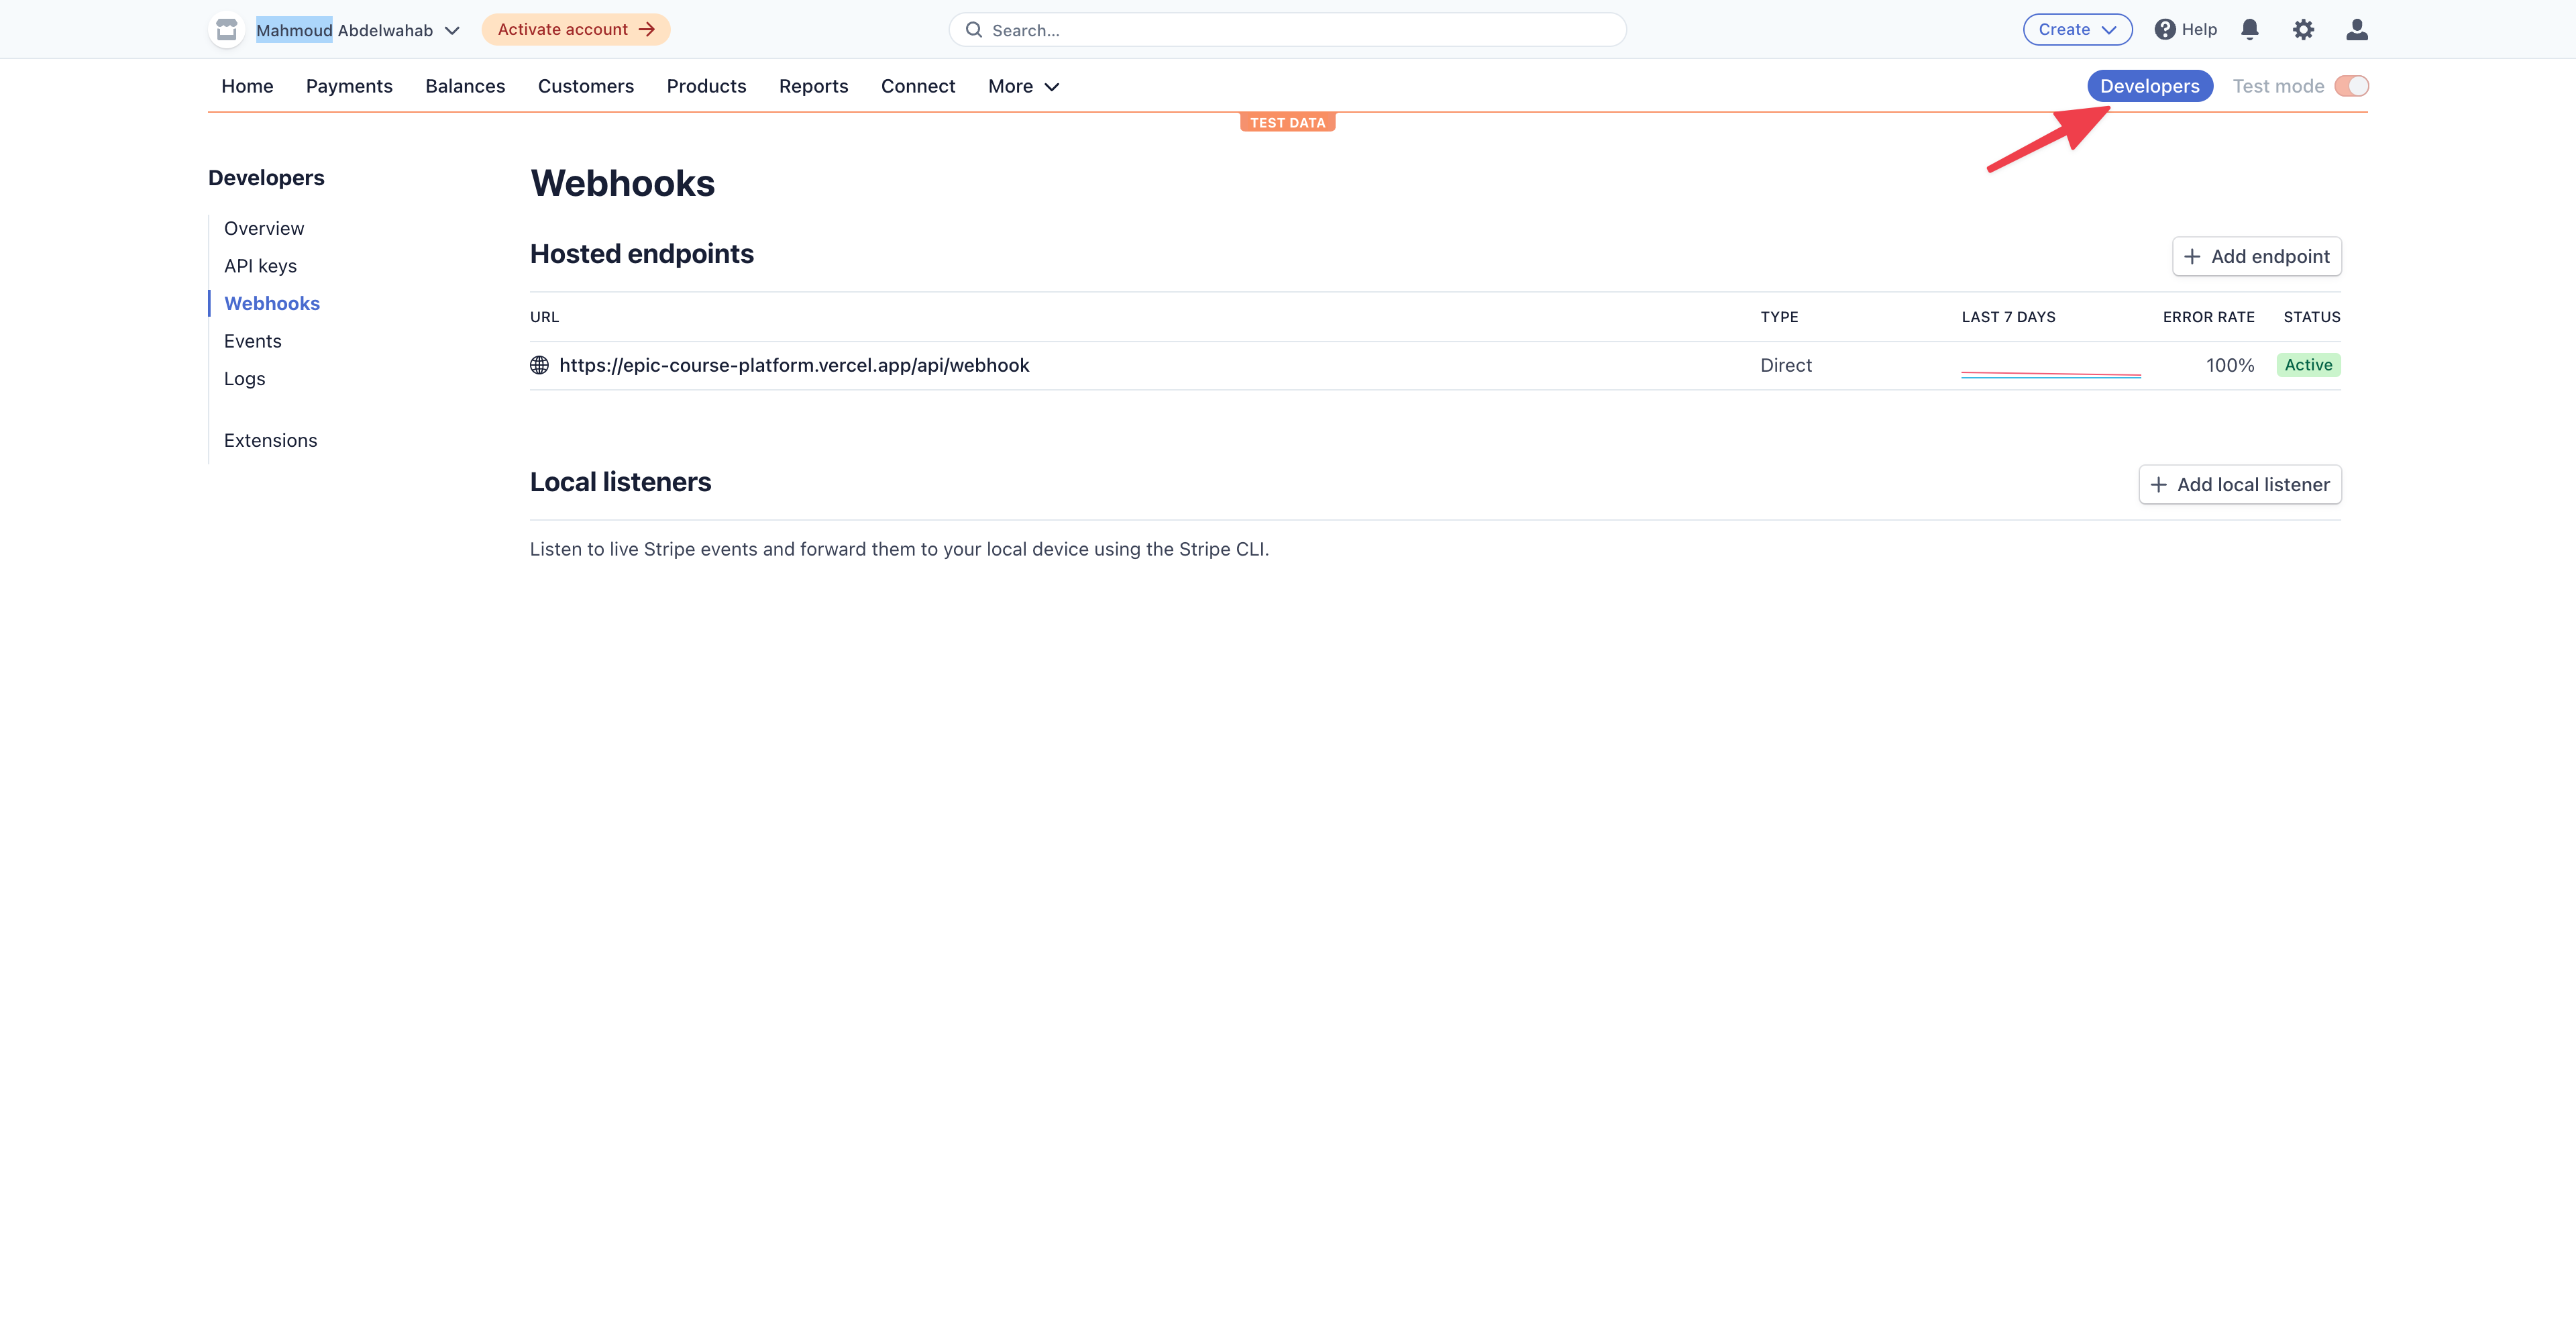
You can test in a local environment using Stripe’s CLI by forwarding events to your webhooks and triggering a charge.succeeded event.

stripe listen --forward-to localhost:3000/api/webhook

stripe trigger charge.succeeded
If you followed all the previous steps correctly, you should see a newly added user in your database, while listening to the charge.succeeded event.
For production, you need to set the endpoint URL to domain-of-your-deployment/api/webhook and select the charge.succeeded event. Finally, you need to grab the signing secret, which will be set to the STRIPE_WEBHOOK_SECRET when deploying to Vercel.